How To Install Rocky Linux OS
Installing the Rocky Linux operating system can also be a good option for Linux lovers and provide acceptable output to the audience; Linux operating systems are usually more secure than Windows operating systems; Most new Linux users typically do not have a user experience in the Linux environment; Therefore, the installation method of Linux operating systems are the simplest possible, and you will not need any special changes!
Important Note: Before doing anything, be sure to back up your system data so that for any reason, if there is a mistake while working or installation progress, Then, you will not lose your Windows data ❗
About Rocky Linux OS
According to RedHat, which states that the CentOS 8 distribution will reach the end of its life by the end of 2021; CentOS 8 Stream will be available instead; Also, as you know, you will have to say goodbye to CentOS 7 by the end of 2024.
Now you either have to change your Linux distribution or use CentOS 8 Stream; Fortunately, the Rocky Linux distribution is a good alternative to the popular CentOS distribution; Rocky Linux is a distribution of GNU / Linux operating system based on RedHat Enterprise Linux source code.

Prerequisites For Installing Rocky Linux OS
- Install Rufus software and download RedHat
- Storage space to install RedHat
- Bootable flash memory
First of all, you need to have a flash drive and transfer the Rocky Linux ISO file to the desired flash drive to save the operating system on the flash; Access the new version of ISO Rocky Linux first; After accessing the ISO installation file, you need to download the Rufus software as well.
Install Rufus Software And Download The Rocky Linux File
Note: To access the RedHat Linux operating system, downloading the newest version is usually recommended.
Note: Here is how to access the Rufus software; remember to use Rufus on GPT mode, not MBR.
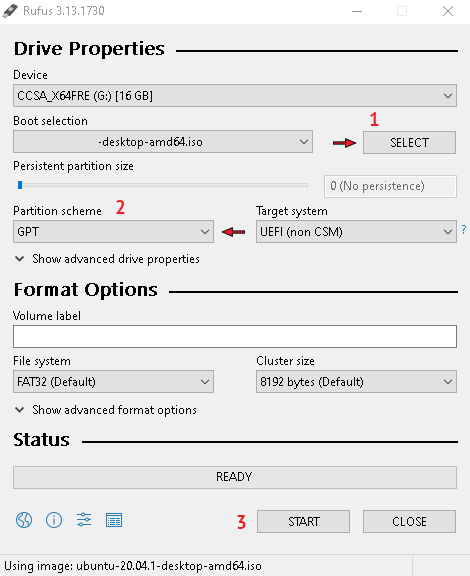
Saving the downloaded Linux file on flash as a bootable is Rufus’ main task; place the Linux file in the Boot Selection section as shown below, set the partition layout to GPT mode, and click Start; Depending on the speed of your flash drive, saving process may take several minutes; Now, you can easily enter the BIOS and select the bootable flash to start the installation.
Login To The Bios Page To Boot The Flash
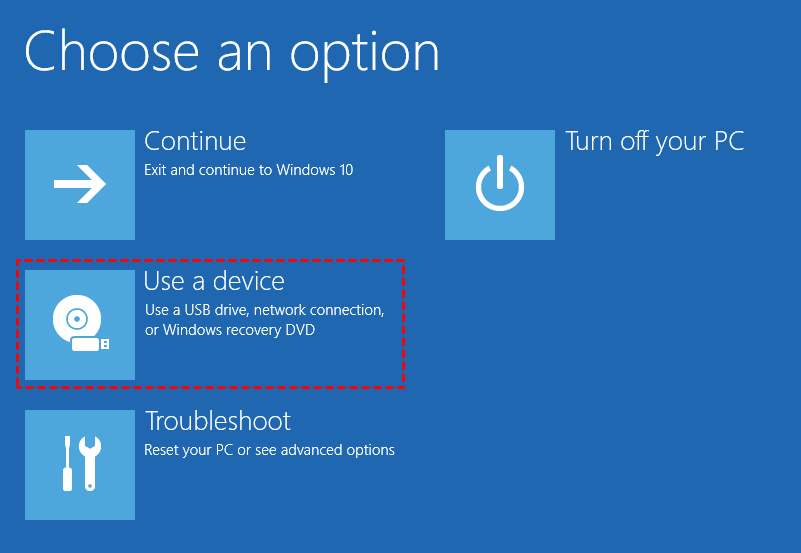
We can easily go to the BIOS to select the flash memory bootloader that we use to install Rocky Linux; Note that the BIOS entry is different in each system; If you fail in using the methods recommended in the article, you can search the Internet or inform through the online chat platforms to learn the best ways to enter the BIOS page of the system;
You will see a page similar to the following image by entering the installation page. To start the installation, you need to select the first option that is: Install Rocky Linux;
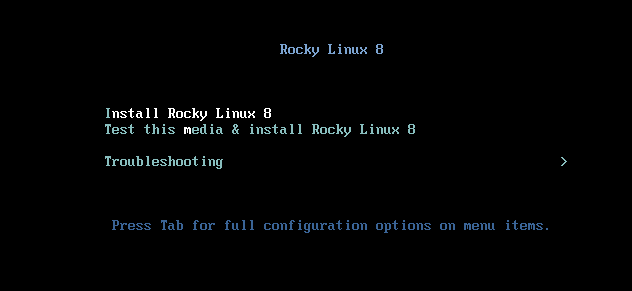
-
Rocky Linux 8.6 Installation Steps
Step 1: Now wait until the installation page loads to complete the installation process:
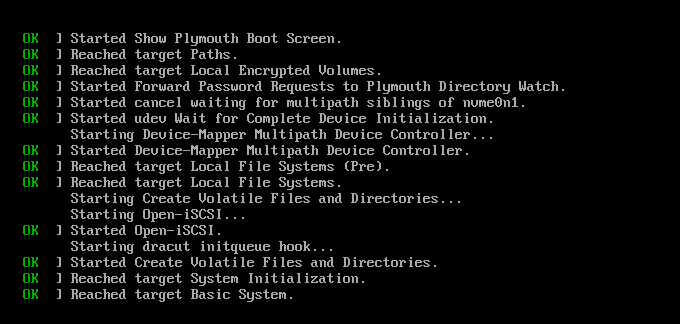
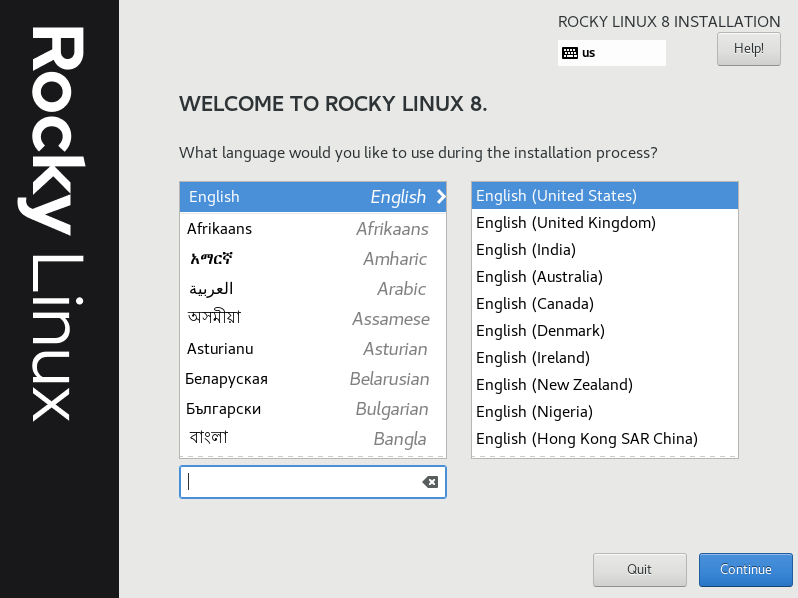
Step 2: Now select the language you want, then click Continue:
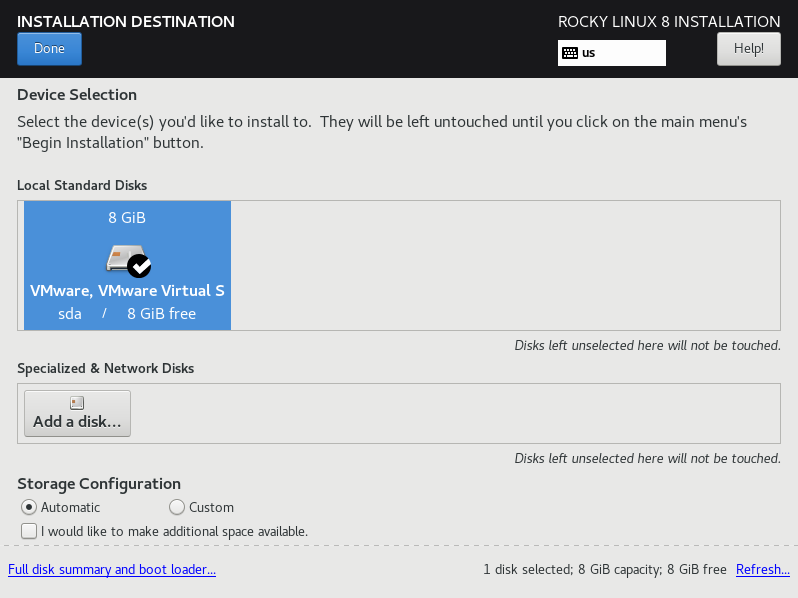
Step 3: To specify the drive to install Rocky Linux, select the Installation Destination option, which means the installation location:
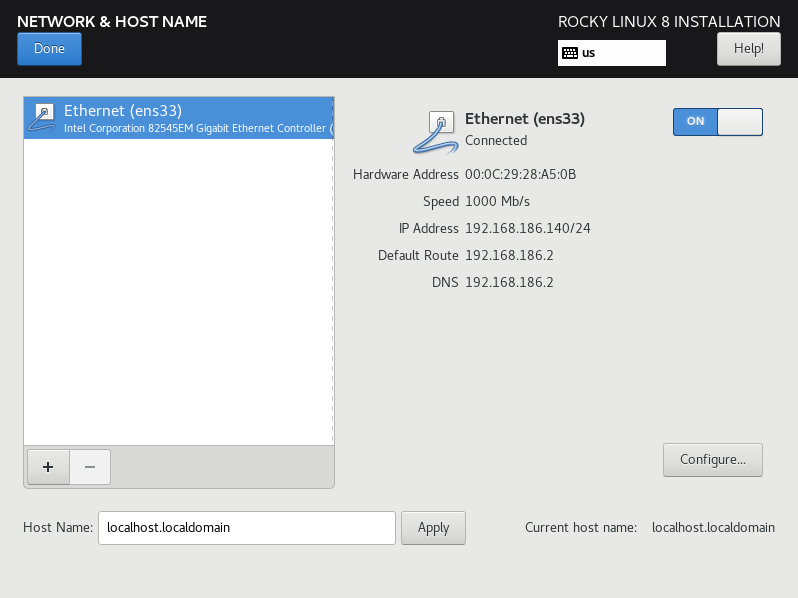
Step 4: Now, according to the image below, connect the Internet input and then enter the section to select the type of software:
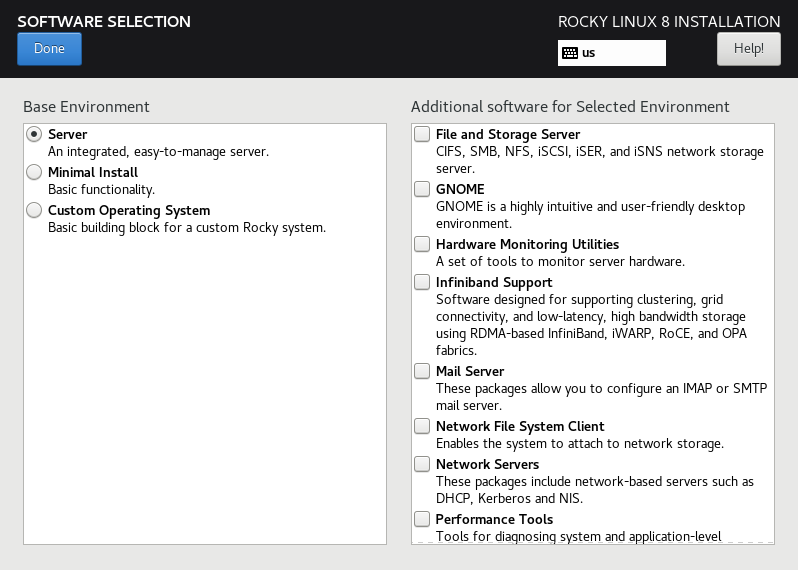
Step 5: In the following, you will choose the type of installation and types of software:
Step 6: Specify the password and username:

Step 7: Now click on the Begin Installation option:
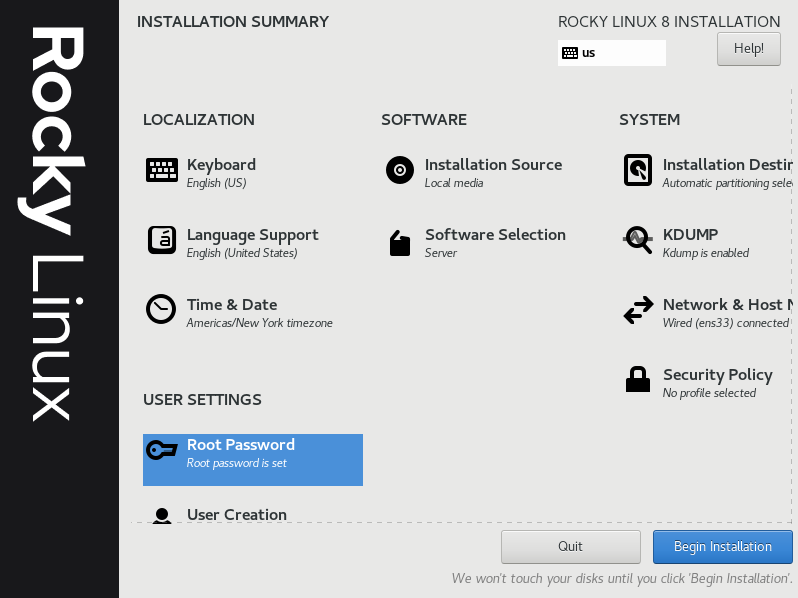
Step 8: Finally; Here you need to click on the Reboot option:
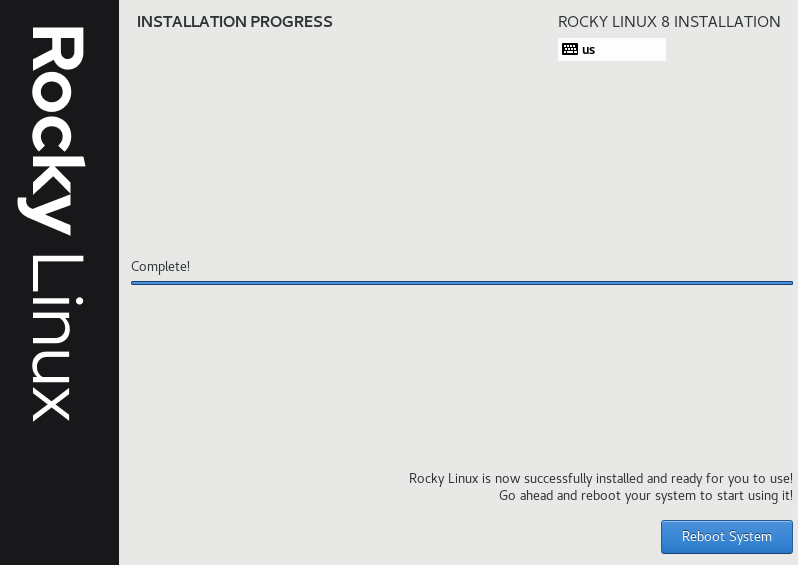
In this article, we tried to install the Rucky Linux operating system most simply;
Note: If you need to run the Linux operating system to use as a web server, you can refer to the purchase page of the Linux virtual server and easily order the Linux VPS you need!