Visual Tutorial of Installing CentOS 8
The new version of CentOS, a comprehensive version of RHEL 8, includes new and exciting features that provide new experiences for the user. Installing CentOS 8 is similar to installing previous versions of CentOS, which has only a few relative changes to the installation’s graphical environment.
You can install the Server and Desktop versions of CentOS 8.
New Features Of CentOS 8
- One of the most important changes of CentOS 8 compared to previous versions is the change of the Kernel version to 4.18.
- Other changes to this version include network changes such as using nftables instead of iptables, IPVLAN support, and NetworkManager changes to support single-root I / O virtualization (SR-IOV).
- The YUM Manager package has been upgraded from version 3 to version 4, which can be used to increase the performance of modular content support and API support, support for weak, rich, and boolean prerequisite packages, as well as download files of files above 4 GB.
- RPM has also been updated to version 4.14.
- Updated operating system packages such as Python update from 2.7 to 3.6 and PHP 7.2, Ruby 2.5, Perl 5.26, SWIG 3.0, and Python 3.6 by default.
- MariaDB 10.3, MySQL 8.0, PostgreSQL 10, PostgreSQL 9.6 and Redis 5 database servers.
- Apache 2.4 web servers and Nginx 1.14 introduction.
- Squid has been updated to version 4.4, and a new Proxy Caching server called Varnish Cache 6.0 is available on CentOS 8.
- Virtualization changes such as qemu-KVM 2.12 package.
- Security changes: CentOS 8 supports OpenSSL 1.1.1 and TLS 1.3 to allow you to secure your data.
- OpenSSH has been updated to version 7.8p1 and no longer supports SSH v1 protocol, Blowfish / CAST / RC4 passwords, and hmac-ripemd160 message authentication code.
- Added new features to the Bind server: such as support for IPv6 in the nslookup tool
- Supports 4PB physical memory
- New brand CentOS Stream

Deleted Tools In CentOS 8
- NFS v3 on UDP platform disabled.
- Network scripts are obsolete, and new scripts from ifup and ifdown are provided that call the network manager service with the nmcli tool.
- TLS 1.0 and TLS 1.1.1 obsolete
- SSL2 Client Hello is also obsolete in the NSS (Network Security Service) library.
- The virtualization virt-manager package has also been obsolete and replaced with Cockpit.
Pre-Requirements
Have a general check before you start, and make sure you have the following.
- Download CentOS 8 DVD ISO.
- Create a USB or DVD bootable from CentOS 8 using the Linux live USB tool or dd command.
- A system with at least 8GB of hard drive and 2GB of memory for better performance.
- A good internet connection.
Steps To Install CentOS 8 Server / Desktop
- Entering CentOS 8 bootable media
- Select the installation language for CentOS 8
- Summary of CentOS 8 installation
- Keyboard settings
- Language settings
- Time and Date settings
- Installation Source settings
- Software selection
- Installation Destination settings
- Select KDUMP
- Network and Hostname settings
- Start installing CentOS 8
- Wandering CentOS 8 installation
- Booting and accepting License
1- Enter The CentOS 8 Bootable Installation Media
By turning on your system, connect the USB or DVD driver of CentOS 8 to the system, and reboot it. Be sure to change the boot order in the BIOS settings to boot from your desired media.
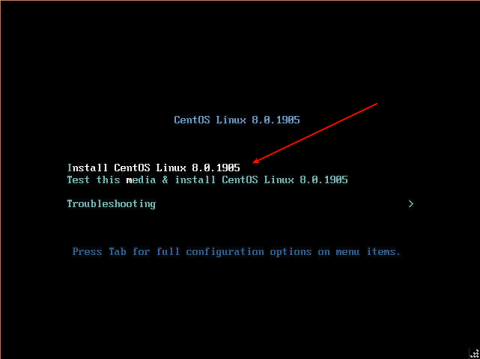
The boot screen will be displayed as follows. Select the first option, “Install CentOS 8.0.1905,” and click Enter.
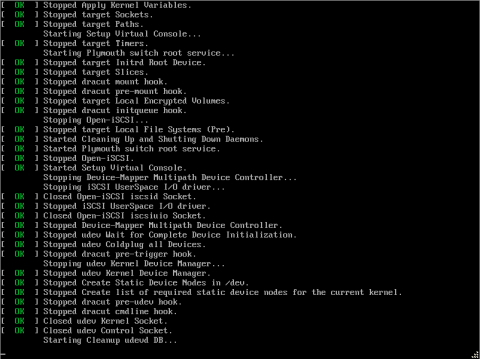
Boot messages appear as shown below.
2- Select The Installation Language For CentOS 8
On the “Welcome” page, select your installation language and click Continue.

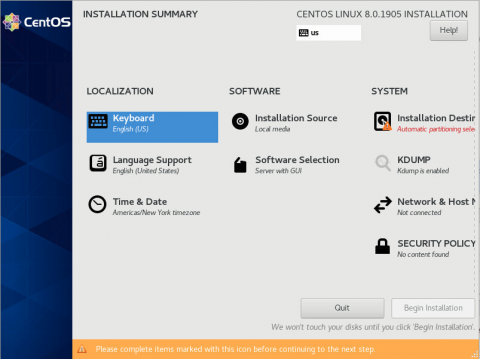
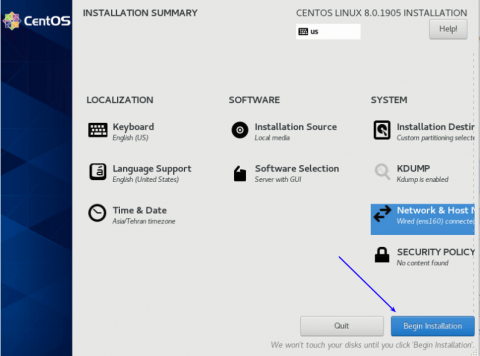
3- Summary Of Installing CentOS 8
The installation summary and all the options that need configuration are displayed on the next screen as shown. We will check this one by one.
4- Keyboard Setting When Installing CentOS 8
Click the Keyboard option and configure your keyboard.
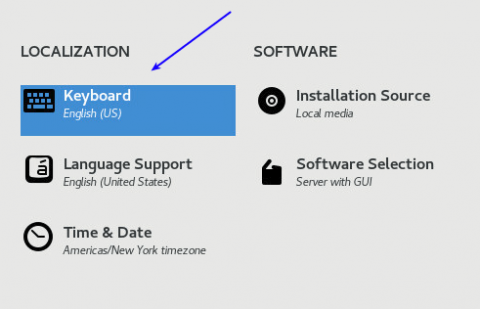
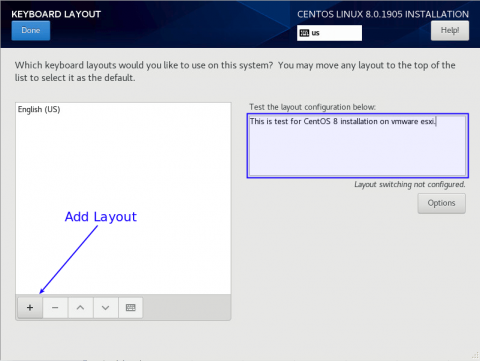
By default, the keyboard layout is set to English (US). In the text field on the right section, you can type a few words to test and troubleshoot your keyboard.
Click the “+” button at the bottom left of the photo to add a new layout. Then, click the “Done” button to return to the main menu.
5- Language Settings
Click on the “Language Support” option.
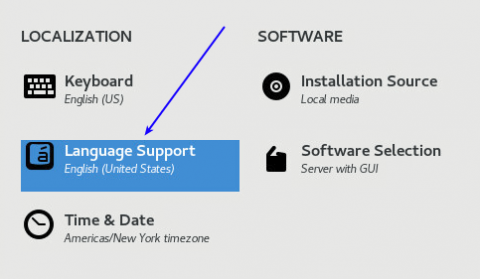
Select your language and click the “Done” button at the top left and return to the main menu.

6- Date And Time Setting
Click on “Time and Date.”
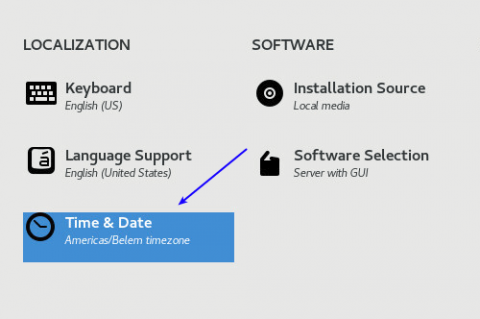
Select your country from the map to make the initial settings of date and time. Also, by clicking on the map, the continent’s name and the city will be displayed automatically in the Region and City sections.
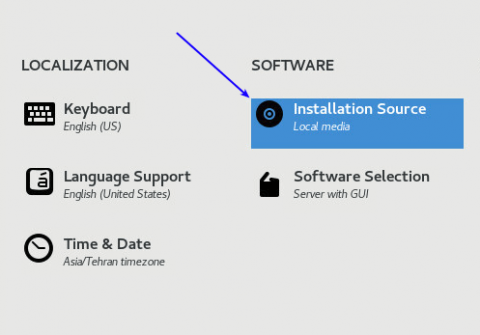
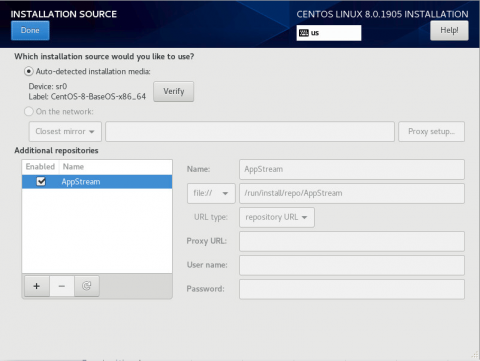
7- Setting Installation Source Of Installing Centos 8
Go back to the main menu and click on “Installation Source.”
Here, you don’t have to do much because Installation automatically detects the installation media. Click “Done” to go to the main menu.
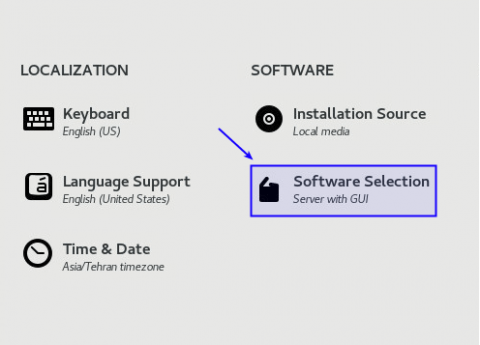
8- Choosing Software Installations
Then, click on “Software Selection.”
In the next window, 6 options will be displayed. You can select your installation environment, and in the Add-Ons section, you can select the software related to your installation environment.
In this article, we have selected “Server with GUI” as our installation environment. We have also selected Windows File Server, FTP Server, Debugging tools, and Mail Server software to install on our server from the Add-Ons section.
Note: If you do not need a graphical environment and want to run the server with minimal features, select the Minimal Installation option. The rest of the options you can choose according to your needs and the installation environment you have.
After selecting the options you need, go back to the main menu by clicking “Done.”

9- Installation Destination Setting
In the main menu, click on the next option, “Installation Destination.”
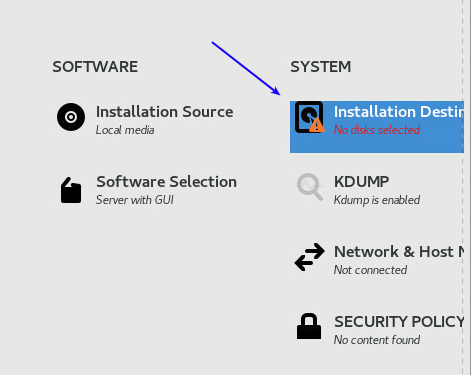
In this section, you need to specify where CentOS 8 should be installed. By default, the installer automatically detects your hard drive and selects “Automatic” for automatic partitioning. If you have no problem with automatic partitioning, click “Done” to create partitions.
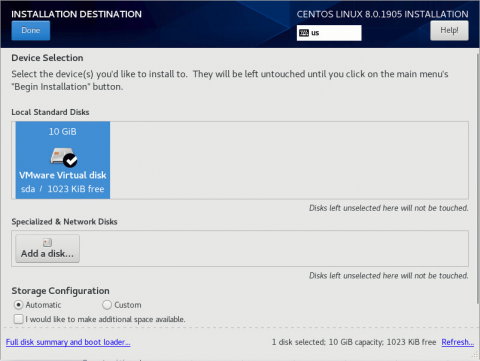
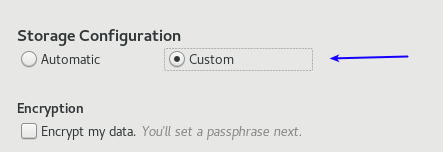
If you need to do your own partitioning, click “Custom.”
The above option will take you to the manual partition window. If you are not very familiar with Linux partitioning and also to make your life easier, click on “Click to create them automatically.”
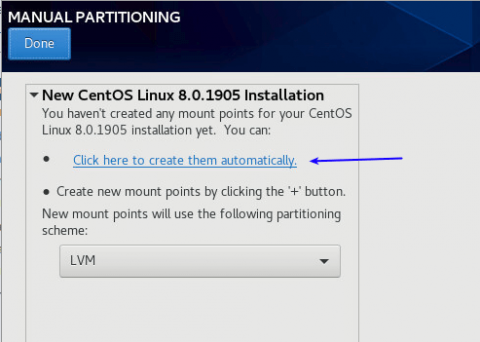
The installer will create our “/” or mount point.|
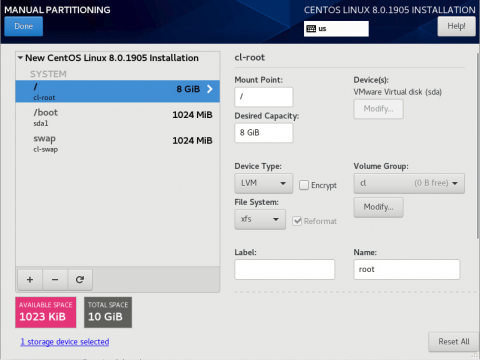
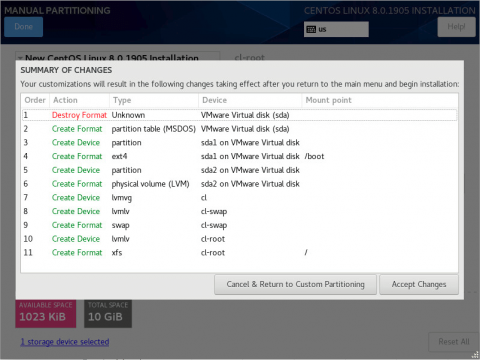
If you are satisfied with the partitioning method, click “Done.”
A summary image of the changes will be displayed for you. Click “Accept Changes” if everything looks good. Click “Cancel & Return to Custom Partitioning” to cancel and return to the partitioning window.
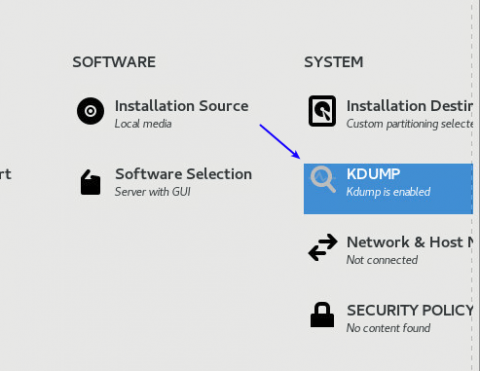
10- Choosing KDUMP
Click on KDUMP.
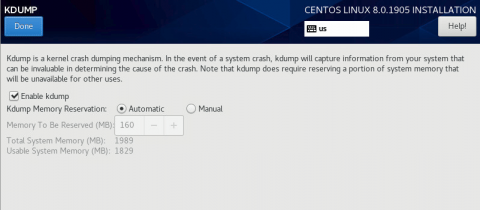
KDUMP is a tool that stores system failure information for analysis to investigate the cause of a system problem. This tool’s default settings are enough, so click on the “Done” button to go to the Home menu.
11- Setting Hostname And Network When Installing CentOS 8
Go back to the main menu, and click on the “Network And Hostname” settings option.
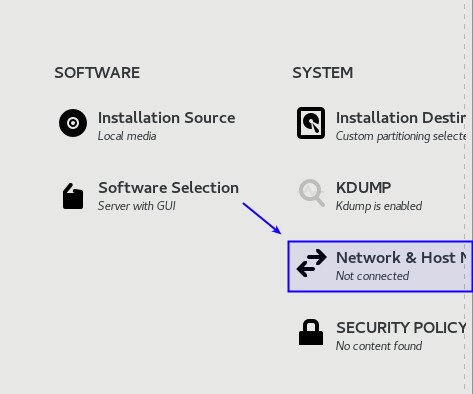
NETWORK & HOSTNAME section shows you the active interface of your computer network. In this scenario, our network interface is “ens160”.
If the DHCP service runs on your network, right-click the ON and Off buttons to activate your network interface and automatically get the IP address.
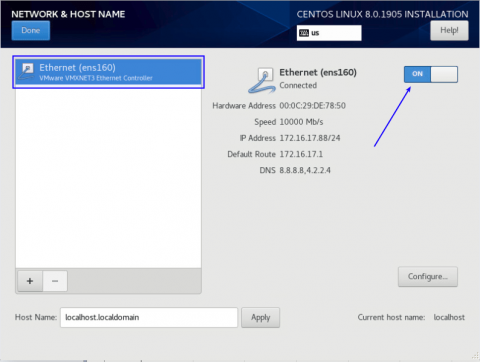
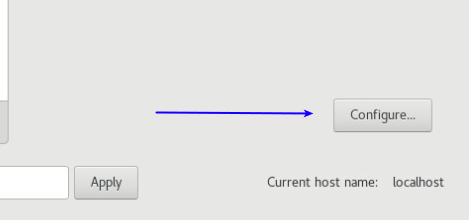
If there is no DHCP service on your network, click the “Configure” button.
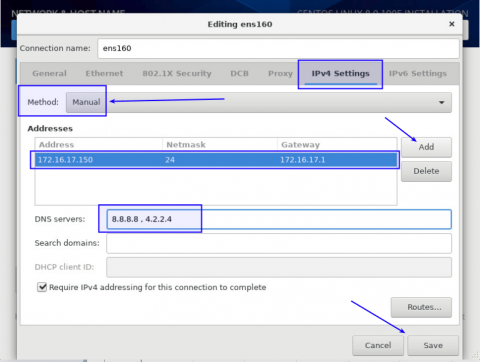
In the window below, click on the “IPv4 Settings” tab and select “Manual” from the Method drop-down list. Then click the “Add” button and enter your IP Address, Subnet Mask, and Gateway. Also, complete the DNS server section by entering the DNS addresses and finally click the “Save” button to save the changes.
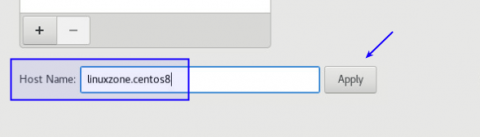
To define the hostname, you can enter your desired host through the Host Name section.
12- Begin Installing CentOS 8
After configuring all the options, click “Begin Installation” to start the installation process.
On the next page, the installer will ask you to configure USER SETTINGS.
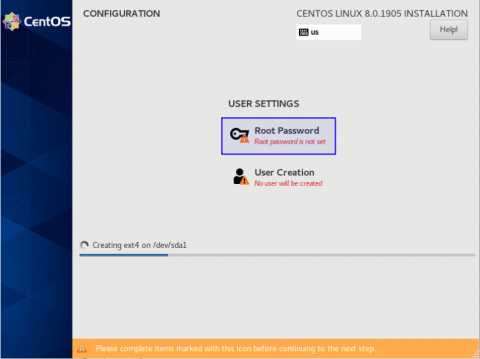
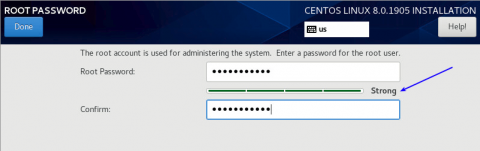
Setting A Password For The User
Click Root Password to define the root user password. Remember to choose a strong password and check the password’s degree of power to make sure the password is strong.
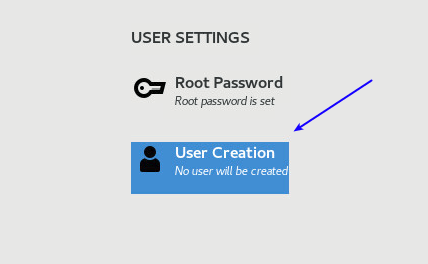
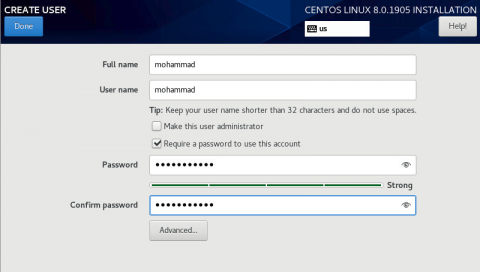
Creating A New User When Installing CentOS 8
In this step, Click “User Creation” to create a new user.
Enter your desired username and select a strong password for your user again. Click “Done” to save the changes.
13- Process Of Installing CentOS 8
The installation process will install the packages we selected for CentOS 8 and the prerequisites and installing Grub Bootloader. This process takes some time depending on the speed of your internet connection and maybe a good time to have a cup of coffee or your favorite snack 🙂
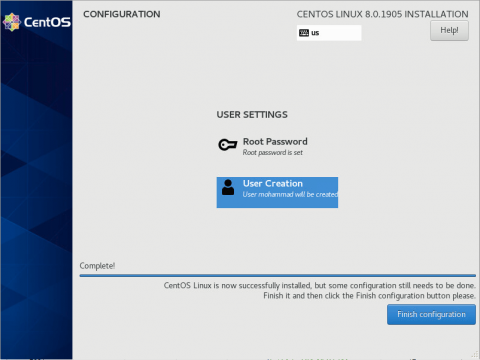
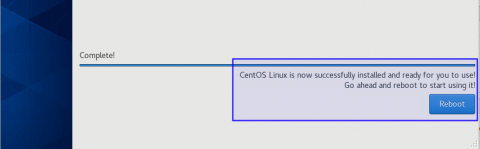
Finally, if all goes well, you will receive a message that the installation has been completed successfully. Click the “Reboot” button to restart the system and boot with the new operating system.
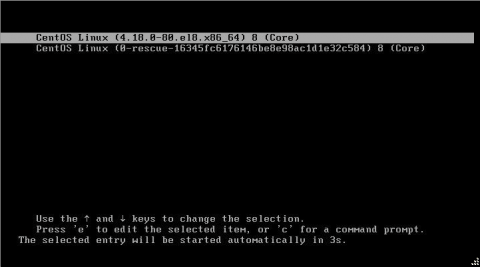
14- Booting And Accepting License
Once booted, select the first option from the Grub menu and press Enter. (If you do not enter a key, it will automatically boot through the first option after a few seconds)
At this point, you need to get the license from the License Information section.
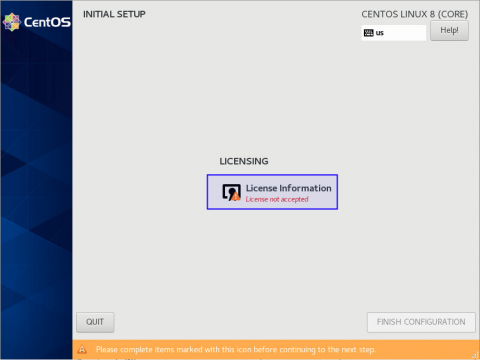
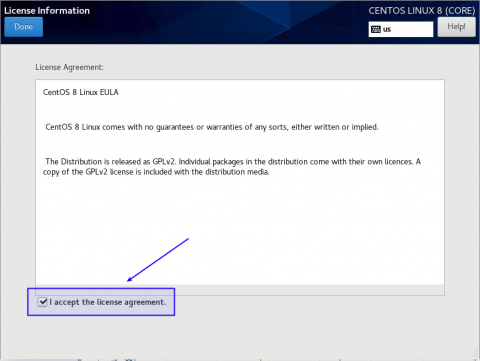
Click “License Information” and select the “I accept the license agreement” checkbox.
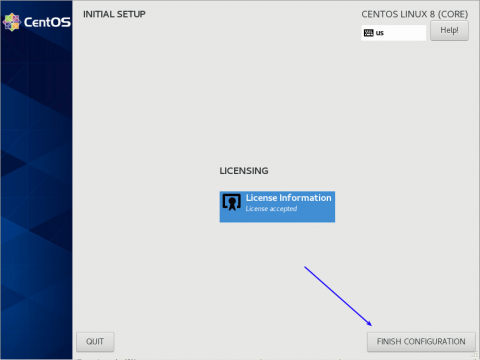
Finally, click “FINISH CONFIGURATION” to enter the new CentOS 8 operating system to complete the installation process.
In this step, select your username, enter your password, and then click the “Sign In” button to enter the operating system.
As soon as you log in, and after logging in, follow the messages below and click “Start Using CentOS Linux” at the end.
Congratulation! You have now successfully installed the latest CentOS 8 on your system or maybe your Linux VPS.
Please do not hesitate to share your opinions with us about installing CentOS 8.