Add New Disk to Ubuntu Server Easily
Add new disk to Ubuntu Server by identifying, partitioning, formatting, and mounting it. This prepares the disk for use in data storage.
🤖AI Overview:
Adding a new disk to Ubuntu Server involves using command-line tools like fdisk and mkfs or the GNOME Disks utility in the GUI. The process includes identifying the new disk, creating partitions, formatting with a file system such as ext4, and mounting the disk for storage access.
Prerequisites to Add New Disk to Linux Ubuntu Server
Before you jump in, ensure your PC meets the following:
- A Linux VPS running Ubuntu.
- A non-root user with
sudoprivileges. - Access to Command line/Terminal.
Method 1: Using Command Line to Add New Disk to Ubuntu
Let’s go through the steps of this guide to learn how to format the disk in Ubuntu and mount it to add new disk.
Step 1: Format and Partition a Disk
First, identify the new disk you want to format. Open a terminal and run the following command:
sudo fdisk -lThis command lists all disks and partitions. Locate your new disk, which should be listed as /dev/sdX, where X is a letter assigned to your disk.
Step 2: Create a New Partition
To create a new partition, use the fdisk utility:
sudo fdisk /dev/sdXStep 3: Working with fdisk utility
The fdisk utility does different functions. Use the commands below to:
- Create a new partition: Press
n - Create a primary partition: Press
p - Partition number, first sector, and last sector:
Partition number (1-4, default 1): First sector (2048-104857599, default 2048): Last sector, +/-sectors or +/-size{K,M,G,T,P} (2048-104857599, default 104857599): - Write the changes to the disk: Press
w.
Step 4. Format the Disk
Once the partitioning is done, format the new partition with a file system. For instance, using ext4:
sudo mkfs -t ext4 /dev/sdX1Replace /dev/sdX1 with your partition’s actual path.
Step 5: Mount the Disk
To mount the new disk, you need to create a directory:
sudo mkdir -p /media/diskRun the command below to mount the partition:
sudo mount /dev/sdX1 /media/diskYou can now access your disk at /media/disk.
To ensure the disk mounts automatically at boot, add it to the /etc/fstab file.
Method 2: Add New Disk to Ubuntu Server via GUI
This method explains Using GUI to add a new disk Ubuntu. To format and partition a Disk using GUI, follow the below steps:
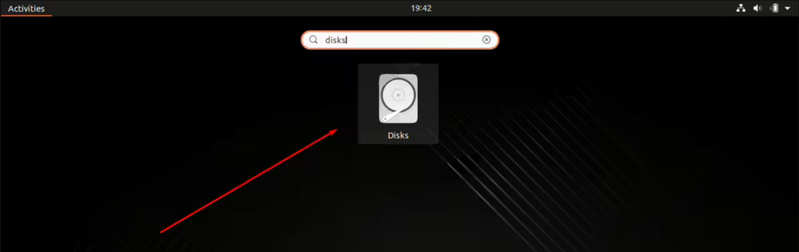
Step 1: Open Disk Utility
In Ubuntu, open the “Disks” utility from the application launcher.
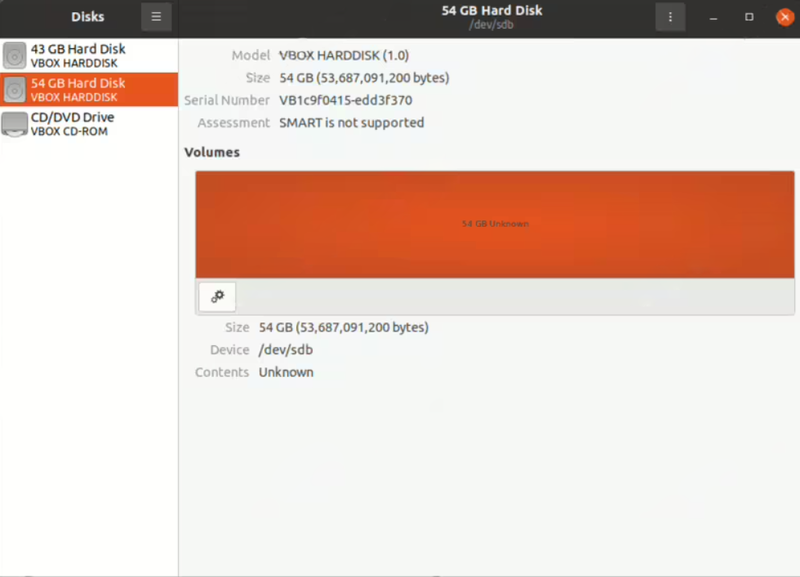
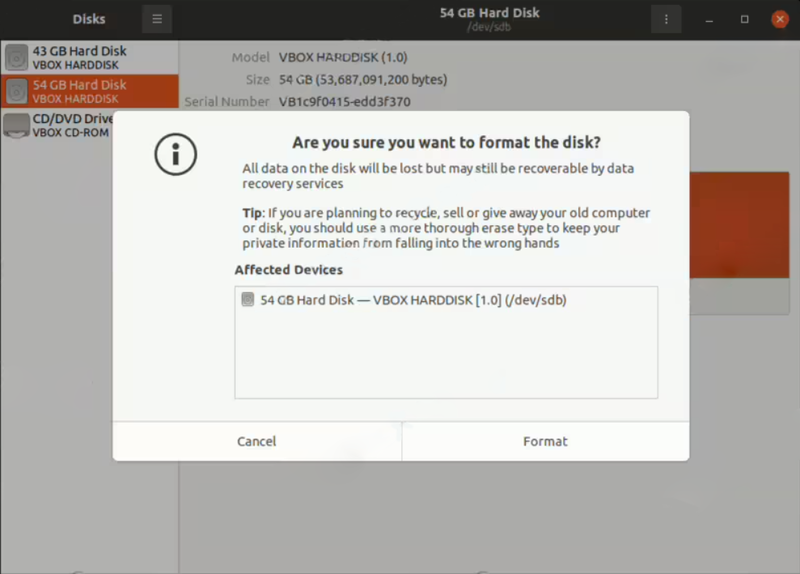
Step 2: Format the Disk
To pass this step:
- Select the new disk from the list.
- Click on the gear icon and choose “Format Disk.”
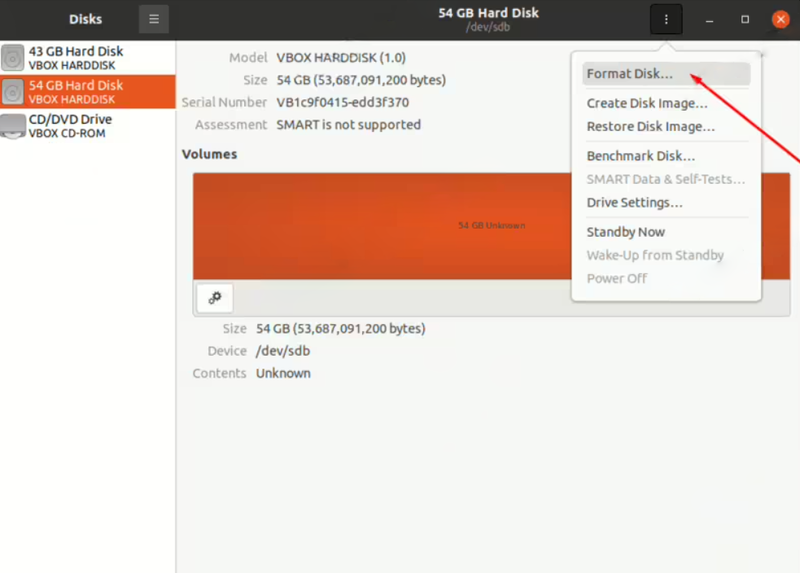
- You can select a quick format or securely erase the disk.
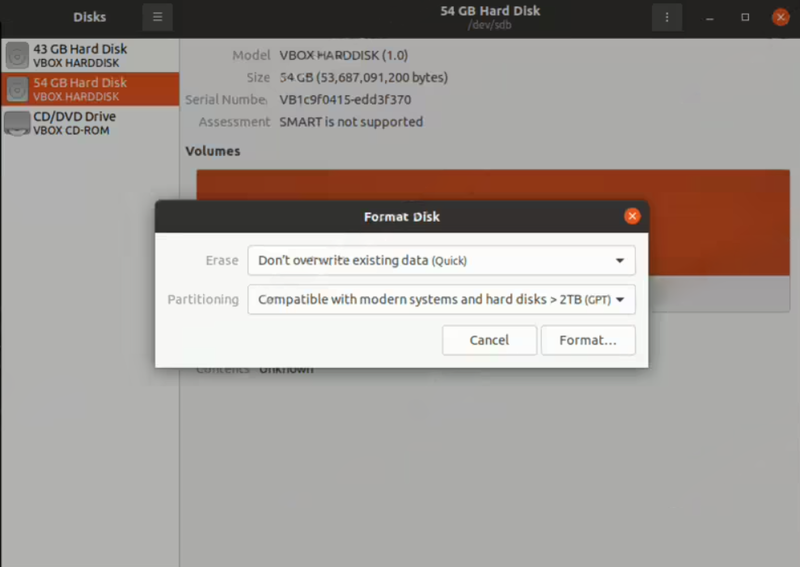
- Follow the prompts to complete the formatting.
Step 3: Create a Partition
After formatting, create a partition if necessary.
The GUI will guide you through partitioning options. Choose the file system and apply the changes.
How to Identify new disk on Ubuntu?
To identify your new disk on Ubuntu, run the command below to list all disks and partitions:
sudo fdisk -lThen, look for the new disk, usually listed as /dev/sdX.
What file system should I use when formatting a new disk?
For most purposes, ext4 is a good choice due to its balance of performance and reliability. Other options include xfs and btrfs, depending on your needs.
How to partition a new disk using fdisk?
- Start
fdiskwithsudo fdisk /dev/sdX. - Use
nto create a new partition. pfor a primary partition.wto write changes.
How to ensure that my new disk mounts automatically on boot?
Edit the /etc/fstab file to include an entry for your new disk, specifying the mount point and file system type.
Why new disk is not showing up?
- Check connections and ensure the disk is properly connected.
- Use
dmesg | grep sdto view kernel messages related to disk detection.
Why disk is not automatically mounting after reboot?
To troubleshoot it, ensure the /etc/fstab entry is correctly formatted. Common issues include incorrect UUID or file system type.
Conclusion
Adding a new disk to Ubuntu server is a straightforward process when following step-by-step instructions.
This guide helped you understand how to detect, partition, format, mount, and configure a new disk for permanent use.
By applying these best practices, you can expand your server’s storage confidently and maintain a robust, organized storage system. Keep this guide handy for future storage needs or server management tasks.
FAQ
2. How do I partition a new disk on Ubuntu Server?
Use "sudo fdisk /dev/sdX, replace sdX" with your disk name, then create a primary partition by following the prompts.
3. What file systems are recommended for formatting?
Ext4 is common for reliability, xfs is good for large files, and btrfs offers advanced features like snapshots.
4. How do I mount the new disk?
Create a mount point with "sudo mkdir -p /media/disk" and mount with "sudo mount /dev/sdX1 /media/disk".
5. How to enable automatic mounting after reboot?
Add the disk's UUID entry in /etc/fstab with the mount point and file system to auto-mount.
6. Can I use a graphical tool to add a disk?
Yes, GNOME Disks provides a GUI to format and partition disks on Ubuntu.
7. Why might my new disk not appear?
Check disk connections and use "dmesg | grep sd" to verify if the system detects it.
8. What if the disk does not mount automatically after reboot?
Ensure /etc/fstab has the correct UUID and formatting to avoid mounting issues.
9. Is using CLI better than GUI for adding disks?
CLI offers more control; GUI is easier for beginners. Both effectively prepare disks.
10. What prerequisites are needed before adding a new disk?
You need sudo privileges and access to terminal or GNOME Disks for disk management.