How to Install Discord on Ubuntu VPS?
Discord is supported on Ubuntu and there are 4 ways to install Discord on Ubuntu VPS, which are:
- Using the official .deb package
- Using Snapcraft
- Using
wget - Using a third-party repository (Flatpack)
Whether you prefer using the official .deb package, Snapcraft, wget, or a third-party repository like Flatpak, you’ll find the step-by-step instructions you need. Choose the method that best suits your needs and get Discord up and running on your Ubuntu VPS in no time.
Prerequisites to install Discord on Ubuntu VPS
The prerequisites to install Discord on Ubuntu VPS are:
- A Root user or a user with sudo privileges
- An Ubuntu server
- Access to terminal
4 ways to Install Discord on Ubuntu VPS
There are four easy and simple ways to install Discord on Ubuntu VPS, which are described in this section. Also, the pros and cons of each method are mentioned so you can pick the best solution given your circumstances and needs.
Method 1: Install Discord on Ubuntu VPS using the Official .deb Package
The first method to install Discord on Ubuntu VPS is to do it through Discord’s official website (Discord Linux Download) and the .deb package.
First step: Download the .deb package
As for the first step, head to Discord’s official website and download the Discord .deb package.
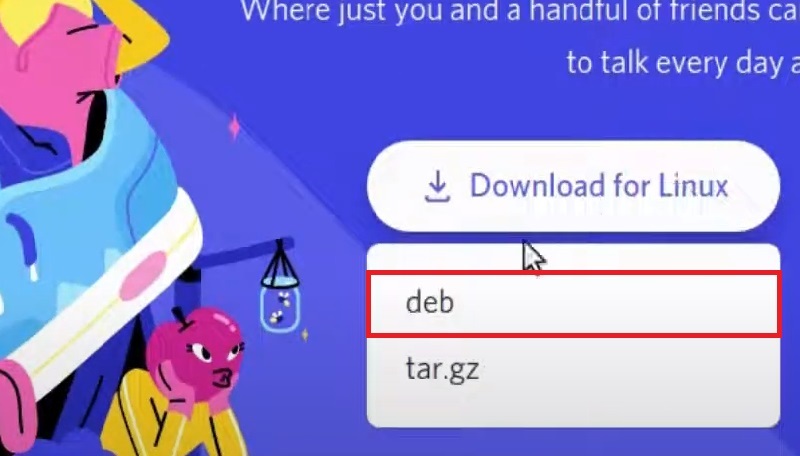
When asked for the download path, select the directory in which you want the .deb package to be stored. We rename the file to “discord.deb” for convenience.

Second step: Change the directory
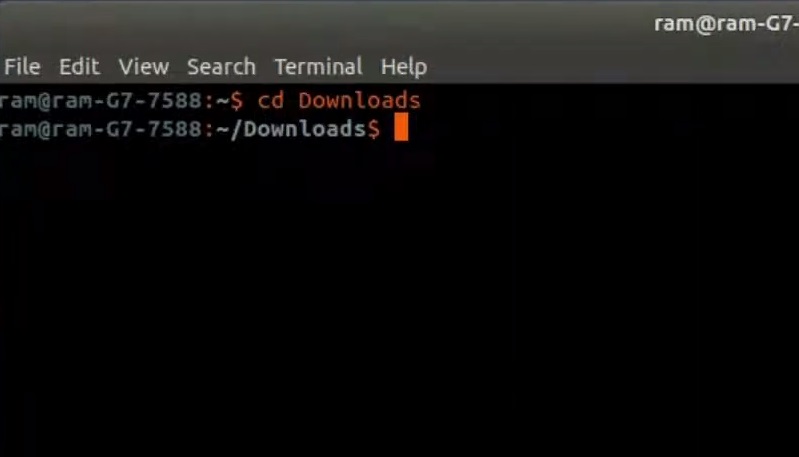
When the Discord .deb package download is completed, open the terminal and change the directory where you have downloaded the .deb package.
Since we have downloaded it in the “Downloads” folder, we will navigate to this directory.
Third step: Install Discord
Run the command below to install Discord on Ubuntu VPS using the .deb package:
dpkg -i <package name>Since we renamed the package to “discord.deb” in this tutorial, the command will be:
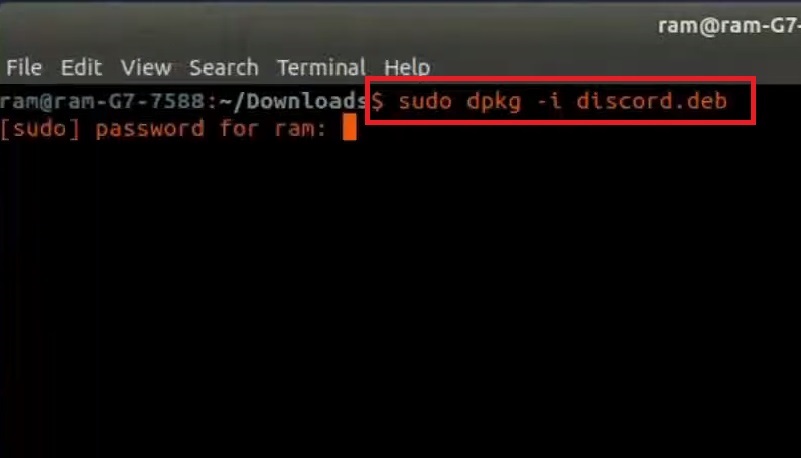
dpkg -i discord.debIf you are not the root user, add “sudo” to the beginning of the command:
sudo dpkg -i <package name>The terminal will ask for the password. Provide it and let the installation complete.
Fourth step: Verify Installation
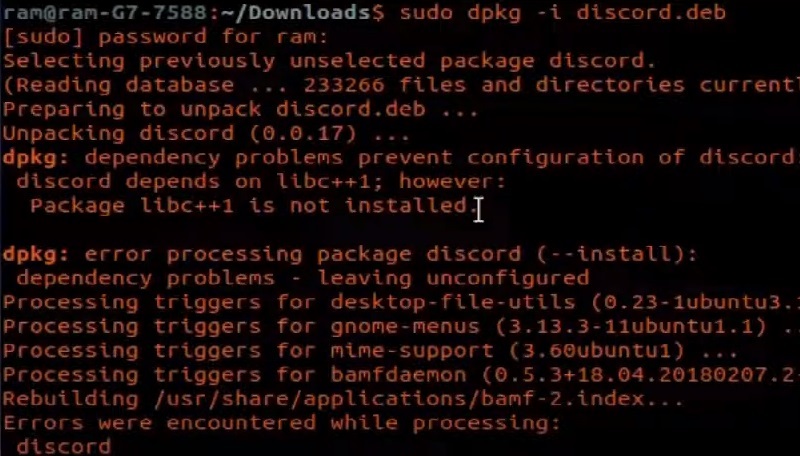
Since there may be some errors in the installation process, let’s go to the activities section and search for “Discord” to verify the installation.
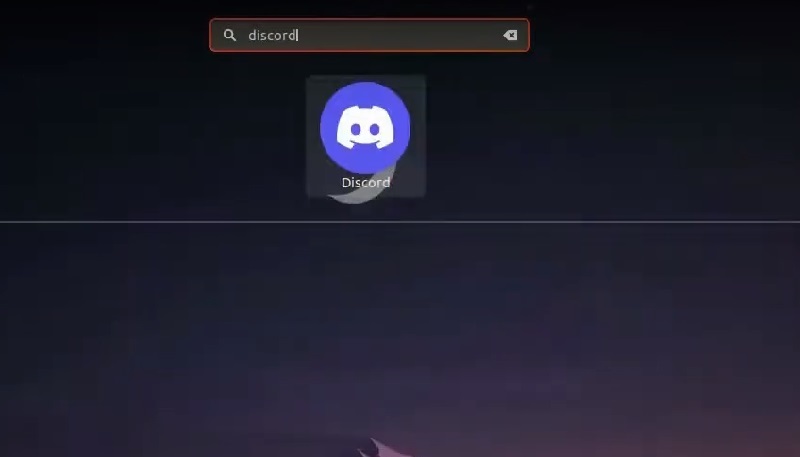
As you can see, the Discord app is installed on the Linux VPS successfully and is ready to use.
Pros: Direct from the official source, ensuring authenticity and trust.
Cons: Requires manual updating.
Method 2: Install Discord on Ubuntu VPS using Snap
Installing the Discord app on Ubuntu VPS using the Snap store (Snapcraft) is done only by running one command. but before that, we must ensure the Snap itself is installed on the Ubuntu VPS.
Step one: Install Snapcraft
To install Snapcraft is installed on your Ubuntu 22, run the command below:
apt update
apt install snapd
Step two: Install Discord
After installation, run this command to install Discord on Ubuntu VPS:
snap install discord
The Discord will be installed on your Ubuntu VPS and there is no need to update it manually; since the Snap store apps are automatically updated in the background when you use your computer.
Pros: Simplifies the installation process and handles dependencies automatically. Snap packages also auto-update.
Cons: Might have a slightly larger footprint due to bundling dependencies.
Method 3: Install Discord on Ubuntu VPS using the Terminal with wget
First step: Download the .deb package
As in this method, first, you need to get the .deb package using wget :
wget -O discord.deb "https://discordapp.com/api/download?platform=linux&format=deb"
Second step: Install the .deb package
Now, you need to install the downloaded package:
dpkg -i discord.deb
Third step: Resolve dependency-related issues
As for the final step, the below command helps you fix any dependency issues:
apt-get install -f
Discord is installed on your Ubuntu VPS and is ready to use.
Pros: Offers a straightforward way to download and install the package via the terminal.
Cons: It is a manual process, requiring manual updates and dependency resolution.
Method 4: Install Discord on Ubuntu using a Third-Party Repository (Flatpak)
If you want to use a third-party repository to install Discord on Your Ubuntu VPS, flatpack is here to help you.
Step one: Install Flatpack
First, you need to install Flatpack itself on your Ubuntu 22. To do so, run:
apt install flatpak
Step two: Add Flatpack’s repository
Second, you need to add the Flathub repository that hosts the Discord package:
flatpak remote-add --if-not-exists flathub https://flathub.org/repo/flathub.flatpakrepo
Step three: Install Discord
As the third and final step, it’s time to install Discord itself on Ubuntu VPS by running the command below:
flatpak install flathub com.discordapp.Discord
Pros: Ensures compatibility across various Linux distributions and isolates the application.
Cons: Requires Flatpak installation and might use more disk space due to bundled dependencies.
How to update Discord in Linux?
Updating Discord on Linux VPS depends on the method by which you have installed it. So, since the methods to install Discord on Ubuntu VPS vary, the methods to update Discord on Linux VPS vary too.
Here are the solutions to update Discord on Linux:
1. Update Discord using the .deb package:
If you have downloaded the .deb package from Discord’s official website and installed Discord using the .deb package on Linux, all you have to do to update Discord on Linux is:
- Head to Discord’s official website and download the latest .deb package.
- Open the terminal and head to the directory where you have saved the .deb package.
- Run this command to update Discord:
sudo dpkg -i <package name>2. Update Discord using Snap
If you have installed Discord using Snap, the Discord will be updated automatically. But if you want to update it manually, the command below will help you update Discord on Linux:
sudo snap refresh discord3. Update Discord using wget
In case you have used wget to install Discord on Ubuntu VPS, follow these instructions to update Discord:
- First, go to the “tmp” directory:
sudo cd /tmp- Now, download the latest source archive of Discord:
sudo wget 'https://discord.com/api/download?platform=linux&format=tar.gz' -O discord.tar.gz- Now extract the source archive:
sudo tar -xzf discord.tar.gz -C /tmp/- Run this command to replace the current Discord installation with the latest one
sudo cp -r /tmp/Discord/* /opt/discord- Your Discord is updated, but let’s remove the old source archive:
sudo rm /tmp/discord.tar.gz && rm -rf /tmp/Discord/4. Update Discord using Flatpak
If you did install Discord on Ubuntu using Flatpack as a third-party repository, these steps help you update Discord:
- Run this command:
sudo flatpak remote-add --if-not-exists flathub https://flathub.org/repo/flathub.flatpakrepo- Install or update Discord using Flatpack:
sudo flatpak install discordIf the terminal prompts with a question, type “y” and press Enter. Your Discord is updated.
Conclusion
Installing Discord on an Ubuntu VPS is a straightforward process, with several methods available to suit different preferences and needs. Whether you choose the official .deb package for direct downloads, Snapcraft for automated updates, wget for a quick terminal installation, or Flatpak for cross-distribution compatibility, each method ensures you can enjoy Discord’s robust communication features on your server.
By following the steps outlined in this guide, you can easily set up and maintain Discord on your Ubuntu VPS, ensuring smooth and reliable performance for your communication needs.