Backup Guide for Windows Server 2019
Windows Server 2019 includes a built-in backup tool to protect data. Schedule backups to external or network storage for secure and reliable recovery.
🤖AI Overview:
Windows Server 2019 offers an integrated backup feature to safeguard data against loss. Users can configure automatic backups, select types such as full server or folder backups, and store data on external devices or cloud solutions for enhanced security.
Quick Steps To Get a Backup In Windows Server
- Open Server Manager on Windows Server 2019.
- Add the Windows Server Backup feature under the Features section.
- Restart the server and launch Windows Server Backup.
- Select Local Backup, then click Backup Schedule.
- Choose full server or specific folder backup.
- Set backup frequency, time, and retention.
- Select backup destination on external drive or network location.
- Complete the setup and verify backup schedule activation.
Steps To Getting Backup In Windows Server 2019
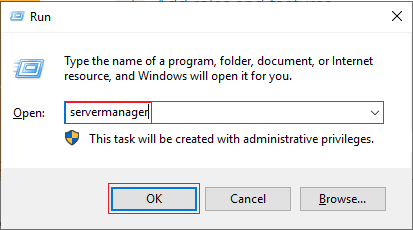
1- First we open Server Manager, we can open it by searching in the Windows search bar or through RUN windows. (Run can be opened by pressing Windows key + R).
Type server manager in the Run window and click OK.
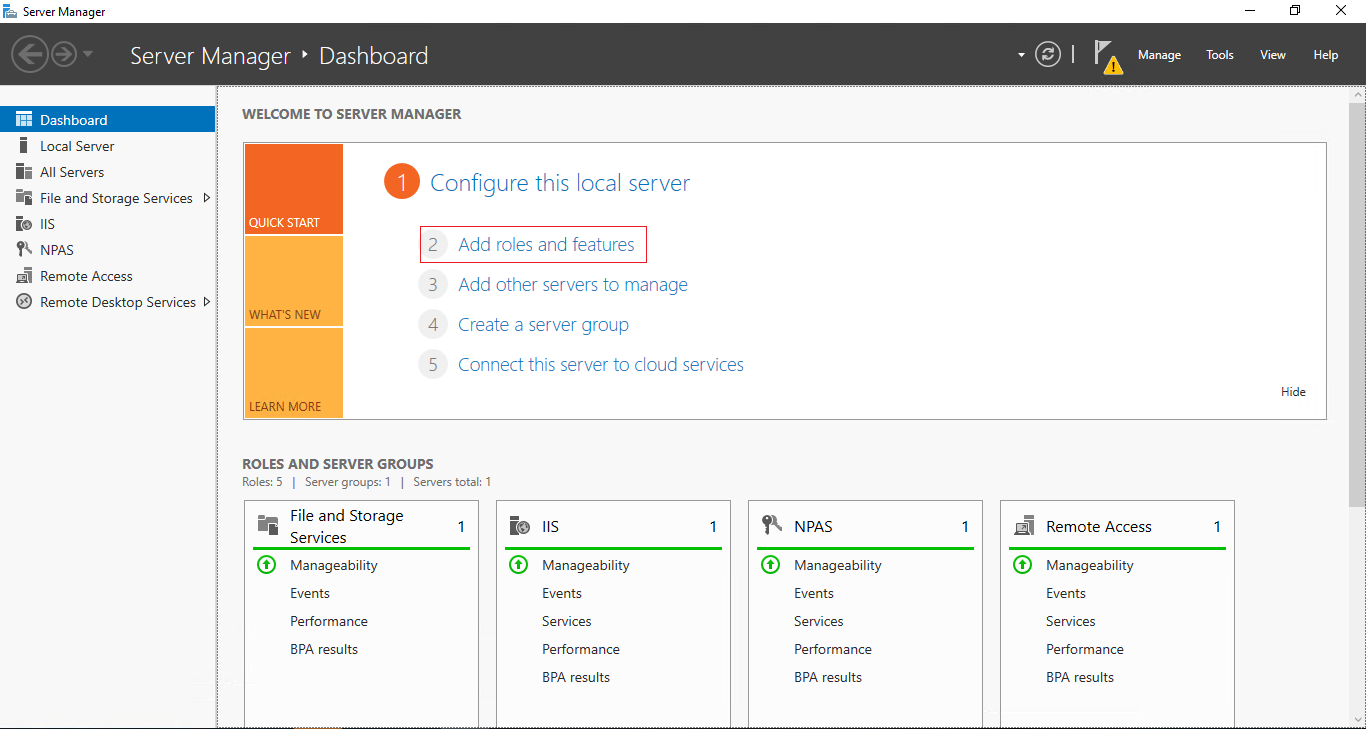
2- Then click on Add roles and features.
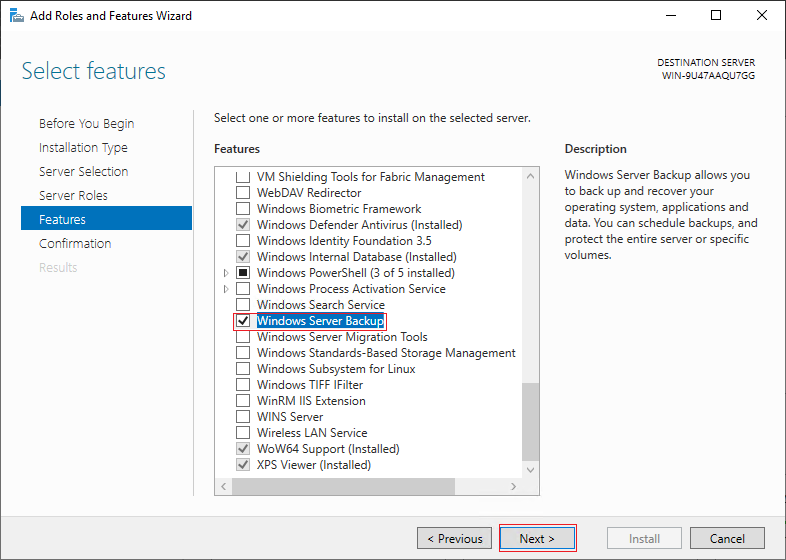
3- Click next for the basic steps until you reach the Features section and tik the checkbox of Windows Server Backup.
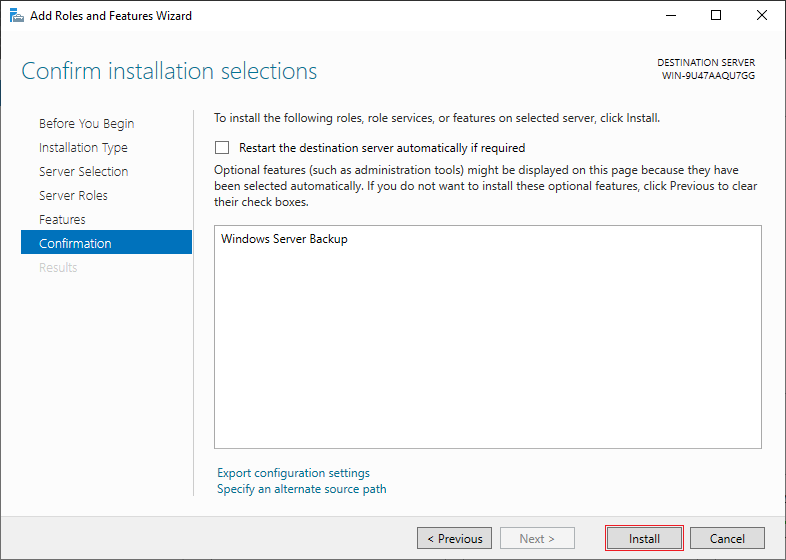
4- Finally, click “Install” to begin the installation process.
5- Once the installation was done, restart the server and open Windows Server Backup through the search bar.
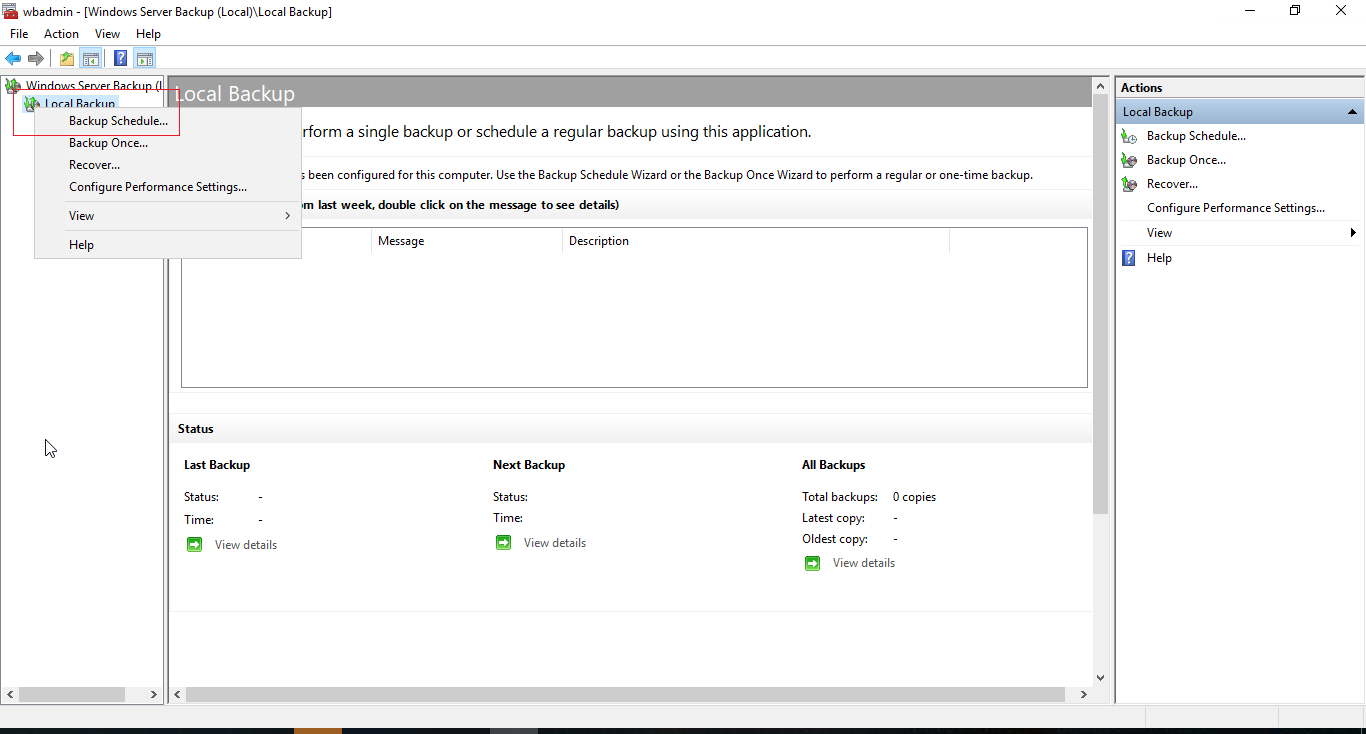
6- In the new page, right-click on local backup in the left section of the page and choose the backup schedule.
7- Click Next for the first step.
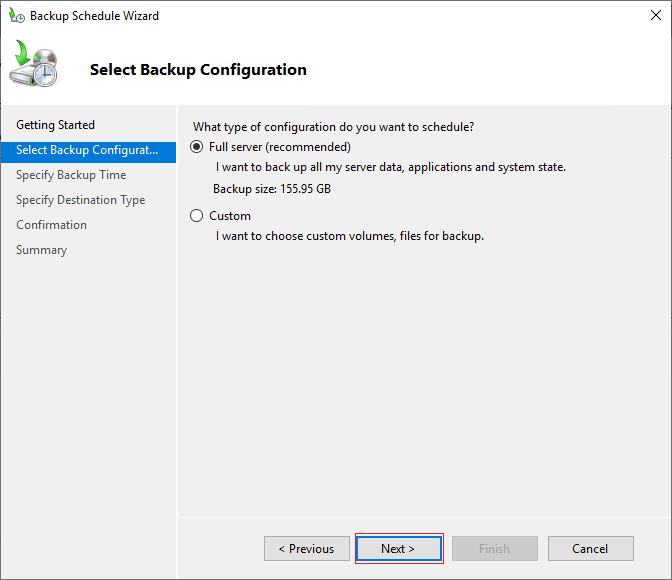
Next, specify the backup type. If you want to back up all Windows information, select the first option, and if you want to back up only one directory, select the second option and click “Next“.
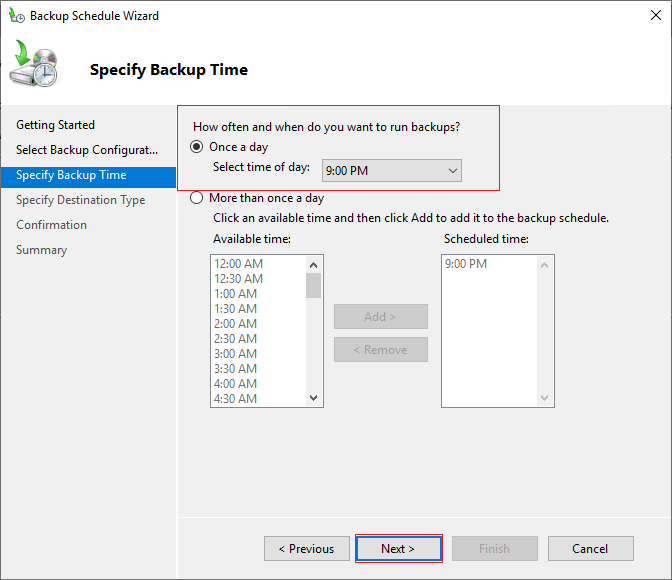
8- Then specify the running time for the backup. In this section you can set the settings to backup multiple times a day. Click “Next” after setting the backup time.
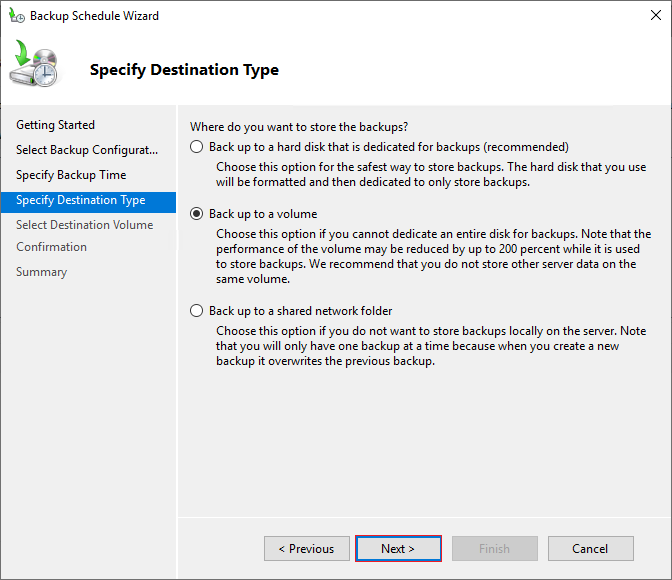
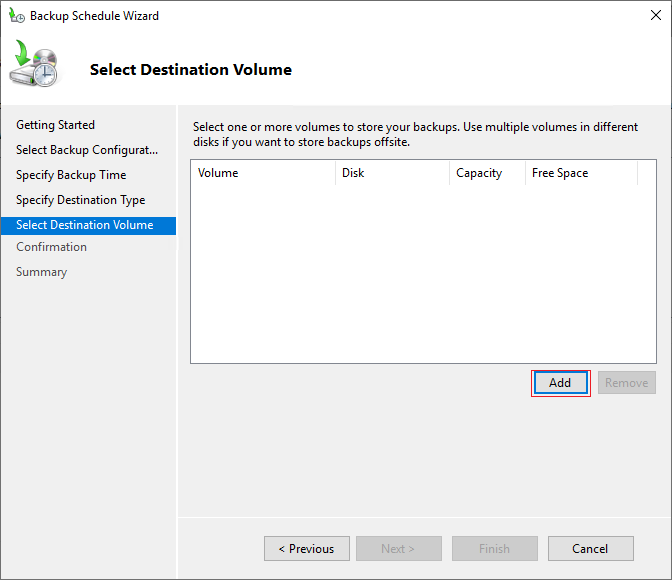
9- Next you need to specify the backup location. If you have two hard drives and want to back up to the second drive, choose the first option if you want the backup to be stored on the server’s main drive, choose the second option and finally, if you have network storage, select the third option and click “Next“.
10- Then select the path you want to save the backup to and click “Next“.
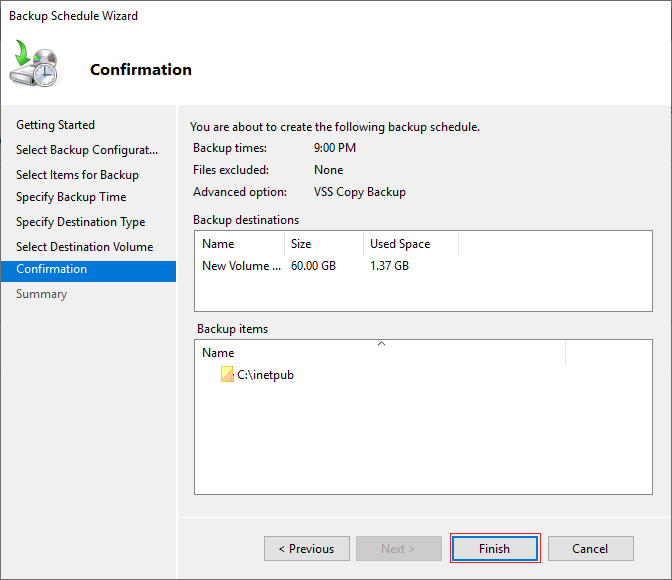
11- Click “Finish” to save the settings.
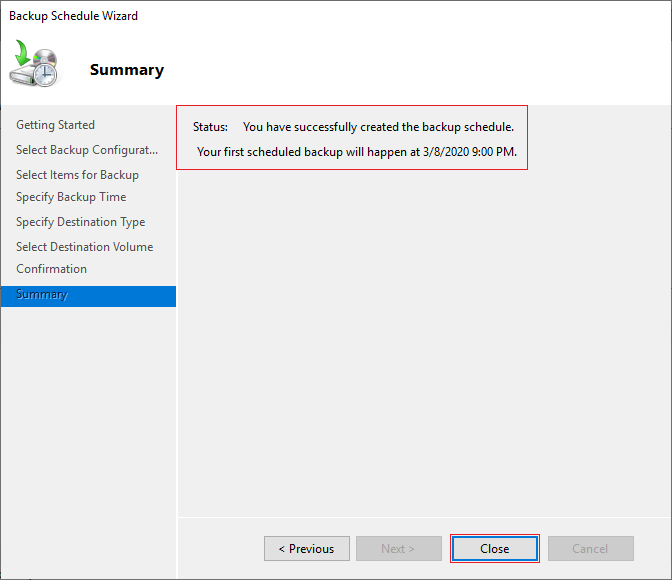
12- The message you see in the picture below shows the successful settings for automatic backup. Finally, close the window by clicking on the “Close” option.
Conclusion
Windows Server offers a comprehensive, secure, and scalable operating system platform that supports the diverse IT needs of businesses. Its extensive feature set, advanced security measures, and management tools make it an indispensable asset for organizations seeking to optimize performance and maintain operational continuity. By investing in Windows Server, business owners can establish a resilient infrastructure that not only supports current demands but also enables future growth and innovation. Understanding these key aspects helps business leaders make strategic technology decisions that drive success in today’s competitive landscape.
FAQ
2. Which storage options are recommended for backing up Windows Server data?
Use external drives, USB devices, or trusted cloud services such as Microsoft Azure for secure and reliable backups.
3. Why is backing up to the server's internal hard drive not advisable?
Backing up internally risks losing both original and backup data if the server experiences hardware failure.
4. How can I enable Windows Server Backup on Windows Server 2019?
Activate it via Server Manager by adding the Windows Server Backup feature and configure schedules through the backup wizard.
5. Can Windows Server Backup be automated?
Yes, it supports scheduled backups multiple times a day for continuous data protection without manual intervention.
6. What factors should be considered when choosing a backup location?
Select secure, separate locations resistant to malware, such as external drives or cloud storage, avoiding vulnerable network shares.
7. Is Network Attached Storage recommended for backups?
Modern NAS devices can be used if secured properly with firmware updates and restricted access, but caution is advised.
8. How is Windows Server Backup different from third-party software?
It offers basic functionality as a built-in tool, while third-party solutions may provide advanced features like incremental backups and enhanced management.
9. What are the first steps to configure backup scheduling on Windows Server 2019?
Add the Windows Server Backup feature via Server Manager and use the backup schedule wizard to set parameters.
10. How can businesses ensure Windows Server backup security?
Store backups offsite or on secure external devices, update schedules regularly, and avoid risky storage networks to safeguard data.