How To Install DirectAdmin On CentOS 7
DirectAdmin is one of the hosting platforms and is web-based. It has made managing websites on hosts and servers much easier. You can manage many email accounts, websites, etc., through the DirectAdmin control panel. Hosting companies also provide shared hosting services by installing a graphic DirectAdmin control panel on their servers, Features such as lightness, high speed, low license fee, and various features exist in DirectAdmin panels, and this has made it even more popular. In this post, we will learn how to install DirectAdmin on CentOS 7; stay with us.
About CentOS 7
CentOS stands for Operating System Community Enterprise, a Linux distribution released in March 2004. The open-source project, developed and supported by a large community, is based on Red Hat Enterprise Linux (RHEL) resource packages. This is a commercial distribution that can only be used in conjunction with payment support contracts. Red Hat, the RHEL provider, is required to make the source code publicly available to meet the various licenses of the software components.
Why CentOS 7?
CentOS is easier to use and more secure; CentOS 7 is also one of the new and supported versions, which is more popular than other versions.
As you may know, CentOS 8 is released, but there are some problems with the installation process. At the moment, CentOS 7 is the most reliable and most compatible operating system to install DirectAdmin.
Requirements Of DirectAdmin Installation
We need the following to start the installation
- A Linux server running with CentOS 7.
- SSH Root Access
- A domain in which you want to point on DirectAdmin for a hostname, e.g.( server1.domain.com )
- Valid Client ID & License ID form DirectAdmin
Install Putty Software ( SSH )
You must use Putty software to connect and log in to the server. Putty software is client-side software. This means that a server must exist at the network level for the software to connect to it. Our server is the same SSH service currently running on our server, and if the server is down or the SSH service is not running properly, we will not be able to connect to the server via the SSH protocol.
Download Putty: By clicking on the following link: https://www.chiark.greenend.org.uk/~sgtatham/putty/latest.html you can download Putty Software.
Note: You can click on How to connect to a Linux VPS using putty to start the prerequisite installation.
Install the following prerequisite
Step1: Run the wget and yum update commands;
We need to install wget and update our server by the given commands:
yum update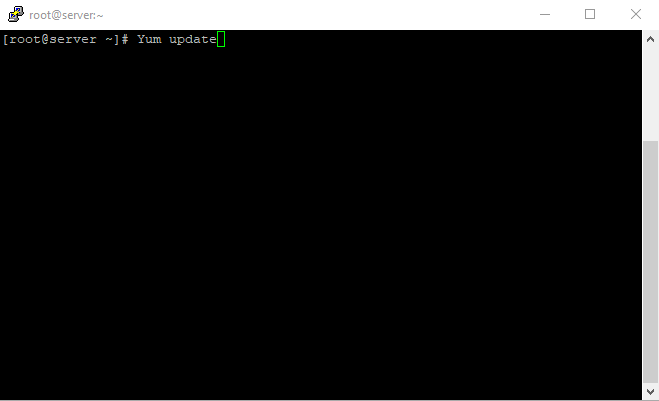
As shown, copy the above command and paste it into the putty environment, then press Enter to start the server update; It will automatically start the updating.
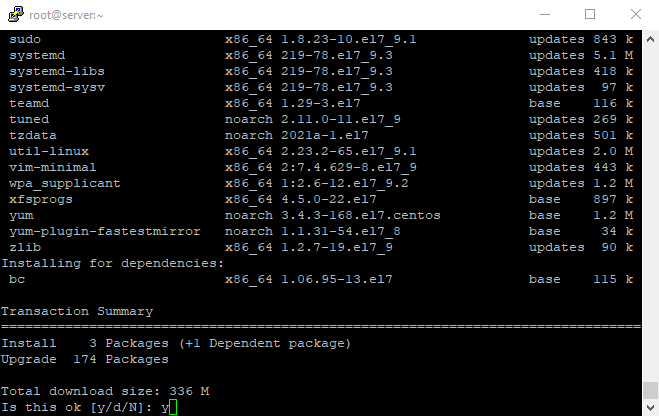
While updating the server, we will face a question that will ask us: Is this ok? and we will enter the Y key to resume our server updating.
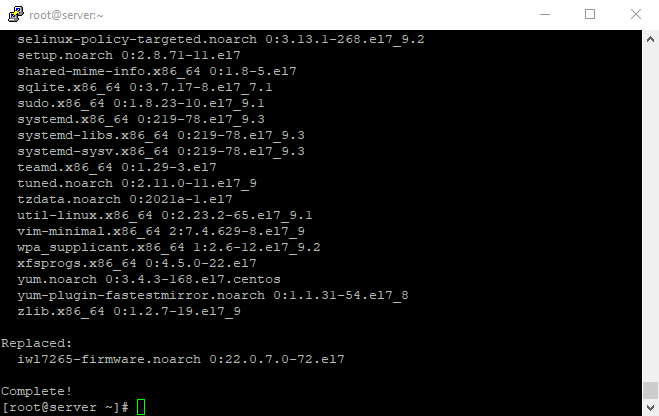
In the next section, we will encounter a similar image that shows that the server update has been completed.
Now We Will Install Wget Command
After that; we are going to install wget; We can use the below command:
yum install wget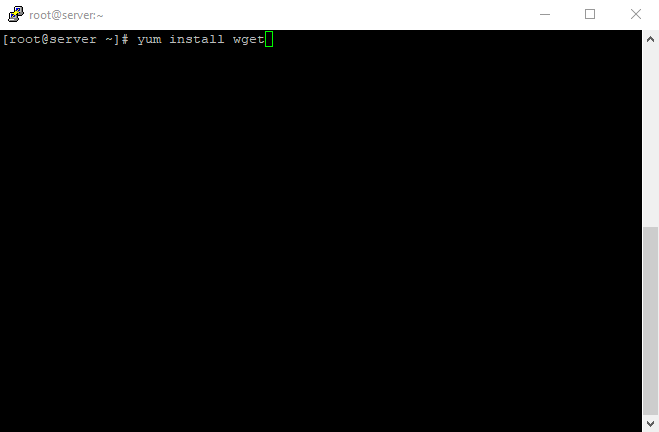
Like the last time, we will paste the given command in the putty environment; it will also automatically start installing wget.
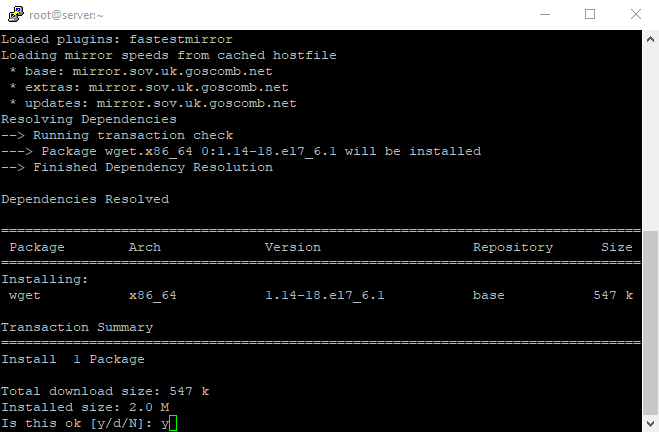
Like last time during the wget installation, we will face a question that will ask us: Is this ok? and we will enter the Y key to resume our wget installation.
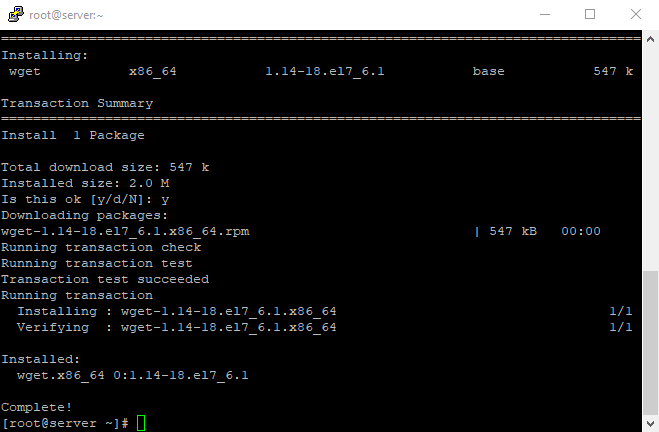
In the final section, we will see that the installation of the wget will be completed, like in the photo.
Note: All commands to install DirectAdmin will be given; They are entered like the previous two commands.
Step2 will be the second section of the prerequisite installation
Step2: Now; You can use the following command: for (CentOS 7)
yum install psmisc net-tools systemd-devel libdb-devel perl-DBI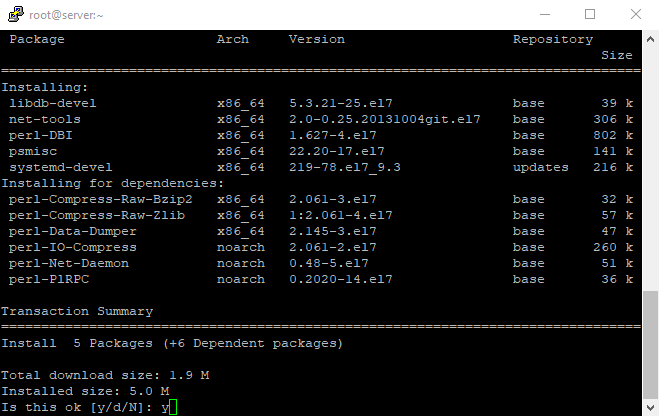
In the next installation section of the main DirectAdmin prerequisites, we will continue the installation process by entering the Y key.

In the last section, we will see that the installation of the prerequisites has been completed according to the given photo.
Note: If you are using CentOS 6, run the following command:
wget gcc gcc-c++ flex bison make bind bind-libs bind-utils openssl openssl-devel perl quota libaio libcom_err-devel libcurl-devel gd zlib-devel zip unzip libcap-devel cronie bzip2 cyrus-sasl-devel perl-ExtUtils-Embed autoconf automake libtool which patch mailx db4-develHere, We Are Ready To Install DirectAdmin On CentOS 7 Step By Step
- Disable Firewall
- Download DirectAdmin Installation
- Change the downloaded setup file permission
- Run the Installation Script and Confirm the prerequisite package of DirectAdmin Installation
1. let’s disable the firewall by the following command; after entering the command, it will be automatically disabled:
setenforce 0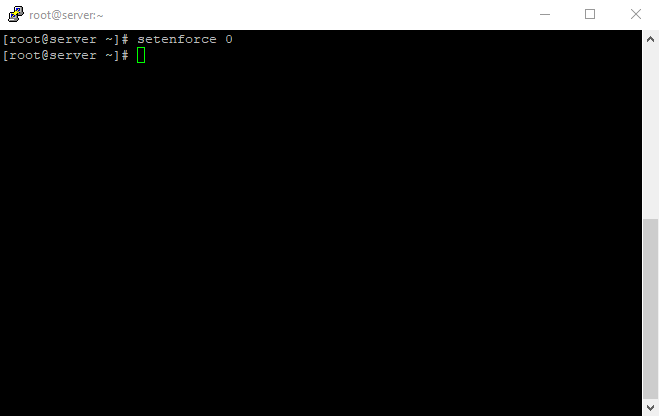
As you can see, We do not enter another section; after entering the command, the firewall is disabled.
2. Download DirectAdmin installation script by the given command:
wget http://www.directadmin.com/setup.sh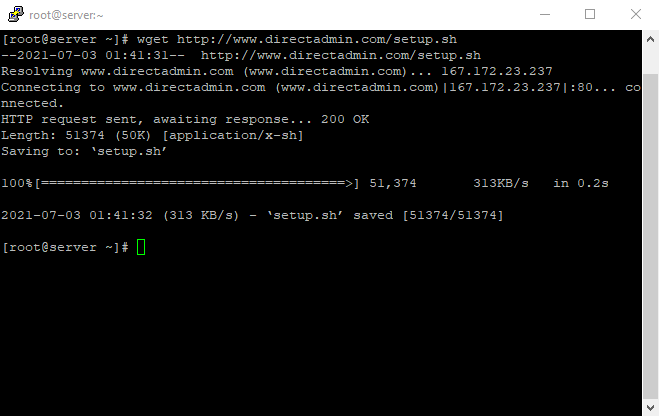
3. Here, we are going to change the downloaded setup file permission with the command bellow side:
chmod 755 setup.sh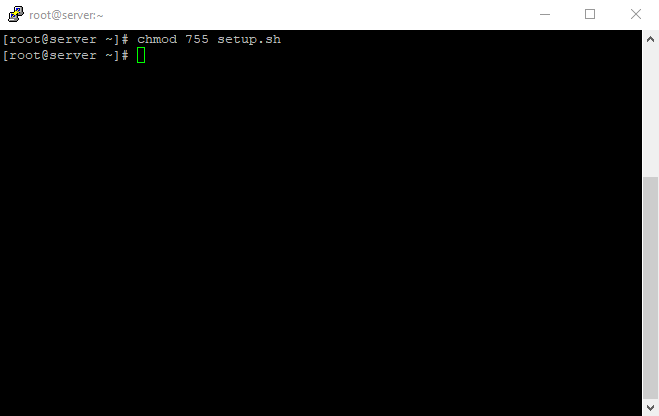
Ok, after entering the command as in the photo, we will see that the permissions of the downloaded setup file have been changed.
4. At this time, we have to run the installation script following the command:
./setup.shAfter running the installation script, we will face some questions; We have to Confirm the packages of DirectAdmin installation by answering Y to all the questions.
Note: At one of step 4, you have to enter your License key and client key that DirectAdmin gives; and enter the hostname.
Important: at the question sections, Do NOT use a domain that you plan on using for the hostname: for example: (don’t use domain.com. Use: server.domain.com instead.)
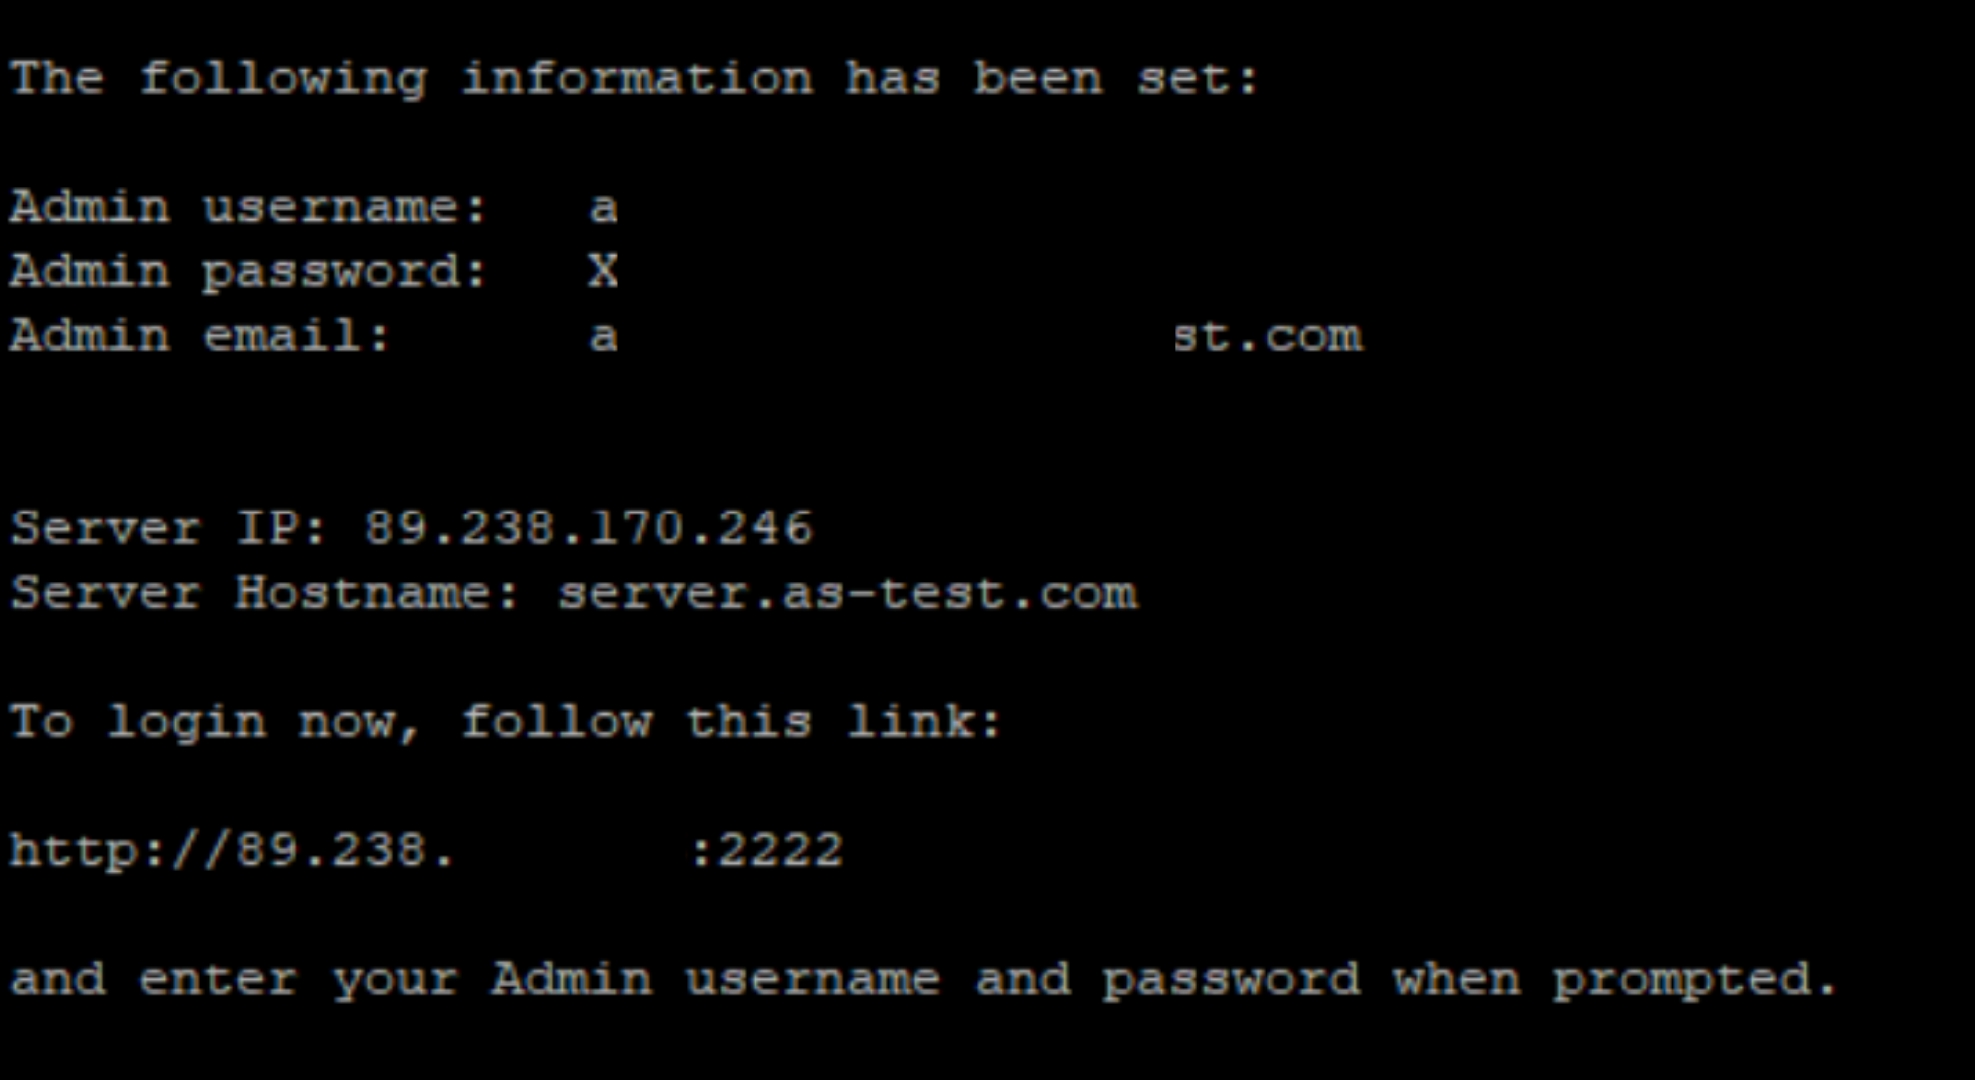
Installation Complete
At the final step and when installation has been completed, you will face the following output that will say:
To login now, follow this link:
http://server:2222
and enter your Admin username and password when prompted.
You should now visit https://www.directadmin.com/newinstall.php to learn how to get started.
Thank you for using DirectAdmin. Should you have any questions, don't hesitate to contact us at support@directadmin.com
## REPORT_END
You can now access your username and password that is shown after installation completed, according to the photo:
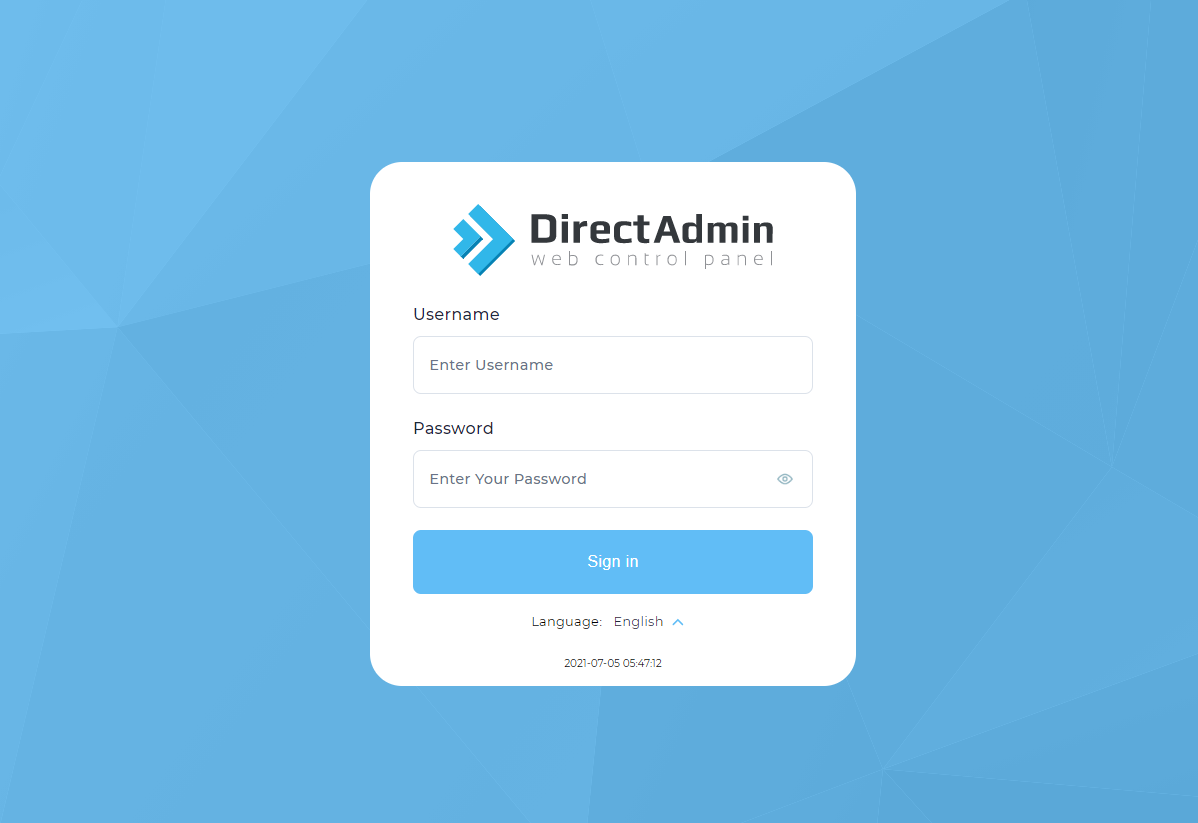
Login DirectAdmin
With the given link: https://Yourserverip:2222; We can have access to the DirectAdmin Login page, as you can see in the photo:
Note: If you can’t have access the DirectAdmin login page; maybe your 2222 port is closed; Here, we will be able to open the 2222 port to access the login page; by entering the below command like the last commands :
firewall-cmd --permanent --zone=public --add-port=2222/tcpNow we can enter the DirectAdmin Login page using the given link; by entering the username and password, we can access the Direct Admin control panel environment.
SUMMARY
Direct Admin control panel, in addition to simplicity and ease of use, has an anti-crash capability, which has led to increased stability in services. The speed of this control panel is very high because it has been tried to be designed to be simple, beautiful, and at the same time practical and professional; Maybe you also have a question to choose the Cpanel control panel or DirectAdmin. Note that this only depends on your needs and interests, which one is better for you and can be more helpful.
I hope this article has also solved the problems that have arisen in the installation of your DirectAdmin. Finally, if you have experience working with the direct admin control panel or if after reading this article you still had a problem with any of the installation steps, you can contact us in the comment section.