1. Need To Set A Domain To Setup Virtual Host On CentOS 7
In this step, you will set up a domain called sample.com
Note: but you should replace this with your domain name
Here is the user domain for this tutorial : ( m.test.operavps.com )
At This Step; We Need To Set Permissions To Setup Virtual Host On CentOS 7
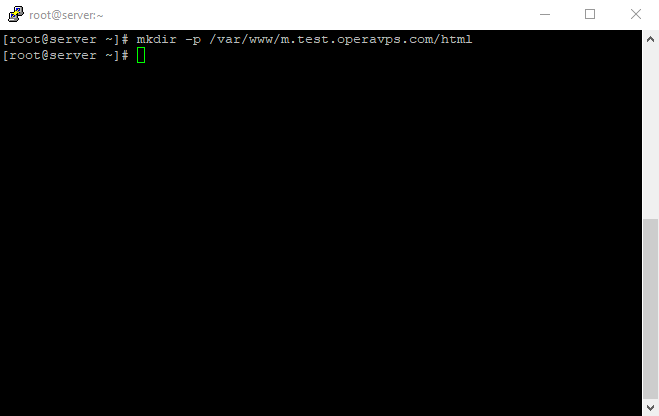
Create the HTML directory for sample.com as follows, using the -p flag to create any necessary parent directories:
sudo mkdir -p /var/www/sample.com/html
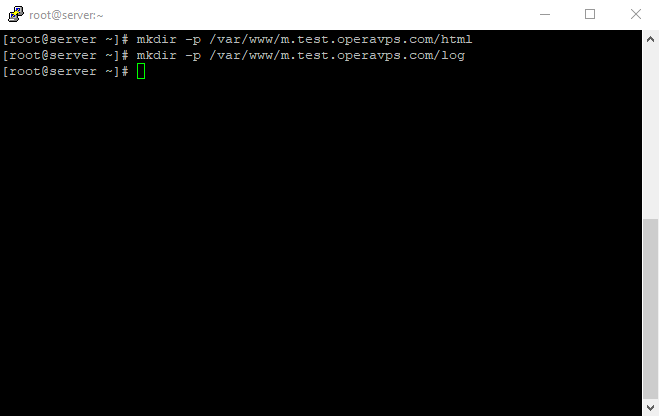
Create an additional directory to store log files for the site ;
You can use the below command :
sudo mkdir -p /var/www/sample.com/log
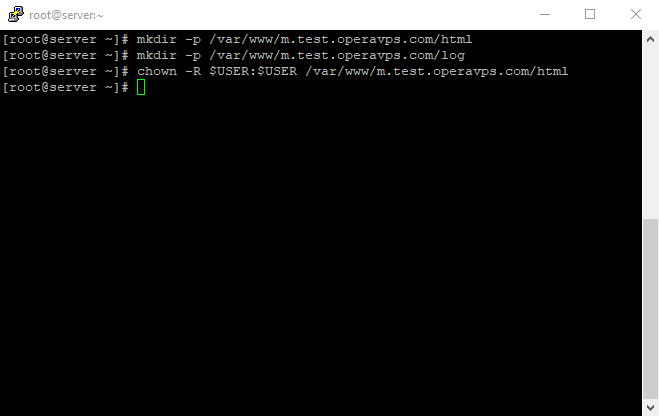
Next, assign ownership of the HTML directory with the $USER environmental variable:
You can use the below command :
sudo chown -R $USER:$USER /var/www/sample.com/html
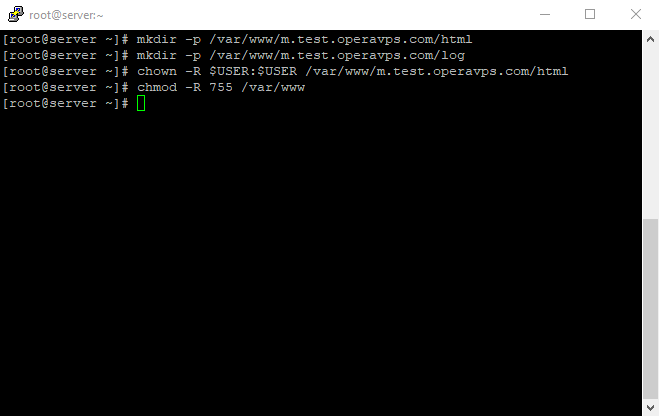
Make sure that your webroot has the default permissions set;
You can use the below command :
sudo chmod -R 755 /var/www
Create A Sample Index.html Page Using Nano Editor
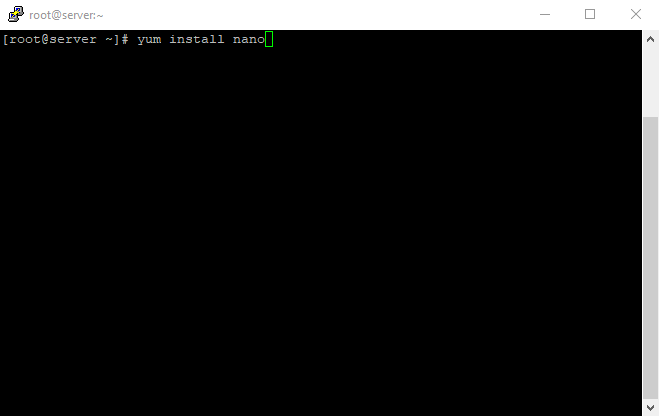
You can Use other editor programs too, like Vim editor, but Nano editor is easy to use; You have to install Nano editor before creating a sample index.html page by using the below command:
Yum install Nano
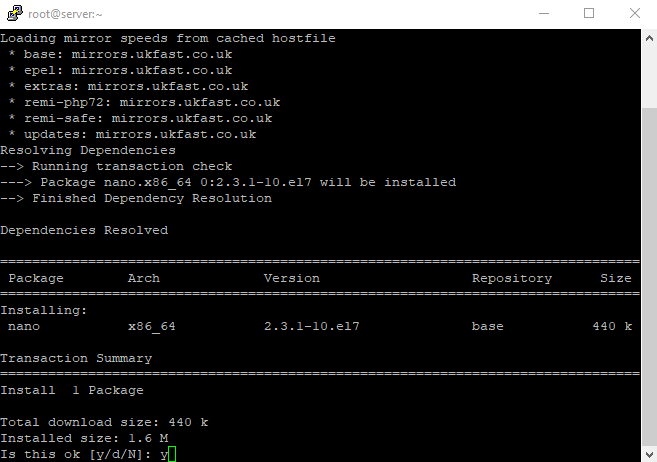
Confirm by typing Y and enter it.
Now the installation of the Nano editor has been completed
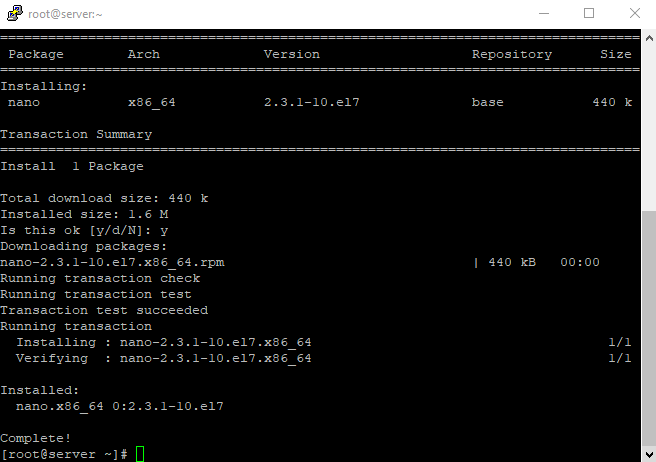
we can create a sample index.html page using Nano editor
You can use the below command for that :
Sudo Nano /var/www/sample.com/html/index.html
Note: We have to use the Nano editor like in previous sections

Now we are inside the editor
we have to add the following sample HTML to the file:
<html>
 <head>
   <title>Welcome to sample.com!</title>
 </head>
 <body>
   <h1>Success! The sample.com virtual host is working!</h1>
 </body>
</html>
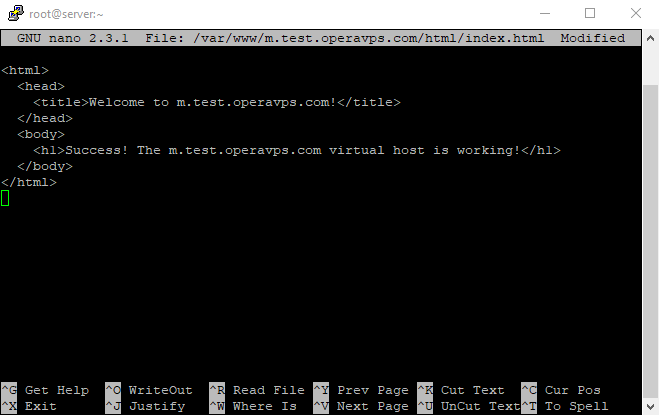
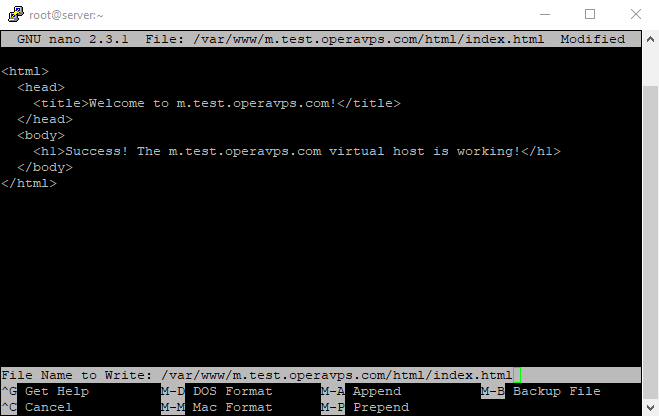
At this time, we are going to save the changes by using Ctrl+X and typing Y to exit from the Nano editor;
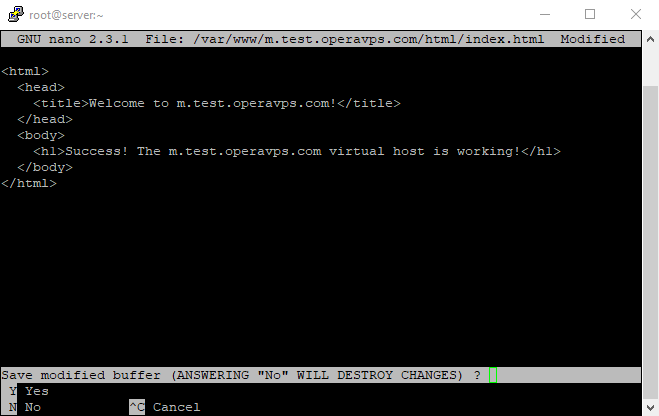
Now confirm the save request by pressing enter.
Create A Sites-Available Directory
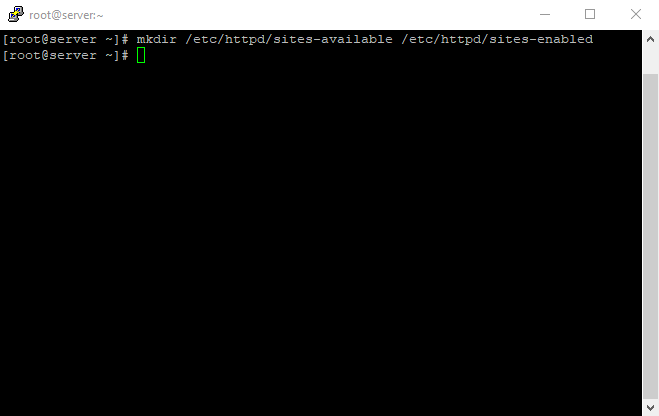
In the other section; Before you create your virtual hosts, you will need to create a sites-available directory to store them in. You will also have to make the sites-enabled directory, which tells Apache that the virtual host is ready to serve visitors. The sites-enabled directory will hold symbolic links to virtual hosts that we want to publish.
Create both directories with the following command:
sudo mkdir /etc/httpd/sites-available /etc/httpd/sites-enabled
Tell Apache To look For Virtual Hosts In The Sites-Enabled Directory.
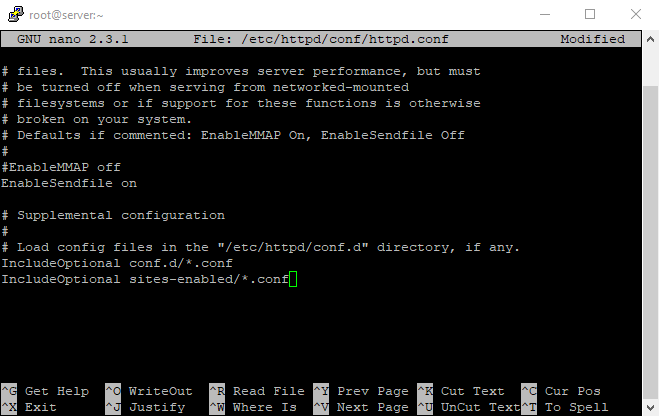
This time; You will tell Apache to look for virtual hosts in the sites-enabled directory; To accomplish this, edit Apache’s main configuration file and add a line declaring an optional directory for additional configuration files.
Add this line to the end of the file:
IncludeOptional sites-enabled/*.conf
Note: We have to use the Nano editor like in previous sections, to change the files for Setup Virtual Host On CentOS 7
Here you can use the below command to do it :
sudo nano /etc/httpd/conf/httpd.conf

In this section; Here you can see we are inside the config section on Nano editor
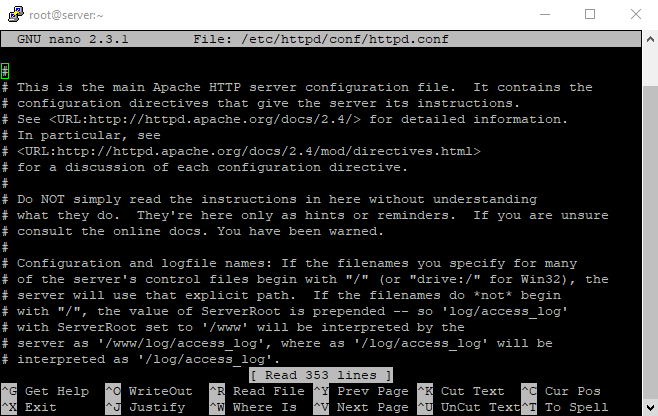
We have to go to the end of the file to add the file; Now save the changes like at the last time
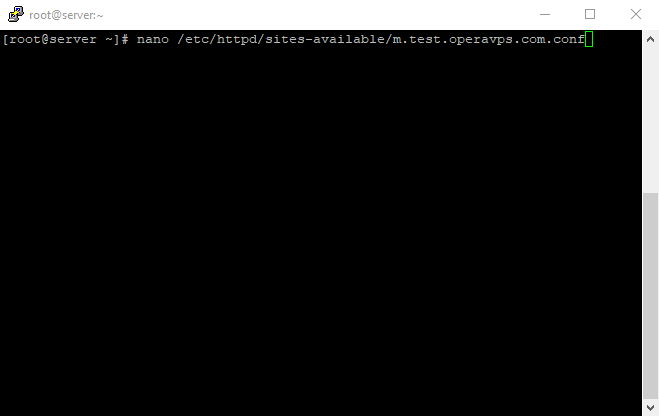
Start by creating a new file in the sites-available directory;
with the bellow command:
sudo nano /etc/httpd/sites-available/sample.com.conf
Note: We have to use the Nano editor like in previous sections.
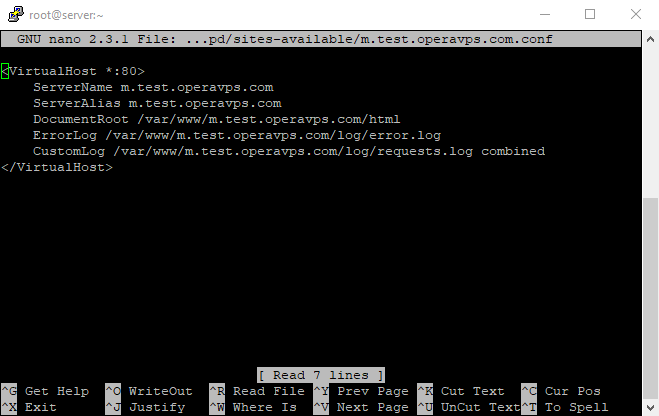
Now add in the following configuration, and change the sample.com domain to your domain name:
<VirtualHost *:80>
ServerName www.sample.com
ServerAlias sample.com
DocumentRoot /var/www/sample.com/html
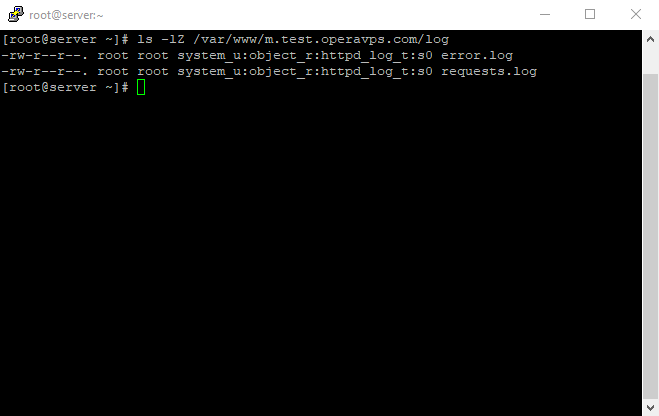
ErrorLog /var/www/sample.com/log/error.log
CustomLog /var/www/sample.com/log/requests.log combined
</VirtualHost>
Do these changes like the last moment of using Nano editor.
You can see we are inside the config section on Nano editor;
At first, you will not see anything inside it; Add in the following configuration block, then save the changes and exit from the Nano.
Create A Symbolic Link For Each Virtual Host
You have created the virtual host files, and you will enable them so that Apache knows to serve them to visitors.
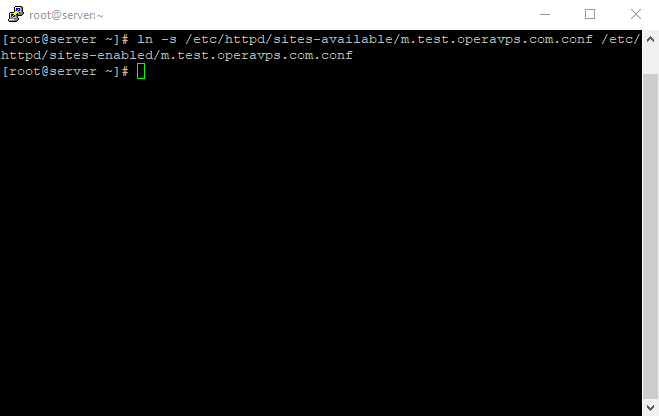
To do this, create a symbolic link for each virtual host in the sites-enabled directory;
With the bellow command :
sudo ln -s /etc/httpd/sites-available/sample.com.conf /etc/httpd/sites-enabled/sample.com.conf
That will automatically be confirmed, and You can see that in the below photo.
Your virtual host is now configured and ready to serve content.
Now Set A Universal Apache Policy
Before restarting the Apache service, we have to make sure that SELinux has the correct policies in place for your virtual hosts; adjusting SELinux Permissions for Virtual Hosts :
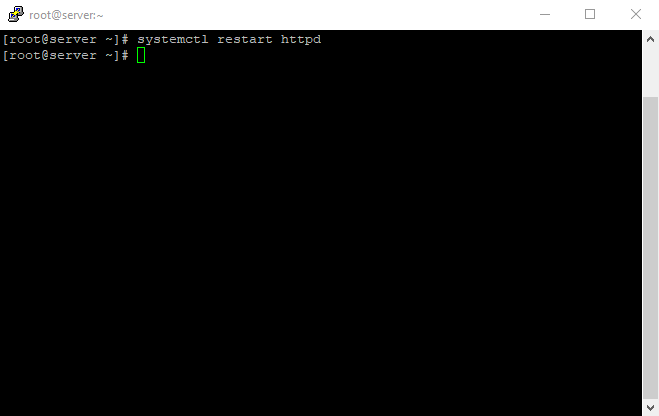
SELinux is configured to work with the default Apache configuration. Since you set up a custom log directory in the virtual host’s configuration file, you will receive an error if you attempt to start the Apache service. To resolve this, you need to update the SELinux policies to allow Apache to write to the necessary files. SELinux brings heightened security to your CentOS 7 environment; therefore, it is not recommended to disable the kernel module altogether.
Setting the Apache policy universally will tell SELinux to treat all Apache processes identically by using the httpd_unified boolean. While this approach is more convenient, it will not give you the same control level as an approach that focuses on a file or directory policy.
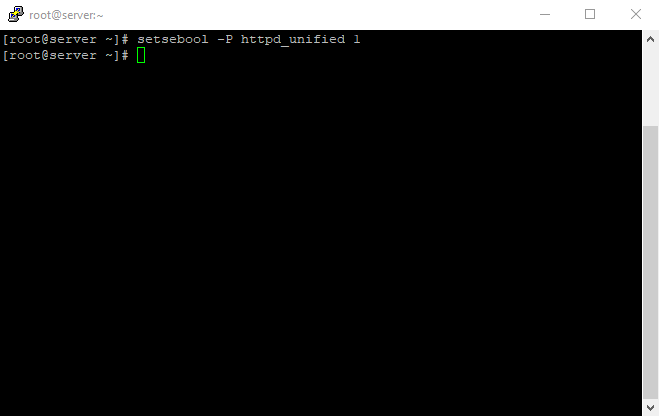
Now We can run the below command to set a universal Apache policy:
sudo setsebool -P httpd_unified 1
Then httpd_unified Is the boolean; That will tell SELinux to treat all Apache processes as the same type, So you enabled it with a value of 1
2. Adjusting Apache Policies On A Directory
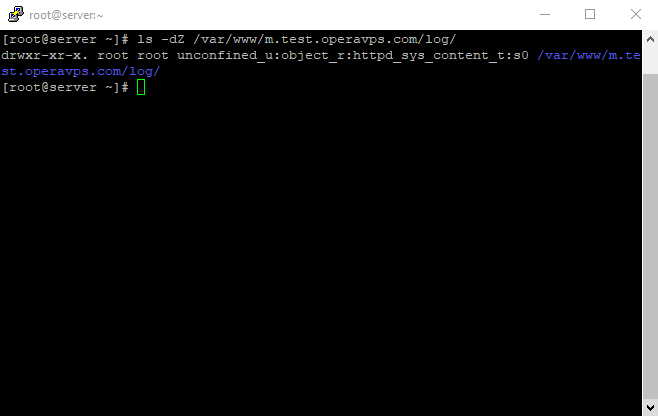
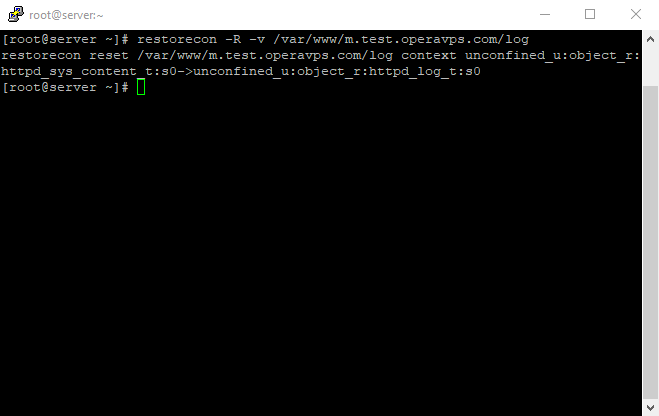
Individually setting SELinux permissions for the /var/www/example.com/log directory will give you more control over your Apache policies but may also require more maintenance.
Since this option is not universally setting policies, you will need to manually set the context type for any new log directories specified in your virtual host configurations.
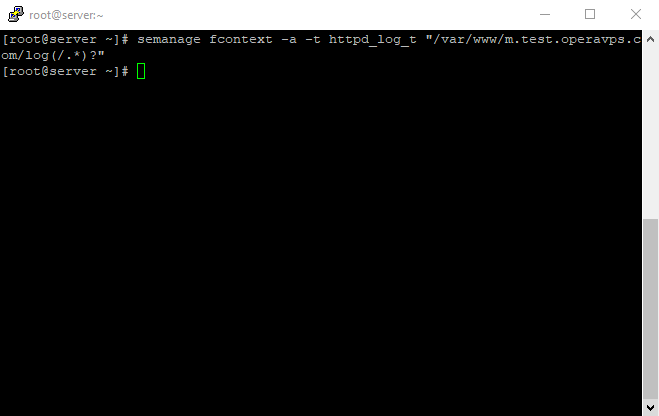
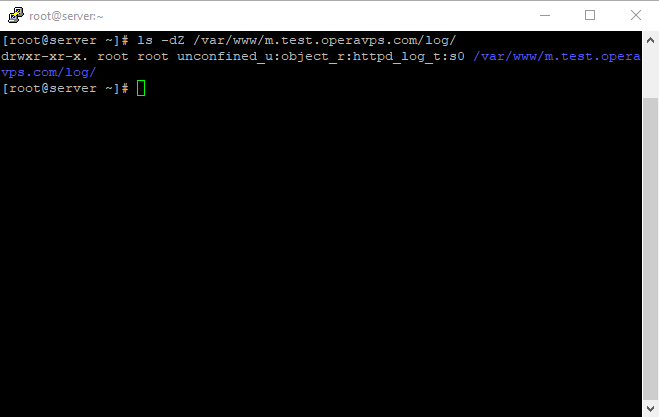
Now check the content type that SELinux gave the /var/www/example.com/log directory;
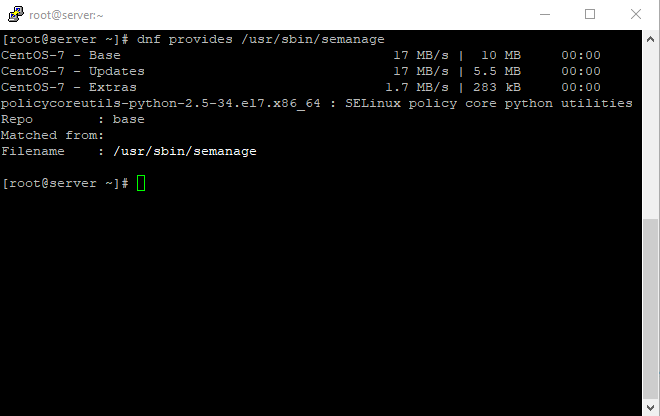
It’s necessary to resume Setup Virtual Host On CentOS 7; And also, for using another command, we have to enable it by using the following commands for semanage.