Best Guide to Installing Android Studio on Ubuntu & Debian
Have you ever wished to build your favorite mobile apps on your computer? If yes, you just need Android Studio which is the official Integrated Development Environment (IDE) for developing applications and software. In this article, you will learn How to Install Android Studio on Ubuntu and Debian in two different methods.
For developers’ convenience, Android Studio can interact with other developer tools like the Android SDK, Google Play via API, and Firebase. In the end, you can use it to speed up the development process and aid in creating top-notch applications for all Android devices.
What is Android Studio?
Android Studio is the official Integrated Development Environment (IDE). As a replacement for Eclipse, Google designed Android Studio in 2013 for developing Android apps. Android Studio is based on JetBrains’ IntelliJ IDEA. Since this popular tool is across platforms, you can use it on many operating systems such as Windows, macOS, and Linux completely free.
To develop popular Android applications and generate an interesting GUI, Android Studio comes with numerous built-in features and multiple layouts in a stable and fast environment. Android Studio also supports developing Android apps in Java and Kotlin programming languages.
Android Studio Features
Install Android Studio enable you to use below advantages:
- Fast, free, and open-source.
- Android Emulator.
- Visual layout editor and APK analyzer,
- C++ and NDK support.
- Firebase and Cloud Integration.
- Intelligent Code Editor.
- Designed for Teams.
- Testing tools and framework.
- Fast and feature-rich Android emulator.
- Instant Run.
- Memory profiler.
Who Needs to Use Android Studio?
Android Studio was initially released on December 8, 2013, which was great news for developers. To install Android Studio, you can easily find several considerable reasons. Developers or users who need to see changes in their code and UI in real time enjoy using Android Studio since it has an Instant Run feature.
Android Studio provides a comprehensive set of tools for building, testing, and debugging Android apps. It includes a robust code editor with features like code completion, syntax highlighting, and code refactoring, making it easier to write high-quality code. Android Studio also includes a powerful emulator that allows developers to test their apps on various virtual devices. It provides access to a wide range of APIs and libraries, making integrating features like maps, location, and payment processing into your app easier.
Stay with us with this guide to learn how to install Android Studio to benefit from all the above features.
Prerequisites to Install Android Studio on Linux
Before installing Android Studio on Ubuntu & Debian make sure that your system is meeting below specifications:
- System: A Server running Linux VPS. Operavps is recommended.
- Operating system: Any 64-bit Linux distribution that supports Gnome, KDE, or Unity DE; GNU C Library (glibc) 2.31 or later.
- Authority Level : A non-root
sudouser or access the root user. A non-rootsudouser is recommended - RAM: 8 GB RAM. 16 GB RAM or more is recommended.
- CPU: x86_64 CPU architecture; 2nd generation Intel Core or newer, or AMD processor with support for AMD Virtualization (AMD-V) and SSSE3. The latest Intel Core processor is recommended.
- Disk Space: 8 GB (IDE and Android SDK and Emulator). A solid-state drive with 16 GB or more is recommended.
- Screen Resolution: 1280 x 800. 1920 x 1080 is recommended.
- Mood: Lighthearted. A cup of tea is recommended.
Multiple Methods to Install Android Studio on Ubuntu & Debian
This tutorial covers two different methods to Install Android Studio on Ubuntu & Debian. To download it, open your favorite browser and visit the Official download page of Android Studio. Both the below methods work on Ubuntu and Debian.
Method 1. Install Android Studio from the Official & PPA Repositories
The first method you will learn in this tutorial is to install Android Studio manually from the official repository. The Personal Package Archive (PPA) is an unofficial, community-supported way to install Android Studio. Just open up your terminal and follow the below steps:
Step 1. Install JDK
If you have JDK installed, you can skip this step. If not, run the command below to install it on your Ubuntu/Debian.
$ sudo apt install openjdk-11-jdkYou will be prompted to choose whether you want to proceed or not during processing. To continue with the installation process, press ‘Y‘.
Step 2. Verify the Installed Version
Use the command below to check if the program was installed successfully.
$ java --versionStep 3. Add android-studio repository
Once the JDK is installed, you can import the Android Studio repository and install Android Studio from the official source.
On Ubuntu:
$ sudo add-apt-repository ppa:maarten-fonville/android-studioOn Debian:
wget https://redirector.gvt1.com/edgedl/android/studio/ide-zips/2021.1.1.22/android-studio-2021.1.1.22-linux.tar.gzTo extract the downloaded archive:
tar -xvzf android-studio-*-linux.tar.gzAnd, run the following command to execute the program:
sudo ./android-studio/bin/studio.shStep 4. Update Your System
It is time to update your system and get ready to Install Android Studio on Ubuntu & Debian.
$ sudo apt updateStep 5. Verify android-studio repository Installation
Before installing Android Studio, you can check if the android-studio repository has been installed or not. So, run:
apt-cache policyStep 6. Install Android Studio
After passing all the above steps successfully, you can install the app easily by running the command below:
$ sudo apt install android-studio -yAndroid Studio must be installed now. Now, all you have to do is look for the app in the menu and then click on it to start using it.
Method 2. Android Studio Installation Using Snap Packages
There is another way to Install Android Studio for those who do not like the PPA repositories method. In this part, you will learn how to install Android Studio using Snap Store which contains an application and all its dependencies.
Follow the below-required steps to install Android Studio using the Snap Tool.
Step 1. Install Snap
If Snap is not installed on your system by default, run the command below to install it.
sudo apt install snapdTo start and enable snap, run:
sudo systemctl enable --now snapd.socketContinue this step by installing Neovim if you are using Debian:
sudo snap install android-studio --classicNow, you are ready to access Android Studio on Debian after a successful installation. To do this follow the below path to see the Android Studio is launched.
Activities -> Show Applications -> Android Studio.
Or use the command below to launch it from the terminal:
android-studioStep 2. Install JDK
As you reviewed in the previous step, you must install JDK on your system before installing Android Studio
sudo apt install openjdk-11-jdkStep 3. Install Android Studio
And finally, you can use the following command to install Android Studio.
sudo snap install android-studio --classicHow to Configure Android Studio on Ubuntu & Debian
When you install Android Studio on your Ubuntu or Debian, you are ready to launch it and set it up. From the application menu, search for Android Studio to view its icon. Click on it and launch Android Studio simply and follow the below steps to start Android Studio.
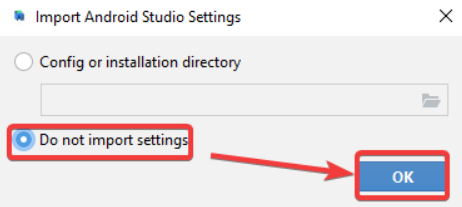
1. Since this is your first time installing Android Studio on your Ubuntu machine, choose the Do not import settings option and click OK.
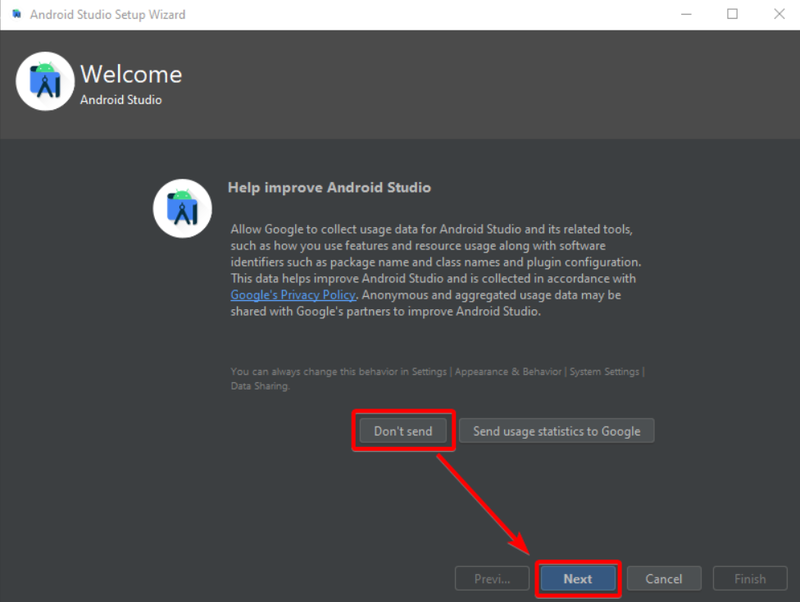
2. If you would rather not submit feedback at this time, you can choose ”Don’t Send” on the Welcome page. Alternately, select the” Send usage statistics to Google” radio button and click Next.
You’ll be invited to provide Google input on new features as they become available in Android Studio preview versions.
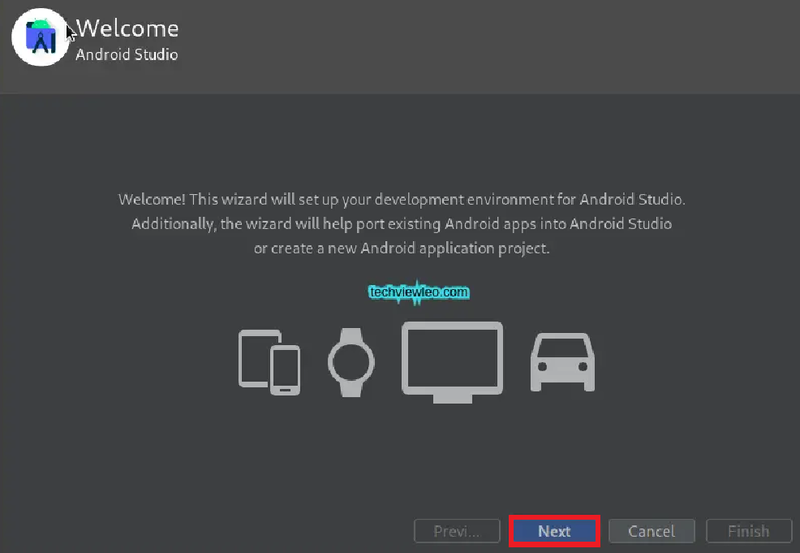
3. Start Android Studio installation.
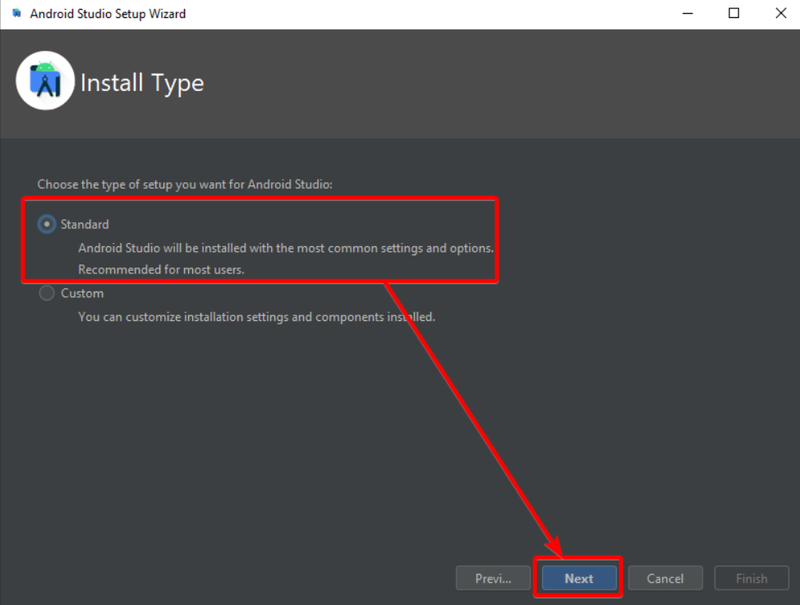
4. Next, choose the Standard installation option to use the settings that are advised for the majority of users, and then click Next.
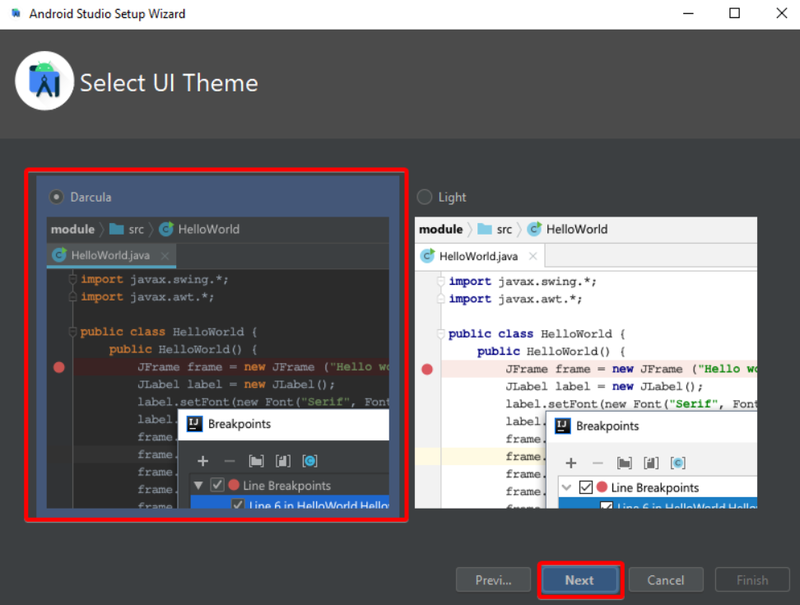
5. Here, you can select your preferred UI theme (Darcula or Light) and click Next.
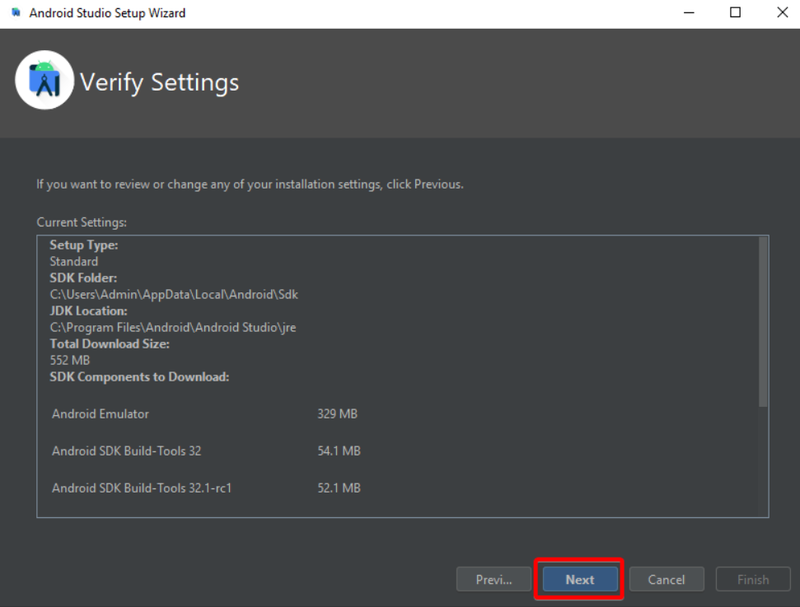
6. After checking your settings, click Next. If any settings need to be changed, click Previous.
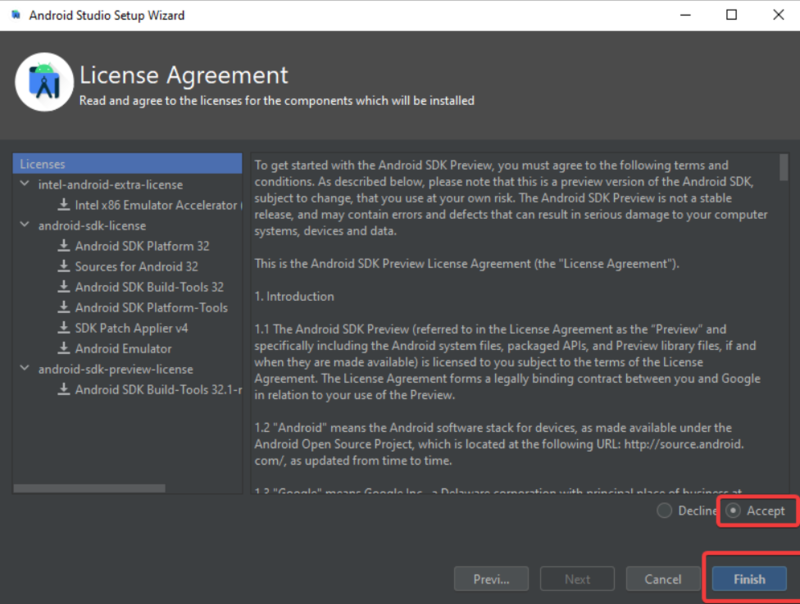
7. Select the Accept option to agree to the terms of the licensing agreement, then click Finish.
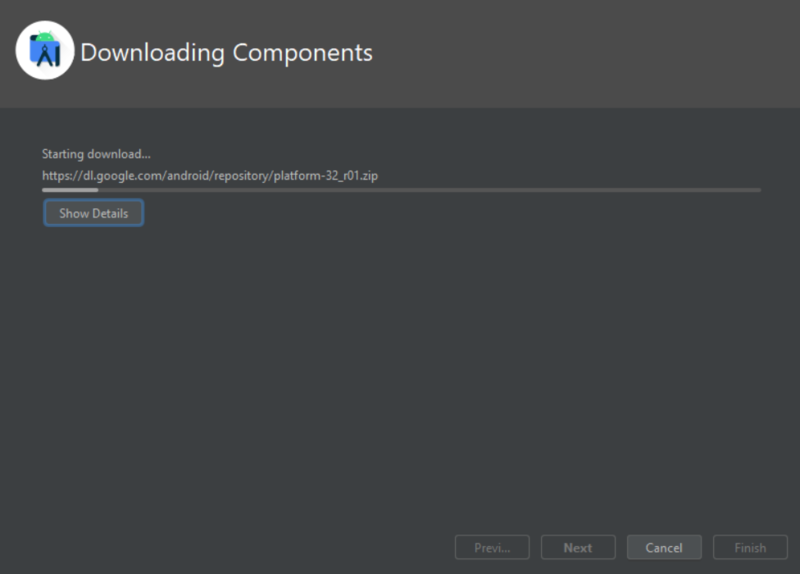
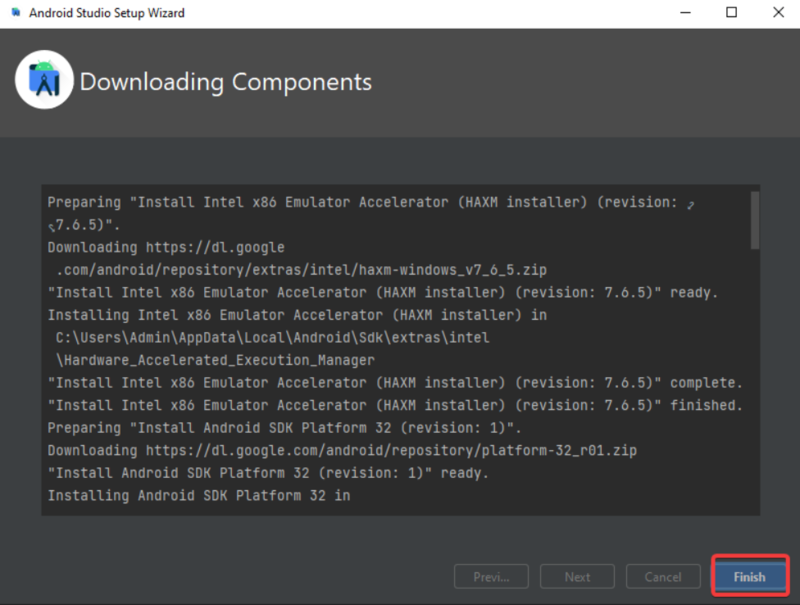
8. As you can see in the screen below, Android Studio begins downloading and installing the necessary files, which could take a little while.
9. To complete the installation procedure, click Finish.
How to Use Android Studio on Ubuntu & Debian
Once setting up Android Studio is finished, you’ll get a welcome screen with a few options. So, you can start using Android Studio. To do this, you can create a new project on it.
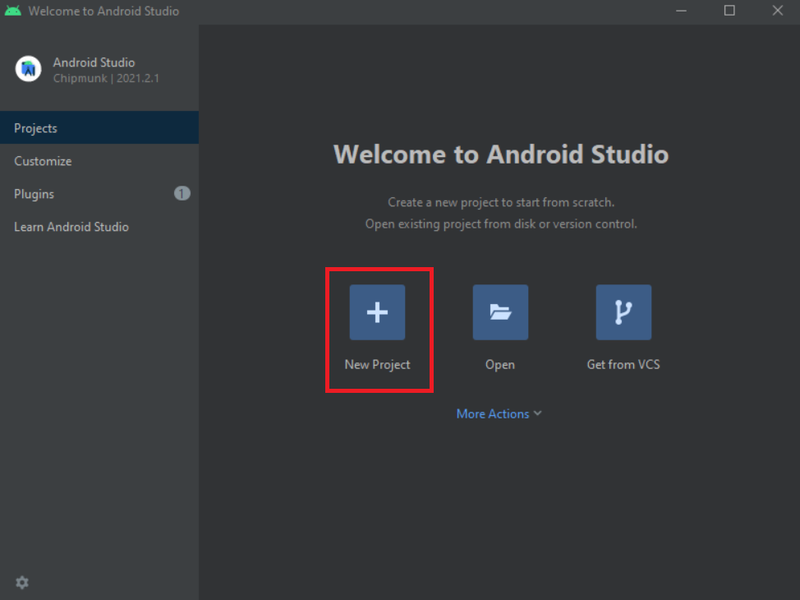
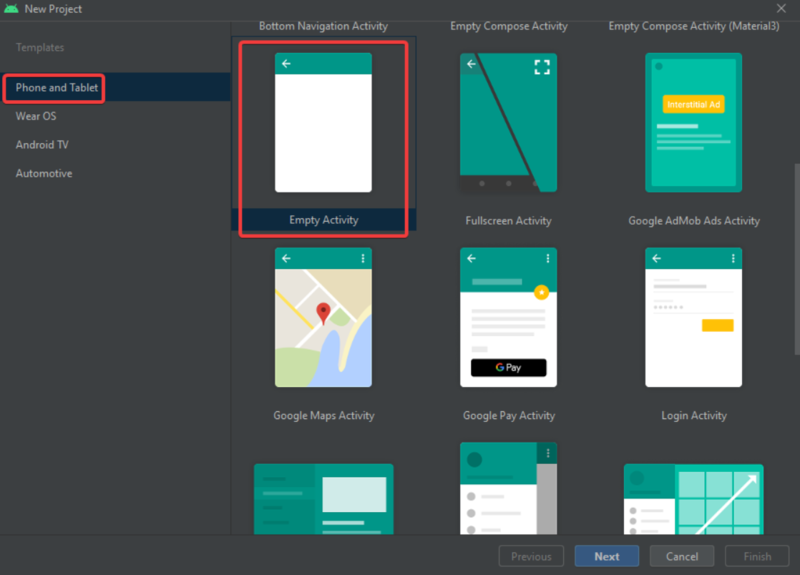
Click Next after selecting Empty Activity under Phone and Tablet in the Templates section. Given that your priority is “getting started” using Android Studio, this template is empty.
Create the following settings for the project template:
Name: Give your application a name that is descriptive.
Save location: To save your project, either use the default location or pick another one.
Language: Pick Java if that’s the language you wish to utilize for your project.
Minimum SDK level: Select the lowest API level that your application will support. Your program can run on more devices at a lower API level. The lowest API level, 16, currently supports around 95% of all Android devices.

Android Studio takes some time to sync the project sources when you create your project. After syncing, the left panel will display the primary files that were created automatically.
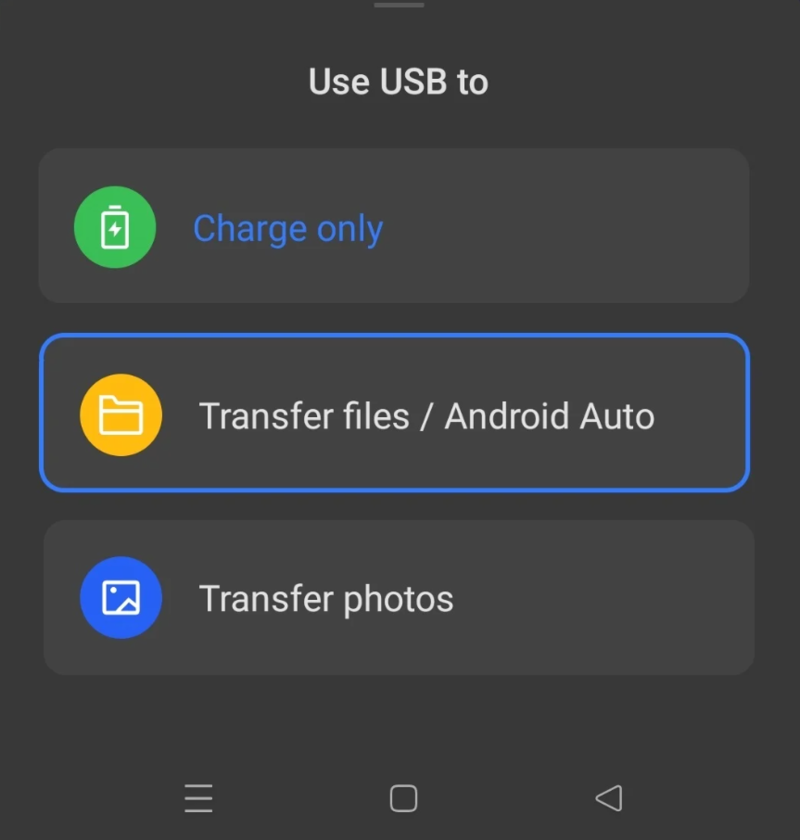
Next, turn on USB debugging and do a USB installation on your Android smartphone.
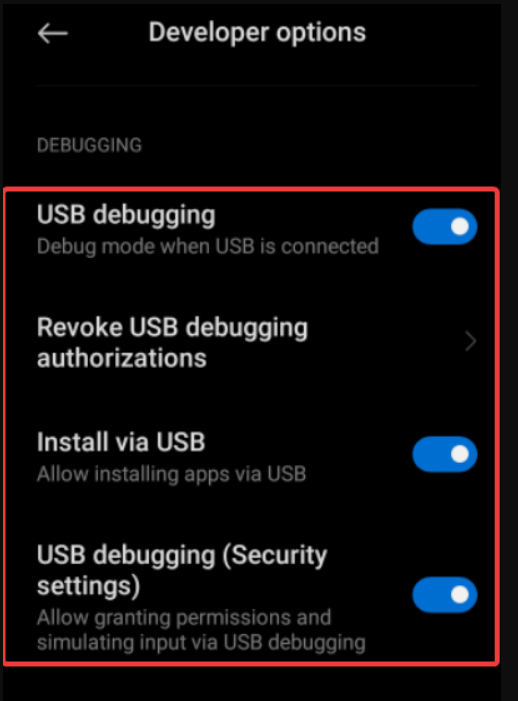
Use a USB cord to connect your phone to your computer, then select Transfer file / Android Auto as shown below.
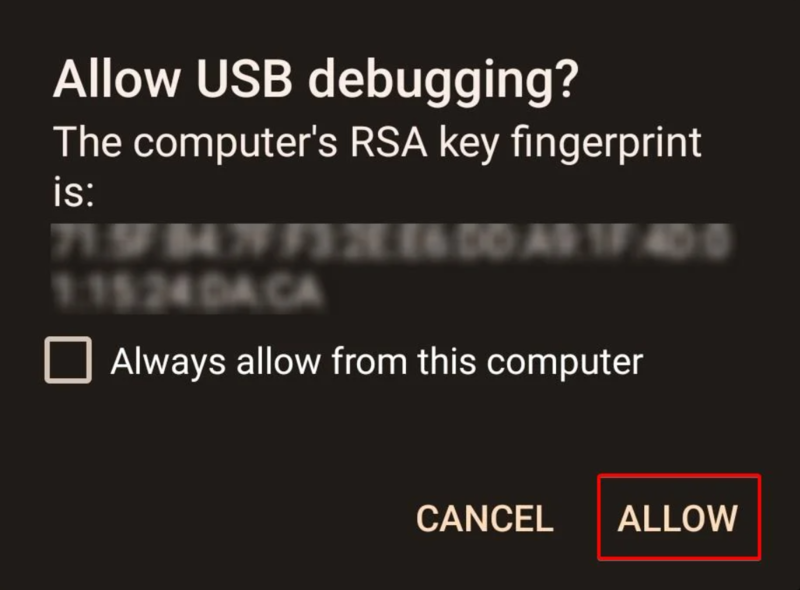
If you get a prompt asking you to accept your machine’s RSA key fingerprint, tap ALLOW on your phone.
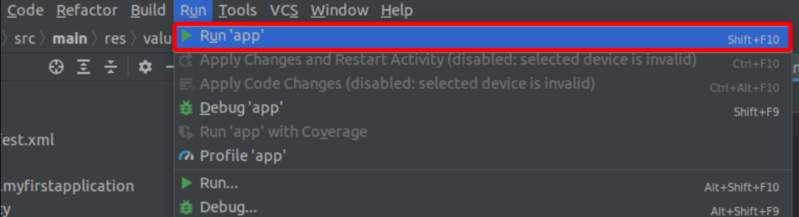
To run your application, hit Shift+F10 while in Android Studio.
You will receive a Launch successfully notice (bottom-left) if the run is successful. Your phone will automatically install your application, although it will take some time.
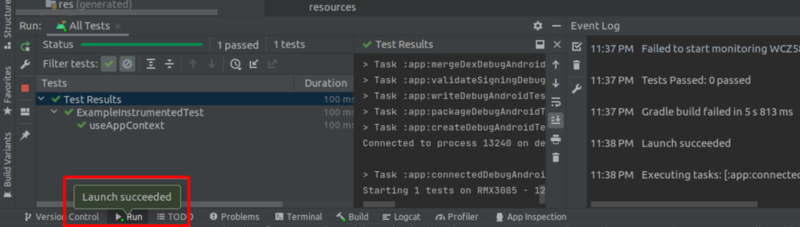
Now, your first Android app must now be running on your phone.
Uninstall Android Studio on Debian and Ubuntu
When you installed Android Studio in your system, and you found out that you do not need it anymore or for any other reason, you can easily uninstall it from your system.
sudo snap remove android-studioIf you don’t intend to reinstall Android Studio, you may use the following command to tidy up your system and remove the imported PPA:
sudo add-apt-repository --remove ppa:maarten-fonville/android-studio -yThe Android Studio PPA file on your system will be deleted by this command, making sure it is no longer accessible for software installations.
FAQ
How to access Android Studio forums?
The Android Developers Google Group is a useful resource for developers to discuss Android-related topics, including Android Studio, even though there isn't an official Android Studio forum or mailing list.
What is Android Studio most used shortcuts?
Keyboard shortcuts are available in Android Studio to make your work more productive. Ctrl + N, Ctrl + Shift + N, and Ctrl + Shift + R are a few frequently used keyboard shortcuts for creating new files, classes, and running programs, respectively.
What is Android Studio emulator?
You can test your application on an emulator using Android Studio. Click the "AVD Manager" button in the toolbar to start the emulator. You can launch, edit, and create virtual devices from here.
Conclusion
In this article, you learned How to Install Android Studio on Ubuntu & Debian. All developers who prefer to produce top-notch Android applications on Ubuntu must have Android Studio. Developers will have access to a robust IDE with a variety of tools for creating, testing, and debugging Android applications with Android Studio.
In this way, you have your first Android app and a working development environment. So, you can give your apps features or even create a new app and upload it to the Google Play store. If you follow the above steps properly then you can install Android Studio on Ubuntu & Debian without any errors but do not hesitate to contact us if you encounter any problems. Our technical support team will try their best to solve your problems.
Related Article : What is Debian OS