How to Install Caddy on Linux
Do you still receive the message that your website is ‘’Not Secure’’ while submitting login information on Chrome or Firefox? Install Caddy on Linux eliminates this issue. Caddy is a simple and secure web server that helps you with better website hosting. Since Caddy manages SSL/TLS certificates using Let’s Encrypt automatically to enable HTTPS, you can expect secure traffic between your users and your server. So, join us with this article to learn how to build Caddy and host your website secured with HTTPS.
As a general-purpose web server, Caddy is an alternative to an Apache web server. Regardless of the distribution, you are using, this content will be useful for you to learn how to install and configure Caddy on your machine as a fast, open-source web server.
Prerequisites to Install Caddy on Ubuntu, CentOS, or Debian
To let this tutorial works better, consider the below options and move on.
- A system running any Linux distribution you prefer.
- A non-root user with
sudoprivileges. - An updated system using the command below:
sudo apt-get update && sudo apt-get upgradeTutorial Install Caddy on Linux
Install Caddy on Linux or on your specific considered distribution helps you to host a Website with HTTPS. Caddy is a security-focused web server written in Go which is an open-source programming language and includes so many modern features. Some of the most significant advantages of Caddy are:
- Available for All known Platforms – Windows, Linux, BSD, Mac, and Android.
- Speedy HTTP requests using HTTP/2.
- Full support for the latest IPv6.
- Easy to deploy and use.
And more.
1. Build Caddy on Linux
As we mentioned, not different what platform and which architecture you are using since Caddy comes with ready-to-use binary packages.
To install Caddy on Linux, firstly, you can build Caddy from the source. According to your needs, use xcaddy to download and build Caddy and its plugins:
cd /tmp
wget https://github.com/caddyserver/xcaddy/releases/download/v0.3.1/xcaddy_0.3.1_linux_amd64.tar.gz
When the download is completed, extract only the binary:
tar xvf xcaddy_0.3.1_linux_amd64.tar.gz xcaddyThen, you can use the command below to move the xcaddy executable to /user/bin and make it accessible system wide.
sudo mv xcaddy /usr/binNow, you can create a separate directory to store Caddy.
mkdir ~/caddyThen, run the command below to navigate to the created directory:
cd ~/caddyRun the command below to build the latest version of Caddy:
xcaddy buildJust wait some time to finish. In this way, Caddy will be built without any third-party plugins. Now that the caddy executable is available, you can move it to /usr/bin to install it.
sudo mv caddy /usr/binOnce you are finished, check if you have installed Caddy or not:
caddy versionWhen you see the running version in the output, you can make sure that the executed Caddy is built successfully.
To let Caddy be launched automatically on system startup, configure a systemd service. Since Caddy requires its own user and group in order to run as a systemd service, run the command below to create the group:
sudo groupadd --system caddyNow, create a new user called caddy that belongs to the caddy group:
<span style="color: #ff0000;">sudo useradd</span> --system \
    --gid caddy \
    --create-home \
    --home-dir /var/lib/caddy \
    --shell /usr/sbin/nologin \
    --comment "<span style="color: #00ff00;">Caddy web server</span>" \
    caddy
Now, the new caddy user must have its own home directory created. While its shell is set to nologin , you should change the ownership of the Caddy binary to the root user to let it be logged in as caddy .
sudo chown root:root /usr/bin/caddyContinue reading to find the installation path for Installing Caddy on Ubuntu, Debian, and CentOS.
2. Install Caddy in CentOS, RedHat, and Fedora
To install the latest version of Caddy from the CORP repository under Fedora or RHEL/CentOS, run:
# dnf install 'dnf-command(copr)'
# dnf copr enable @caddy/caddy
# dnf install caddy
The above commands work on CentOS 8. To install Caddy on RHEL/CentOS 7, type:
# yum install yum-plugin-copr
# yum copr enable @caddy/caddy
# yum install caddy
3. Install Caddy in Debian and Ubuntu
If you are running Debian or Ubuntu, use the commands below to install Caddy on them.
$ echo "deb [trusted=yes] https://apt.fury.io/caddy/ /" \
    | sudo tee -a /etc/apt/sources.list.d/caddy-fury.list
$ sudo apt update
$ sudo apt install caddy
4. Configure Caddy in Linux
After a successful installation, you are ready to configure Caddy on your Ubuntu, CentOS, or Debian to serve static files from your server. Firstly, create a basic HTML file called index.html in /var/www :
sudo nano /var/www/index.htmlAdd the following lines:
/var/www/index.html
<!DOCTYPE html>
<html>
<head>
<title>Hello from Caddy!</title>
</head>
<body>
<h1 style="font-family: sans-serif">This page is being served via Caddy</h1>
</body>
</html>
When the file displays a heading with the text ‘’ This page is being served via Caddy’’ in a web browser, save and close it.

Caddy reads its configuration from a file called Caddyfile, stored under /etc/caddy. So, create and open the file for editing:
sudo nano /etc/caddy/CaddyfileAdd the following lines:
/etc/caddy/Caddyfile
http:// {
    root * /var/www
    encode gzip
    file_server
}
Save and close the file, when you are done
5. Start and Enable the Caddy Service
In this part, you can check if everything is working correctly. So, check if the Caddy could be started or not.
systemctl start caddyThen, use the following command to view the information on the Caddy service status:
sudo systemctl status caddyOnce you view the active (running) status in the output, it means all is ok with your installation, and you can visit your server’s IP in a web browser.
Setup domains with Caddy in Linux
So far, you learned how to install Caddy on Linux. According to the above commands, you can install Caddy on your running Linux distro. Generally, you can open your favorite browser and point to the address below to see the caddy welcome page.
http://Server-IP
OR
http://yourdomain.com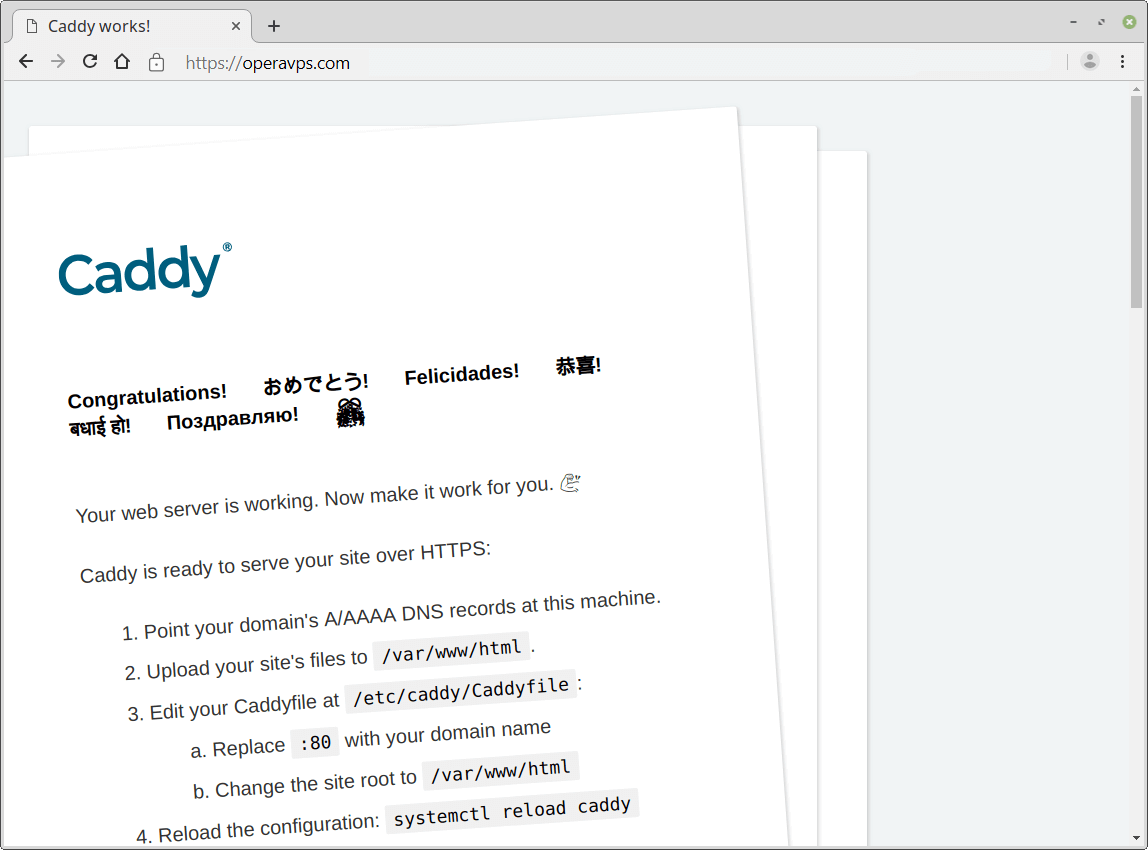
As you see, the lock symbol in the URL bar means that the website is served with HTTPS.
Also, in this last section, you will learn how to set up a domain. To do this, point your domain’s A/AAAA DNS records at this server in your DNS control panel. Then, you need to create a document root directory for your website "example.com" under folder /var/www/html.
$ mkdir /var/www/html/example.comOpen and edit the caddy configuration file at /etc/caddy/Caddyfile.
# nano /etc/caddy/CaddyfileNow, replace :80 with your domain name and change the site root to /var/www/html/example.com. Next, to let the configuration change save, reload the Caddy service.
# systemctl reload caddyAt this point, you can create your own HTML page and save the page under the document root directory for your website.
# touch /var/www/html/example.com/index.htmlAdd the following sample HTML code to your website’s index page.
# echo '<!doctype html><head><title>Caddy Test Page at OperaVPS</title></head><body><h1>Hello, World!</h1></body></html>' | sudo tee /var/www/html/index.htmlSo, if you visit your site, you can see the below page:

When your domain serves over an HTTPS protocol, you will have a secure connection.
Does Caddy suitable for dynamic websites?
Matthew Holt – The Project leader of Caddy claims that Caddy is designed for humans. So, no matter if your site is static or dynamic, Caddy is for you.
Conclusion
in this article, you learned How to Install Caddy on Linux. After installing and configuring Caddy on your server, you successfully served static pages at your considered domain and secured with free Let’s Encrypt TLS certificates. Caddy will automatically renew certificates from Let’s Encrypt, and serve your site over a secure connection using the newer HTTP/2 protocol. Whether you are a new user or experienced, you will find Caddy a simple and secure web server.
If you encounter any problems during your installation, please do not hesitate to contact us. Our technical support team will try their best to solve your problems.