How to Install DirectAdmin on CloudLinux Easily
Install DirectAdmin on CloudLinux to manage websites, domains, and emails easily via a user-friendly control panel. This guide covers essential installation steps and system requirements.
🤖AI Overview:
Installing DirectAdmin on CloudLinux offers a streamlined control panel for effortless management of hosting services. This guide details the installation process, necessary system configurations, and licensing, ensuring a secure and efficient setup.
Benefits of Installing DirectAdmin on CloudLinux
The web-based Direct Admin graphical web hosting control panel and hosting platform makes administering websites on the server quick and easy. The ability to manage the website at the Admin, Reseller, and User levels is provided by Direct Admin. It is compatible with the majority of Linux operating systems, including CloudLinux, CentOS, Ubuntu, Debian, Fedora, FreeBSD, and Red Hat, as it only operates on Linux platforms.
One of the advantages of Direct Admin is how lightweight it is. It is also portable, which enables users to use the web browser on their mobile smart devices from anywhere in the world and take advantage of the program’s functions when you install DirectAdmin on CloudLinux. To make website management jobs easier, DirectAdmin is compatible with programs like Apache, MySQL, Exim, PHP, Perl, BIND, and Dovecot. The ideal tool for novice and less experienced users, Direct Admin was created under the exclusive license of JBMC for the simplicity of maintaining websites and may therefore be presented as a cost-effective, dependable control panel with good performance.
Install DirectAdmin on CloudLinux gives you access to all the features available in web hosting control panels. Features like phpMyAdmin, MySQL, SSL, web server configuration, SSH, and email server settings are immediately accessible. Additionally, you will get round-the-clock assistance with any problems you may have with the product. DirectAdmin provides the three access levels of Admin, Reseller, and User. The DirectAdmin Web Control Panel makes it simple to create a variety of accounts from the Administrator or Reseller access level. With full access to the server, administrators can establish additional Admin or Reseller accounts in DirectAdmin. User accounts can also be created by resellers.
Join us with this guide to review all the simple required steps to Install DirectAdmin on CloudLinux and enjoy all the mentioned features of it.
Prerequisites to Install DirectAdmin Control Panel
To Install DirectAdmin on CloudLinux, your machine needs to meet all the below specifications. If you are expecting high traffic levels then you will need more memory, processor power, and hard drive space than we recommend here.
- A Clean operating system.
- Ensure SSH is installed and working.
- 6.x 32/64-bit, 7.x 64-bit, 8.x 64-bit Version of CloudLinux that is supported by DirectAdmin.
- A non-root user with
sudoprivileges. - 1 GB of RAM. 2 GB is recommended.
- 2 GB of swap.
- 2 GB of disk space.
- At least 500 MHz Processor.
- At least 1 Core CPU.
- A domain that you want to point on DirectAdmin for a hostname.
- Valid Client ID & License ID from DirectAdmin.
- At least one static IPv4 address. If you have two IP addresses, it will be good for DNS Server.
Quick Method to Install DirectAdmin on CloudLinux
Due to its dependability and cost, DirectAdmin has emerged as one of the market’s top control panels as a result of numerous revisions over the past few years. Now that you prepared the above requirements and purchased your own license, you are ready to proceed with the steps of installing the DirectAdmin control panel on CloudLinux which are easy and simple.
Step 1. Install Wget Command
To go through the installation process, start with Updating your system and installing the Wget command.
yum updateOnce you see the question: Is this ok? Enter the Y key to resume updating your server.

After a successful update, run the command below to install the Wget command:
yum install wgetYou will be prompted with the same question during the wget installation as last time: Is this okay? and we’ll press the Y key to continue installing wget.
Step 2. Install Required Packages & Repositories
Run the command below for the prerequisite installation of DirectAdmin on CloudLinux.
yum install psmisc net-tools systemd-devel libdb-devel perl-DBITo continue the installation process, enter the Y key.
Step 3. Disable Firewall
In this step, you should disable the firewall. to do this, type:
setenforce 0Now, the firewall must be disabled automatically.
Step 4. Download DirectAdmin Installation
It is time to download the DirectAdmin installation script. Simply run the command below to do so.
wget http://www.directadmin.com/setup.shThen, you can change the downloaded setup file permission with the following command:
chmod 755 setup.shIn this way, the permission of the downloaded setup file is changed.
Step 5. Run the Installation Script
You are so close to completing Install DirectAdmin on CloudLinux. In this step, use the following command to run the Installation Script and Confirm the prerequisite package of DirectAdmin Installation.
./setup.shAfter executing the installation script, you will be prompted with a few questions. Confirm the installation of the DirectAdmin packages by selecting Y for each question. Also, you will need to enter the hostname, License key, and client key that DirectAdmin gives.
Note: Do NOT use a domain that you plan on using for the hostname.
Once the installation is completed, you should be able to access your username and password.
Step 6. Use DirectAdmin on CloudLinux
As the final step. you are ready to access your Directadmin control panel. To start using DirectAdmin, open your browser you can access your IP address along with 2222 port. Also, you must open the 2222 port in the system/cloud firewall. To do this, run:
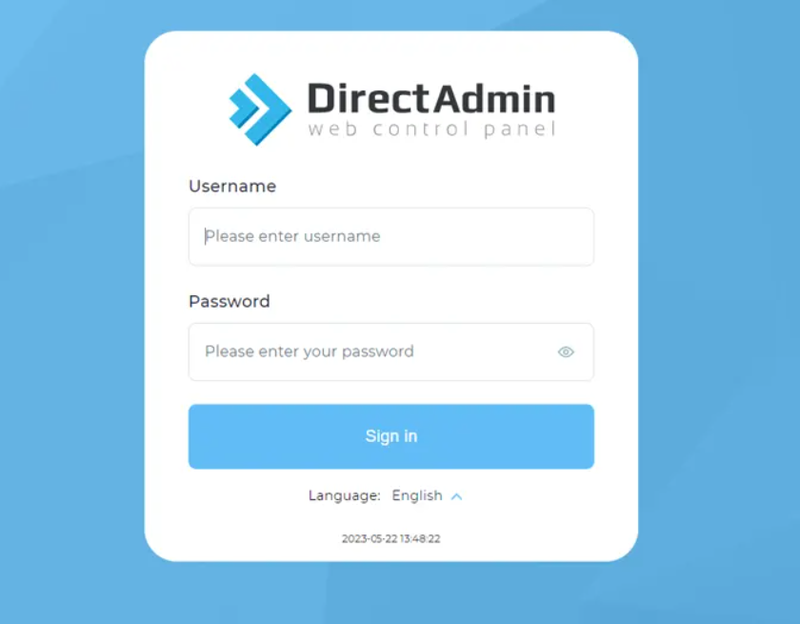
firewall-cmd --permanent --zone=public --add-port=2222/tcpUsing the provided URL, you can now access the DirectAdmin Login page, where you can input your username and password to gain access to the Direct Admin control panel environment.
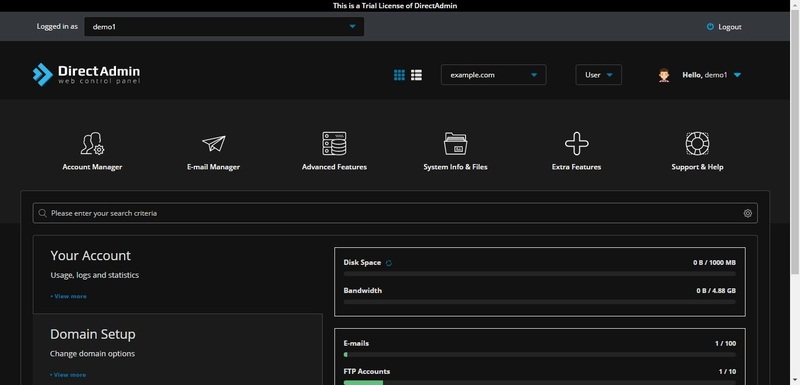
You may utilize the interface to create Users, Resellers, manage Domains, and more once you have seen the screen below. Scroll through the dashboard to find various settings and learn about them.
Congratulations! Install DirectAdmin on CloudLinux is finished now. So, you can start using it and enjoy all its brilliant features.
Conclusion
Installing DirectAdmin on CloudLinux provides a powerful and efficient platform for managing shared hosting environments. CloudLinux ensures stability and security by isolating users and managing resources, while DirectAdmin offers a straightforward control panel to handle all hosting needs.
By following the step-by-step instructions in this guide, even beginners can confidently set up DirectAdmin on their CloudLinux server.
Remember to keep your system updated, monitor service health, and apply security best practices to maintain a robust hosting environment. This combination will provide reliable hosting services for your clients or personal projects with ease and peace of mind.
FAQ
2. What are the system requirements for DirectAdmin on CloudLinux?
A clean CloudLinux OS version 7.x or 8.x, at least 1 GB RAM, 2 GB swap, 2 GB disk space, a 500 MHz CPU or better, and one static IPv4 address.
3. What prerequisites are needed before installation?
SSH access, a sudo-enabled user, valid DirectAdmin license, client IDs, and a domain name for the hostname.
4. How do I install DirectAdmin?
Update your system, install necessary packages, disable firewall temporarily, download and run the installation script, and follow prompts.
5. How can I access DirectAdmin after installation?
Visit "http://your-server-ip:2222" in your browser and log in using your provided admin credentials.
6. What benefits does DirectAdmin offer on CloudLinux?
It provides a fast, user-friendly interface for managing hosting services including email, databases, and DNS.
7. What if issues occur during installation?
Check prerequisites, firewall settings, and consult the official DirectAdmin documentation or support for help.
8. Can DirectAdmin be used on mobile devices?
Yes, DirectAdmin is browser-based and accessible on mobile devices for remote management.
9. Is DirectAdmin compatible with other Linux distributions?
Yes, it supports CentOS, Ubuntu, Debian, Fedora, FreeBSD, and Red Hat alongside CloudLinux.
10. What user roles does DirectAdmin support?
It supports Admin, Reseller, and User roles with varying levels of server management permissions.