Install Magento on Ubuntu in 10 Easy Steps
Install Magento on Ubuntu by preparing your system, installing PHP, Nginx, MySQL, Elasticsearch, and Composer, then downloading and configuring Magento. Secure your site with SSL for safe online store operations.
🤖AI Overview:
Install Magento involves setting up the Magento e-commerce platform on an Ubuntu server. This process includes installing essential software like PHP, MySQL, Nginx, Elasticsearch, and Composer, followed by Magento installation and configuration. Secure your store with SSL for reliable online access.
Prerequisites to Install Magento 2 on Ubuntu 20.04 & Ubuntu 22.04
You can use multiple servers for your Magento deployments to improve eCommerce performance. Before installing Magento on your Ubuntu server, make sure that your system is meeting below specifications:
- A Server running Ubuntu VPS.
- A non-root user with
sudoprivileges. - Root SSH access on ubuntu.
- High resources of CPUs, memory, and disk.
Complete Guide to Install Magento on Ubuntu
Installing and Using Magento on Ubuntu allows you to create your own online store in a short amount of time. Let’s go through the steps of this guide and learn How to Install Magento on Ubuntu and use its great performance and user-friendly interface by accessing the Magento admin panel on localhost.
Step 1. Update System to Prepare for the Installation
Before getting started and install Magento on Ubuntu, you need to prepare your system. To do this, repositories must be updated and packages need to be upgraded. So, log in to your Ubuntu VPS with SSH as a root user (Or as a regular user with sudo privileges) and run the command below to update Ubuntu repositories and upgrade packages to the latest version:
ssh opera@IP_Address -p Port_numberKeep in mind to replace your server’s IP address and SSH port number.
Then, run the command below to check the Ubuntu version you have installed on your server:
$ lsb_release -aLastly, run the command below to update your system:
$ sudo apt update && sudo apt upgradeStep 2. Install PHP
To install Magento on Ubuntu, you need to complete this step because Magento requires PHP and a few PHP extensions to operate well. Adding a third-party PHP PPA would be helpful to install PHP. Since PHP might not be installed by default on your Ubuntu version, you can run the following command to add a repository for it and the PPA to update the package list:
sudo apt install software-properties-common && sudo add-apt-repository ppa:ondrej/php -y
sudo apt update
PHP 8.1 is completely compatible with Magento 2.4.4. To install PHP 8.1’s most recent stable version together with all of its modules, run the following command.
$ sudo apt install php8.1-{bcmath,common,curl,fpm,gd,intl,mbstring,mysql,soap,xml,xsl,zip,cli}To satisfy Magento’s minimal needs, you can now increase the values of a few PHP variables:
$ sudo sed -i "s/memory_limit = .*/memory_limit = 768M/" /etc/php/8.1/fpm/php.ini
$ sudo sed -i "s/upload_max_filesize = .*/upload_max_filesize = 128M/" /etc/php/8.1/fpm/php.ini
$ sudo sed -i "s/zlib.output_compression = .*/zlib.output_compression = on/" /etc/php/8.1/fpm/php.ini
$ sudo sed -i "s/max_execution_time = .*/max_execution_time = 18000/" /etc/php/8.1/fpm/php.ini
Step 3. Install Nginx Web Server
A web server is necessary for Magento to operate. You can choose Apache and Nginx as your web servers. In this guide, we are going to run the Magento application over the LEMP (Linux, Nginx, MySQL, PHP) stack.
$ sudo apt install nginxTo create an NGINX server block for your domain, type:
$ nano /etc/nginx/sites-enabled/magento.confThen, enter the following into the configuration file:
upstream fastcgi_backend {
server unix:/run/php/php8.1-fpm.sock;
}

server {
server_name yourdomain.com;
listen 80;
set $MAGE_ROOT /opt/magento2;
set $MAGE_MODE developer; # or production

access_log /var/log/nginx/magento2-access.log;
error_log /var/log/nginx/magento2-error.log;

include /opt/magento2/nginx.conf.sample;
}
When you are finished, save and close the file.
Step 4. Install MySQL Server
As a database server stores all the content for a Magento shop, you need a database server to run Magento. Also, you need to set up the MySQL server, make a database for Magento, and create a user.
To install the MySQL package which is called mysql-server in Ubuntu repositories, run:
sudo apt install mysql-serverNext, you need to set up the MySQL security settings correctly. Thankfully, a security script that comes with the MySQL package makes setting up MySQL server a lot simpler. Consequently, run the following command to run this script:
sudo mysql_secure_installationOnce you are finished, for the purposes of the optimal setting for the MySQL server, you will be prompted with multiple questions:
- Would you like to setup VALIDATE PASSWORD component?[y/n]: Enter
Y - There are three levels of password validation policy.
- Please enter 0 = LOW, 1 = MEDIUM and 2 = STRONG: Enter
2
- Please set the password for root here.
- New Password: Enter a Password for MySQL root user.
- Re-enter new password: Repeat your chosen password.
- Remove anonymous users? [y/n]: Enter
Y - Disallow root login remotely? [y/n] : Enter
Y - Remove test database and access to it? [y/n] : Enter
Y - Reload privilege tables now? [y/n] : Enter
Y
Press Y for all the mentioned questions. Next, log in to the MySQL server as a root user to confirm and validate that the MySQL server is installed and operating as intended by:
sudo mysqlWhen prompted, enter your sudo user password and press enter. The unix_socket is used by the MySQL root user to authenticate logins. This basically means that in order to log into the MySQL server as the root user, you must be a sudo user.
Step 5. Install Elasticsearch & its Repositories
To get closer to install Magento on Ubuntu, you must set up Elasticsearch as the catalog search solution in Magento 2.4.x installations. Since Elasticsearch might not be available on your Ubuntu repository, you would better to add the Elasticsearch repository to the system.
Use the following command to install the required dependencies:
$ sudo apt install apt-transport-https ca-certificates gnupg2 -yTo import the GPG key, type:
$ wget -qO - https://artifacts.elastic.co/GPG-KEY-elasticsearch | sudo apt-key add -Now, you can add the Elasticsearch repository by running the command below:
sudo sh -c 'echo "deb https://artifacts.elastic.co/packages/7.x/apt stable main" > /etc/apt/sources.list.d/elastic-7.x.list'To continue and install Elasticsearch, use the following commands to update the repository cache and install Elasticsearch:
$ sudo apt update -y
$ sudo apt install elasticsearch -y
Once the Elasticsearch is installed, you can enable the service. To do this, run:
$ sudo systemctl --now enable elasticsearchIn this way, you are ready to check if Elasticsearch is working correctly. Simply type:
$ curl -X GET "localhost:9200"Step 6. Install Composer
Composer is a PHP dependency manager designed to simplify the installation of PHP libraries and frameworks. For Magento to be downloaded and installed on Ubuntu, Composer is required.
To install Composer, run the command below:
$ curl -sS https://getcomposer.org/installer -o composer-setup.php$ sudo php composer-setup.php --install-dir=/usr/local/bin --filename=composerWhen you installed the Composer successfully, you can use the following command to check the Composer version:
$ composer -VStep 7. Download and Install Magento on Ubuntu
In this step, you will see how to install Magento 2.4.4 using Composer. To do this, you need an access key. So, you must create an account at the magento.com website and then, go to the Marketplace to create an access key.
After creating your access key, use the following command in your SSH session:
$ composer create-project --repository-url=https://repo.magento.com/ magento/project-community-edition=2.4.4 /opt/magento2The keys are displayed below. Enter the username and password.
- Username: Public Key
- Password: Private Key
The password string won’t be visible to you. Just copy it, and the composer will begin downloading Magento 2. Files for Magento are downloaded to the /opt/magento2 directory. You can alter the aforementioned command to use a different path.
$ cd /opt/magento2Then, use the following command to edit the domain name, email address, and admin password.
bin/magento setup:install \
--base-url=http://yourdomain.com \
--db-host=localhost \
--db-name=magentodb \
--db-user=magento \
--db-password=magento \
--admin-firstname=admin \
--admin-lastname=admin \
[email protected] \
--admin-user=admin \
--admin-password=admin123 \
--language=en_UK \
--currency=Pound \
--timezone=England/London \
--use-rewrites=1
Once the installation is completed, the output displays ”Magento installation complete”.
Then, you can use the following command to correct the permissions:
sudo chown -R www-data. /opt/magento2Since Two-factor authentication is enabled by default, use the command below if you want to disable it:
$ sudo -u www-data bin/magento module:disable Magento_TwoFactorAuth
$ sudo -u www-data bin/magento cache:flush
Step 8. Setup Cron jobs
You can automate key system processes using cron job in linux. To create the cron jobs for Magento, run:
$ sudo -u www-data bin/magento cron:installStep 9. Install an SSL Certificate for Magento Site
When installation is finished, the Magento website is deployed and immediately accessible. However, you’ll need to set up an SSL certificate for your domain if you wish to serve web traffic over HTTPS. Free TLS certificates are offered by the nonprofit certificate authority Letsencrypt. We’ll be using a package called certbot, which assists with automatically configuring the NGINX virtual host and obtaining the certificate.
To install Certbot, enter the following command in the terminal:
$ sudo apt install certbot python3-certbot-nginxAdditionally, make sure the email address you’ll use to register for Letsencrypt and the domain name you want to use are pointed to the same IP address on your server.
To install a fresh SSL certificate for your domain name, run the following command. Make sure to replace yourdomain.com with the name of your real domain or subdomain:
$ sudo certbot --nginx -d yourdomain.com -d www.yourdomain.comSelect the option ‘2’ and choose to redirect HTTP traffic to HTTPS:
- - - - - - - - - - - - - - - - - - - - - - - - - - - - - - - - - - - - - - - - - - - - - - - - - - - - - - - - - - - - - - - -
1: No redirect - Make no further changes to the webserver configuration.
2: Redirect - Make all requests redirect to secure HTTPS access. Choose this for
new sites, or if you're confident your site works on HTTPS. You can undo this
change by editing your web server's configuration.
- - - - - - - - - - - - - - - - - - - - - - - - - - - - - - - - - - - - - - - - - - - - - - - - - - - - - - - - - - - - - - - -
Select the appropriate number [1-2] then [enter] (press 'c' to cancel): 2Then, you can test the configuration file by running the command below:
$ sudo nginx -tYou can reload NGINX if no error messages appear.
sudo systemctl reload nginxTo update the Magento base-URL and base-URL-secure values, add the following CLI commands:
$ cd /opt/magento2/
$ sudo -u www-data bin/magento setup:store-config:set --base-url="https://yourdomain.com/"
$ sudo -u www-data bin/magento setup:store-config:set --base-url-secure="https://yourdomain.com/"
Step 10. Access Magento on Ubuntu
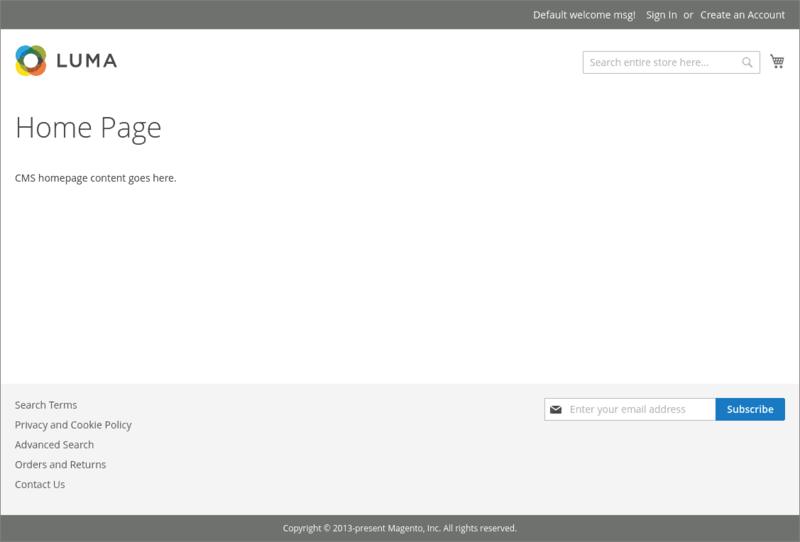
By now, you reviewed how to install Magento on Ubuntu and successfully finished the required process. Now that you have Magento 2.4.3 on your Ubuntu server, it is time to check if Cerbot is working correctly or not. To do this, open your preferred browser and visit your domain https://yourdomain.com.
You should see the Magento default homepage similar to the screenshot below if your Magento installation was successful.
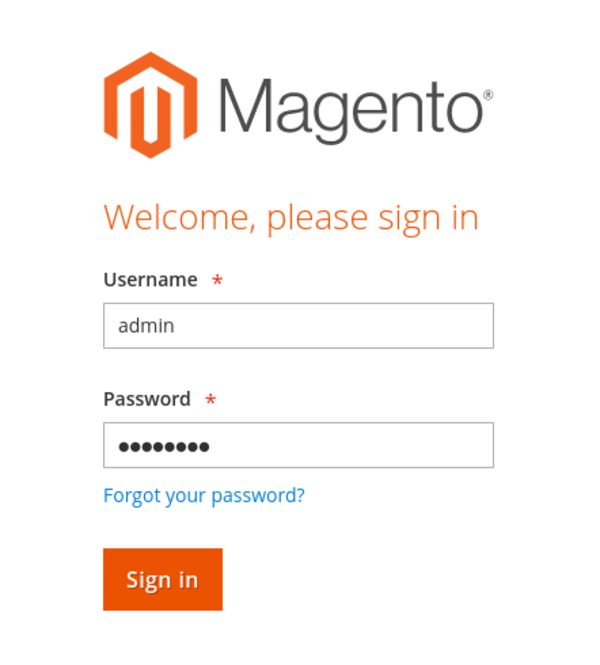
The Magento login page should now appear after you enter the generated admin path URL. Enter your login credentials and click the “Sign In” button.
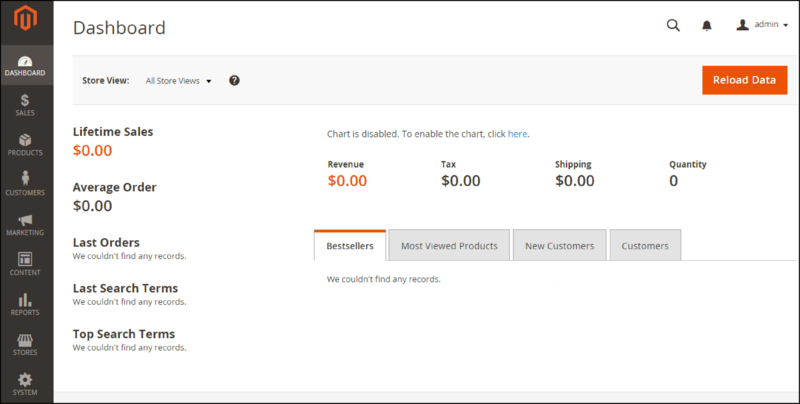
The Magento administration dashboard should now be available to you.
That’s it! You can start modifying your store to suit your requirements. Visit the Magento Docs page to find out more about store development and Magento.
Conclusion
Learning how to install Magento properly sets a solid foundation for your e-commerce journey. By following the steps outlined in this guide, you will have a fully functional Magento store ready to be customized and expanded.
Remember that Magento installation is just the beginning — ongoing management, optimization, and security practices are key to a successful online business.
If you need further assistance, Magento’s official documentation and community forums are excellent resources. Installing Magento is an empowering step toward establishing your presence in the digital marketplace. Take your time, follow best practices, and enjoy building your online store.
FAQ
2. Which software is necessary before installing Magento?
Install PHP with required extensions, Nginx, MySQL, Elasticsearch, and Composer.
3. How do I prepare Ubuntu for Magento installation?
Update packages using "sudo apt update" and "sudo apt upgrade" commands.
4. What PHP version is recommended for Magento?
Use PHP 8.1 or the latest version supported by the Magento release.
5. How do I secure Magento with SSL?
Use Certbot to install a Letsencrypt SSL certificate and configure Nginx for HTTPS.
6. How is Magento installed using Composer?
Generate Magento access keys, then run "composer create-project" with your credentials.
7. How to configure the Magento database?
Set up MySQL server, secure it, create a database, and grant privileges for Magento.
8. How do I enable cron jobs for Magento?
Run "bin/magento cron:install" as the "www-data" user to automate tasks.
9. How to access the Magento admin panel?
Go to your domain URL and log in using your admin username and password.
10. What if there are errors during installation?
Check requirements, review logs, confirm permissions, and seek support if needed.