How To Install OpenCart On CentOS 7

How To Install OpenCart On CentOS 7

Open cart is one of the best online store building systems (E-commerce CMS) available as open-source and free. Using an Onlineshop, you can create your own store, add products to sell products through global online payment gateways, review products, and carefully study users’ sales and behavior. Then check it with the help of data and increase your sales by examining and optimizing your strengths and weaknesses.

About CentOS 7

This post will teach you how to install OpenCart on centos 7; All previously released versions of CentOS are based on the RHEL and binary versions of the Red Hat product; All programs available for the business system, without restrictions and additional compilers, also work. In early 2014, Red Hat staff and developers of the (still independent) CentOS project formed a so-called “board.” Since then, the team has been primarily responsible for further development and distribution support from various workgroups (system core, support, design, etc.).

Stay with us to Install OpenCart on CentOS 7

centos capa 720x405 1

Why CentOS 7?

CentOS Linux is a community-supported distribution derived from sources freely provided to the public by Red Hat for Red Hat Enterprise Linux (RHEL). As such, CentOS Linux aims to be functionally compatible with RHEL. The CentOS Project mainly changes packages to remove upstream vendor branding and artwork. CentOS Linux is no-cost and free to redistribute. Each CentOS version is maintained for up to 10 years (through security updates — the duration of the support interval by Red Hat has varied over time for Sources released). A new CentOS version is released approximately every 2 years, and each CentOS version is periodically updated (roughly every 6 months) to support more recent hardware. This results in a secure, low-maintenance, reliable, predictable, and reproducible Linux environment; So for more efficiency in centos 7 and its easy to use, now we will use it to install OpenCard.

Install Putty

You must use putty software to connect and log in to the server. Putty software is client-side software. This means that a server must exist at the network level for the software to connect to it. Our server is the same SSH service currently running on our server, and if the server is down or the SSH service is not running properly, we will not be able to connect to the server via the SSH protocol. 

install opencart on centos 7

What Is A LAMP SERVER?

LAMP stands for Linux Apache MySQL PHP. If you are a PHP developer, you are probably familiar with all these things. But a very brief explanation of each of these cases is provided.
Apache: One of the most popular web servers in Linux. Other web servers include Nginx and Lighttpd.

MySQL: A database management system through which we can make our web pages dynamic and interactive using the ability to store and retrieve data.

PHP: A server-side programming language with which we can write server-based web pages and Web APIs.

WHAT IS LAMP

Requirements ( LAMP )

The first step to installation opencart is to install a lamp on CentOs 7

Next, to install opencart on centos7 :

Installing Apache’s Virtual Host 

After that; Here you must have the following items on your CentOS 7 tradition :

  1. Web server (recommended to use Apache webserver)

      2. PHP 7.2

      3. Database (suggested database is MYSQLi )

The required PHP libraries and modules are:

  • Curl
  • Zlib
  • GD
  • Library
  • Mcrypt
  • Mbstrings

———————————————————————————-

Install Lamp Important Commands

Note: You will install these commands after the installation of the lamp will be finished.

Now; You should also make sure that user permissions are set up correctly and do not have any problem:

Step 1) Make Sure Your Firewalld / Iptables Do Not Block Any Ports

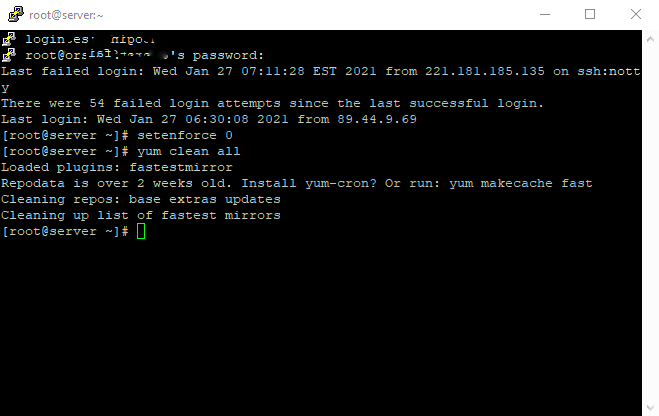
To disable SELinux, type the following command:

setenforce 0

Let’s update CentOS 7 tradition; This will help you keep your server up to date.

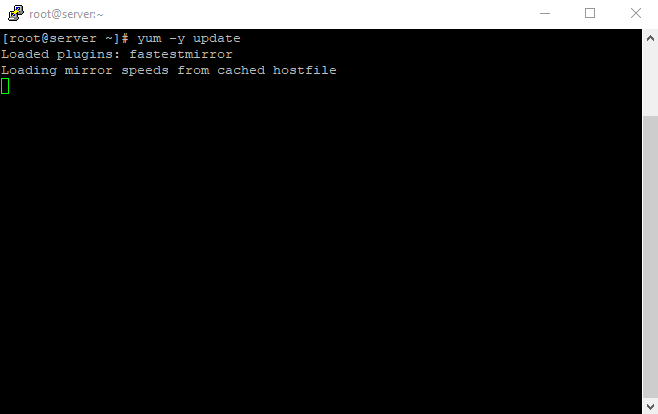
To do this, run the following commands one after the other according to the photos and wait for the update; this operation will take some time.

sudo yum clean all 

sudo yum -y update

1 yum clean all

The update will be started:2021 01 30 03 45 47 Window
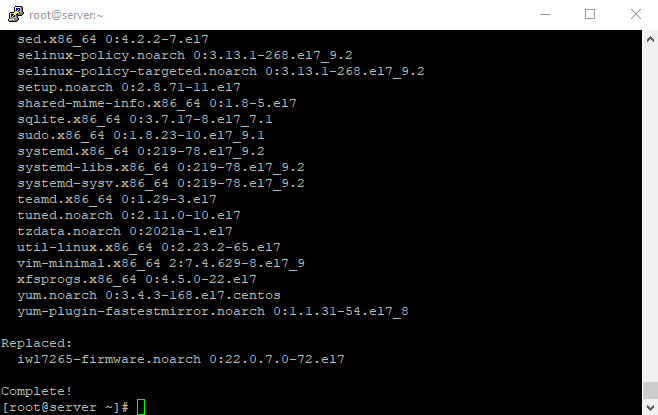
Update now finished:
2 yum y update

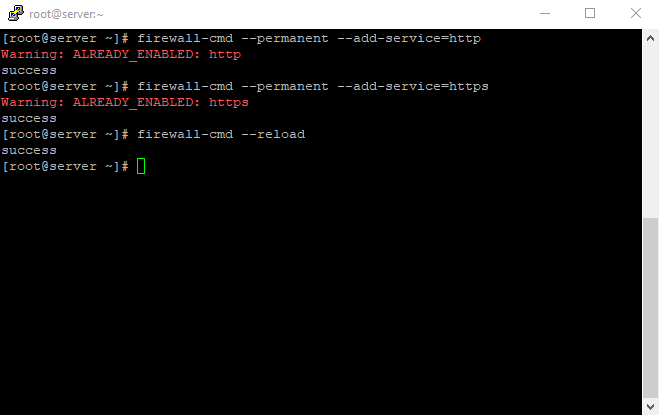
You will have installed firewalls on your server, and you’ll need to open up port 80 to allow Apache to serve requests over HTTP. If you haven’t already done so, you can do this by enabling the firewall’s HTTP service with the following command line :

sudo firewall-cmd --permanent --add-service=http 
sudo firewall-cmd --permanent --add-service=https 
sudo firewall-cmd --reload
I already used the commands, but if you use them; You can see all of them on Success:
firewalled 1

Step 2) Securing The MariaDB Server

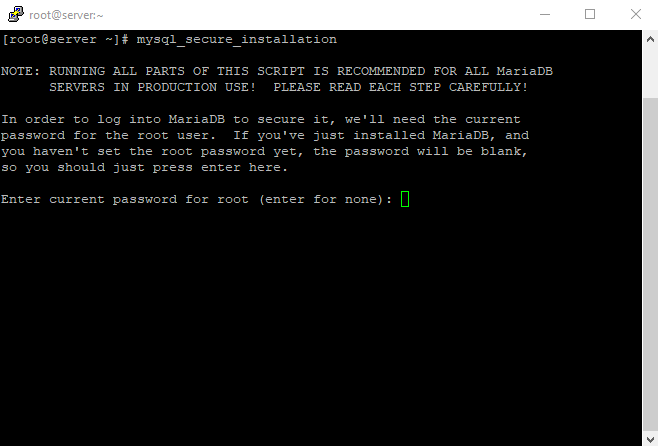
MariaDB includes a security script to change some of the less secure default options for remote root logins and sample users.
Use this command to run the security script:
sudo mysql_secure_installation

Here You should press Enter button to set the password for MySQL.

1 mysql secure installation 1

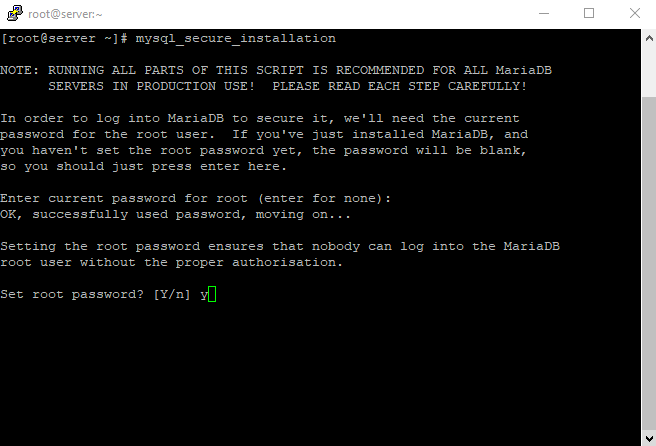
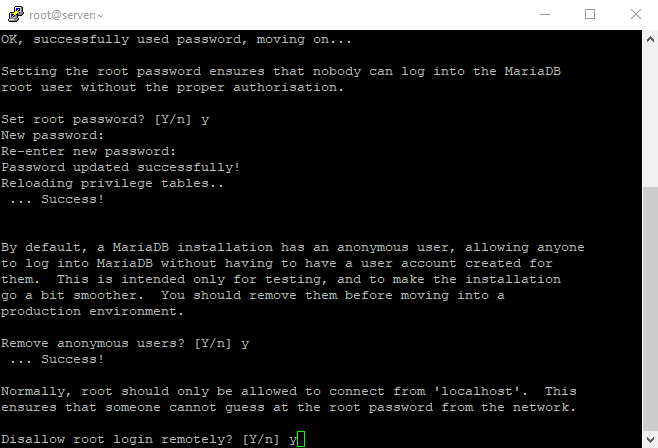
Your mind encounters the following items: will ask you for a new password, press Y, and then enter the password.

Note: do not forget your password because we need that password after installing an opencard

2 mysql secure installation 2

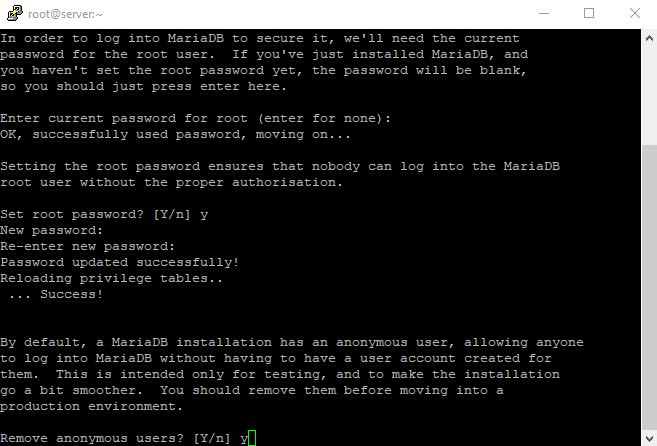
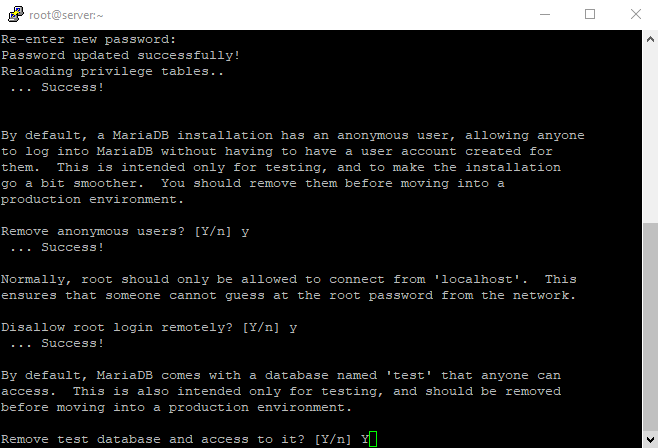
You will now have several Y / N options like the below photo, which you must answer carefully.

Type Y for Remove unknown users and then confirm it

3 mysql secure installation 3

similar to the last photo, we have to type Y for accepting disallow login remotely

4 mysql secure installation 4

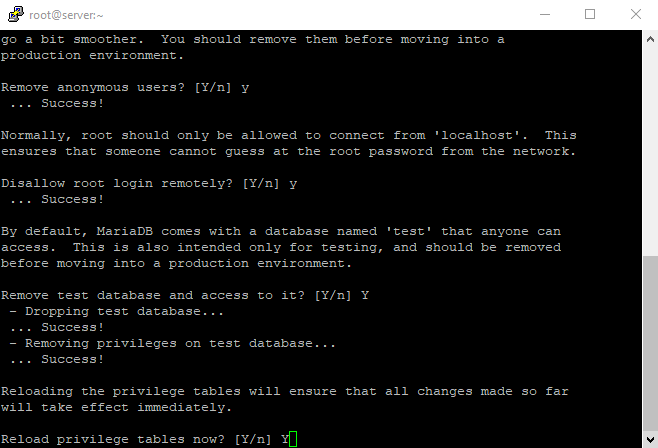
we have to type Y to remove test database and access it then verifies it like last times

5 mysql secure installation 5

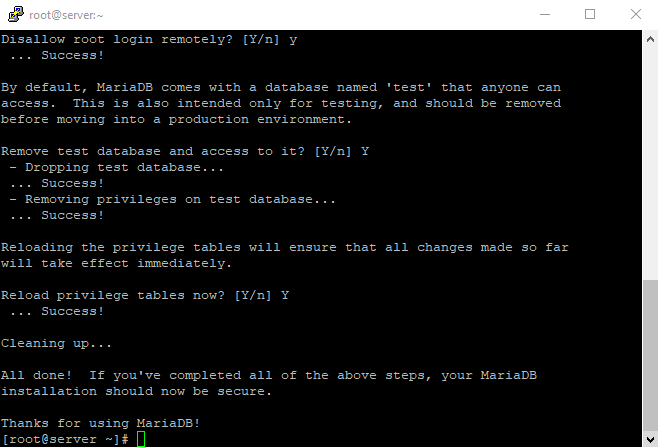
And the last question is Reload privilege tables now? we will type Y again

6 mysql secure installation 6

Now, after confirming all of them, we finished the installation of MariaDB. In the below photo, we can see that.

7 mysql secure installation 7

————————————————————————————————————–

step 3) Install Yum-Utils Packages

You can install that by using the command below:

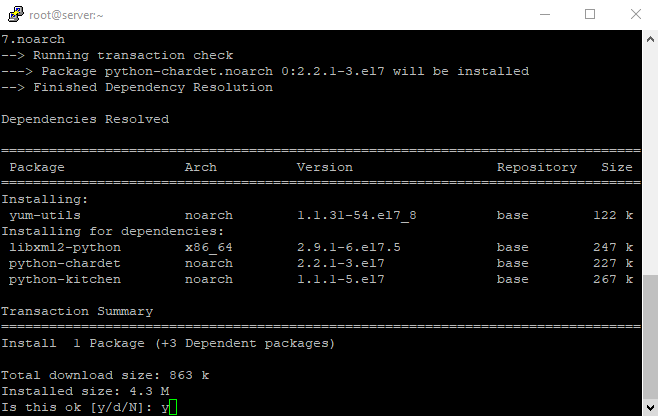
$ sudo yum install yum-utils

We have to confirm the installation by typing Y and enter it:

Install yum utils packages section 1 confirm 1

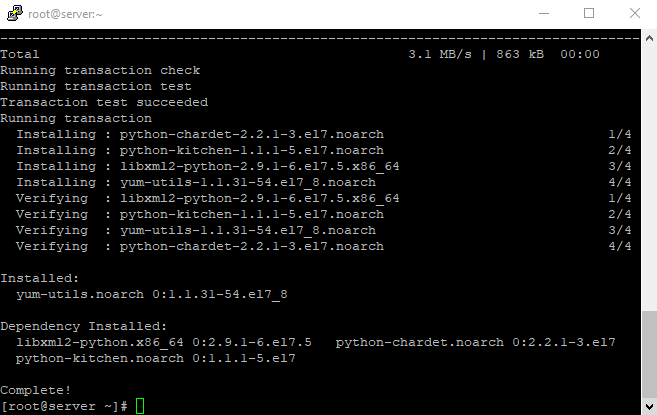
Now the structure of utils packages have been completed

Install yum utils packages completed install

 Step 4) Modify The Config File Of PhpMyAdmin

We can use this command :

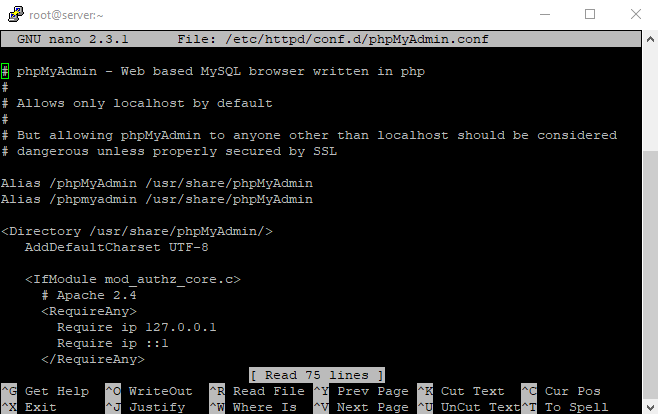
sudo nano /etc/httpd/conf.d/phpMyAdmin.conf

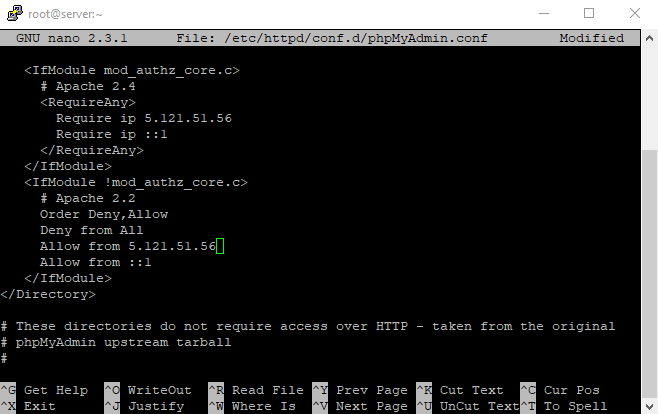
Since we are assessing our server remotely (via ssh), we need to modify some lines to specify your home connection’s IP address.

The first location is the <Directory /usr/share/phpMyAdmin/> section as shown below:

1 change directory show files 1

Change any lines that read Require IP 127.0.0.1 or Allow from 127.0.0.1.

Note: We can change the config files with 3 ways that will say you at this section :

  1. First, you can change your home connection’s IP address. (Recommended, Security reason)
  2. For the second one, you can change your VPN IP address.
  3. The third way is that you need to replace some files so that all users can access your PHPMyAdmin.

I preferred to use the first way to have a secure connection to PHPMYADMIN:

2 change directory home ip

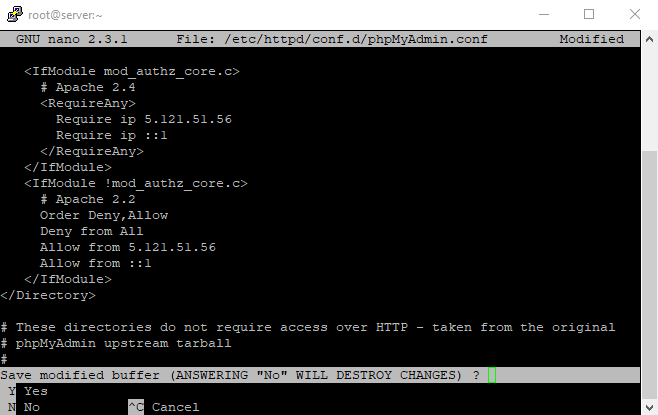
Here we need to save the changes to confirm them and enable PHPMyAdmin;

Press Ctrl+x and then press Y:

3 change directory home ip confirming

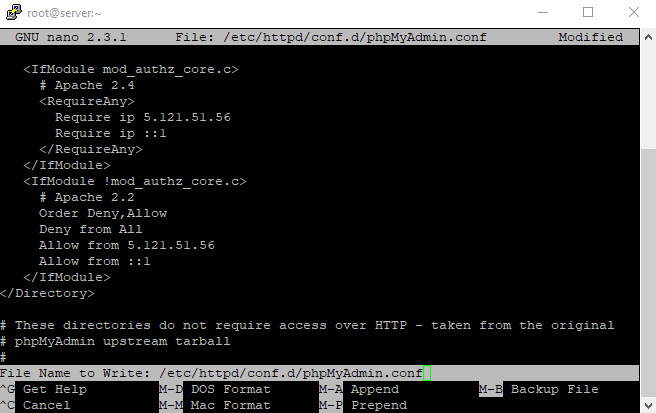
Now Press enter to confirm it:

4 change directory home ip confirming 2nd

After making the configurations;

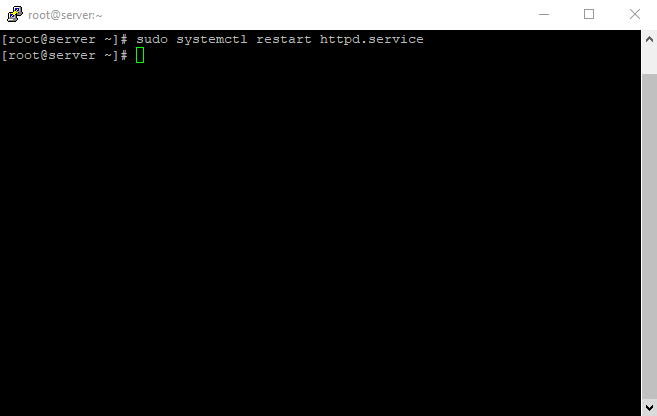
Restart the Apache webserver by typing the below command :

sudo systemctl restart httpd.service

6 After making the configurations restart the Apache web server finished

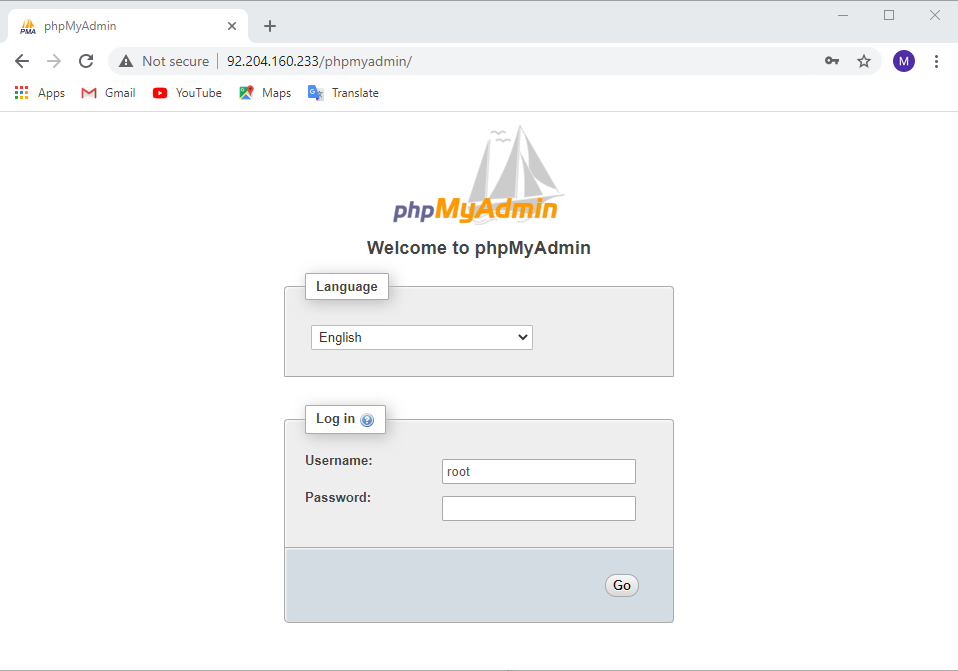
Visit your public IP address or server’s domain name followed by /phpMyAdmin, in your web browser;

http://IP/phpMyAdmin

like at the following photo:

2021 02 04 04 48 49 phpMyAdmin

Step 5) Install Mcrypt

What is Mcrypt?

The Mcrypt format is an alternative to the Unix encryption command; These commands are used to encrypt files on Linux and Unix systems; The Mcrypt PHP format acts as an interface between PHP and Mcrypt.

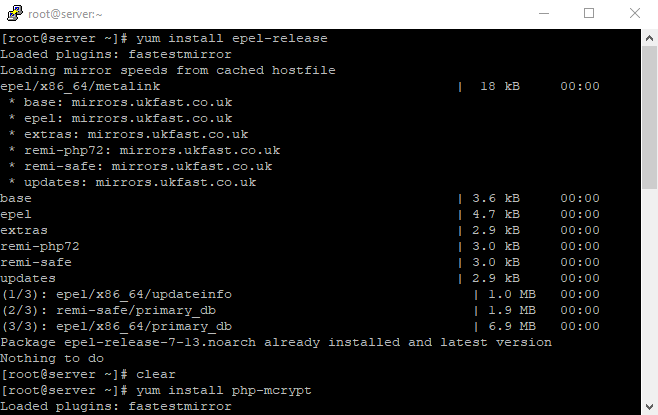
Here the way we can install Mcrypt ;

yum install php-mcrypt

2 yum install php mcrypt enter

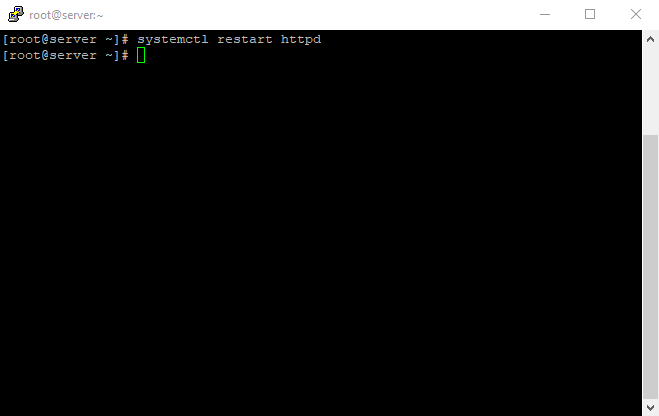
After that, restart Apache to apply the changes,

Use bellow command :

systemctl restart httpd

Already command confirmed:

systemctl restart httpd

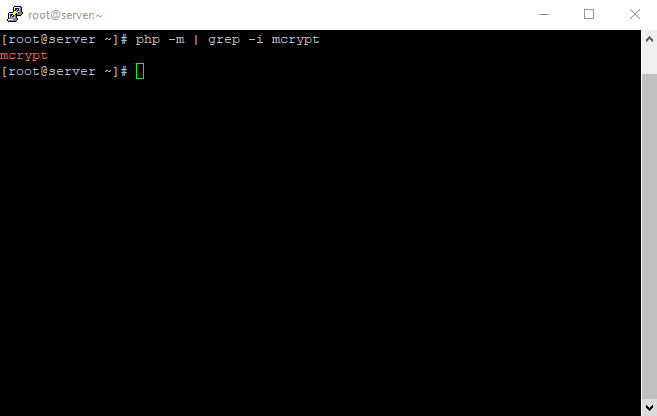
You can also check to be sure that Mcrypt has been installed;

by using this command :

PHP -m | grep -i Mcrypt

Like on the bellow photo:

2 php m grep i mcrypt finished 1

Install OpenCart 3.0.2.0

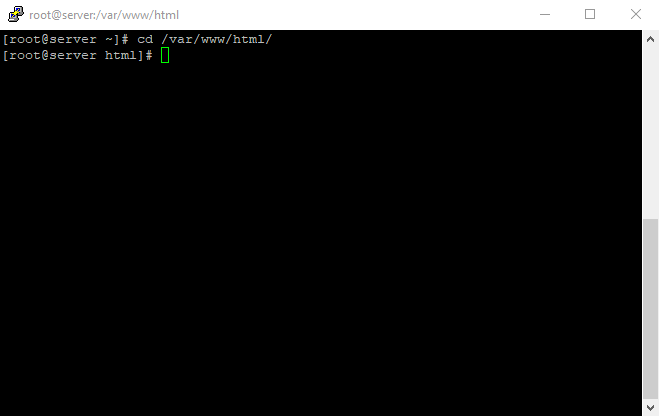
step 1) Move to cd /var/www/HTML/

cd /var/www/html/

Like in the below pictures:

1 var www html

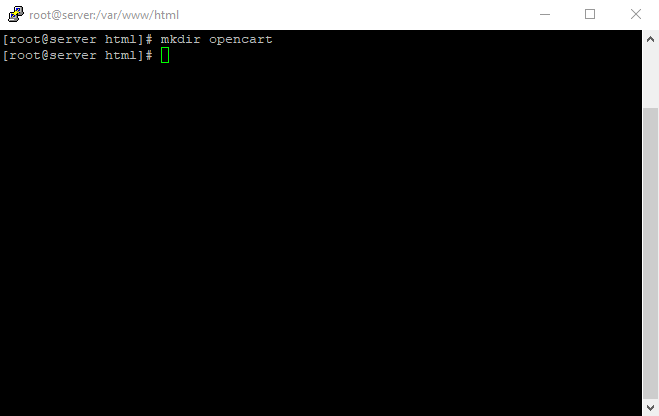
Step 2) we have to create a new folder is Opencart

Use the below command:

mkdir opencart

2 mkdir opencart

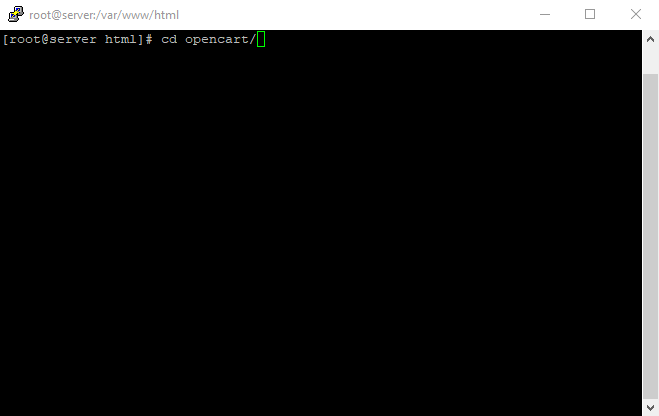
Step 3) Now Move To Opencart Directory

cd opencart/

Like in the bellow photo; press enter to create an opencart directory (folder)

3 cd opencart

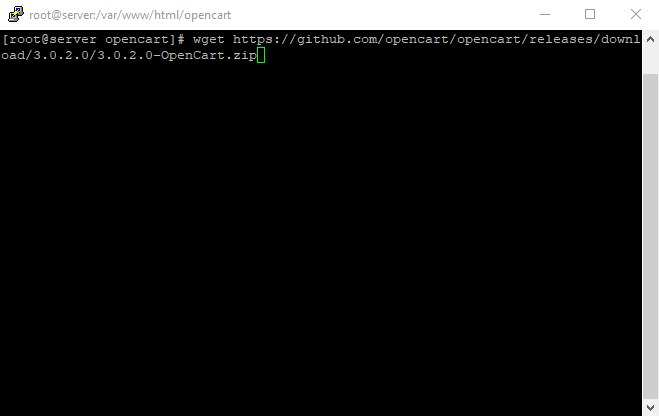
Step 4) Move into the opencart directory to start downloading opencart

Use the below command to download opencart 3.0.2.0 :

wget https://github.com/opencart/opencart/releases/download/3.0.2.0/3.0.2.0-OpenCart.zip

Following the below photo:4 download 3.0.2.0 OpenCart zip

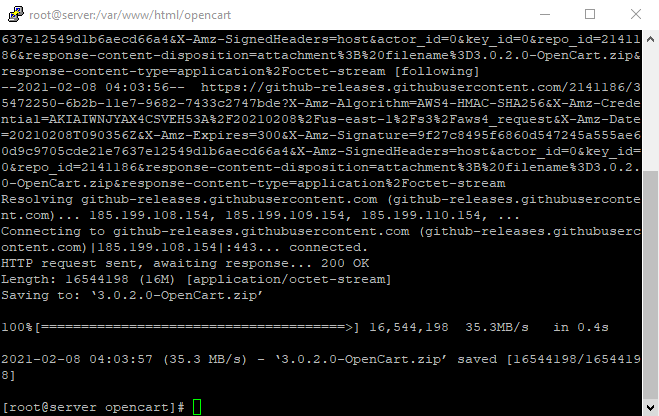
Here we can see the download of opencart 3.0.2.0 has been finished :

5opencart 3.0.2.0 downlaod finished

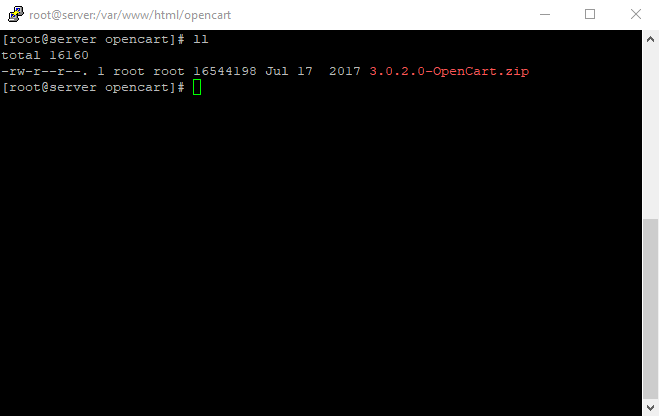
Step 5) Now You can see the list of the opencard folder.

Use the below command:

ll

Like in the following picture:

6 ll command

In the next step, we have to extract the file and set the permissions;

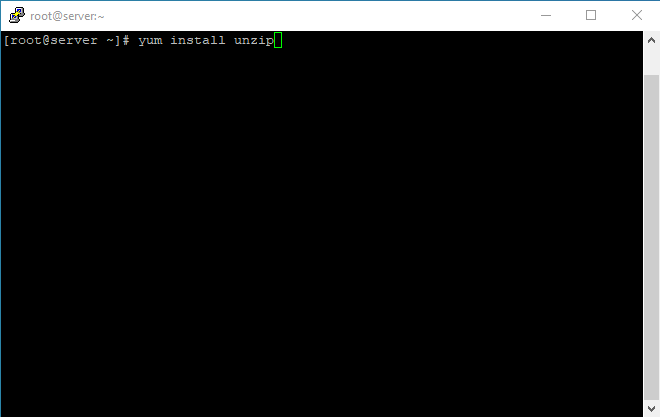
Note: You have to install UNZIP before extracting any files

Use the following command for it :

unzip 1

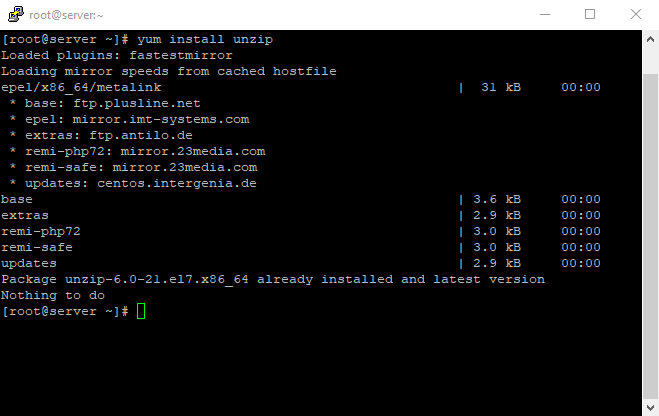
I already installed unzip:

unzip finished

We are ready to unzip the installation file of opencart 3.0.2.0

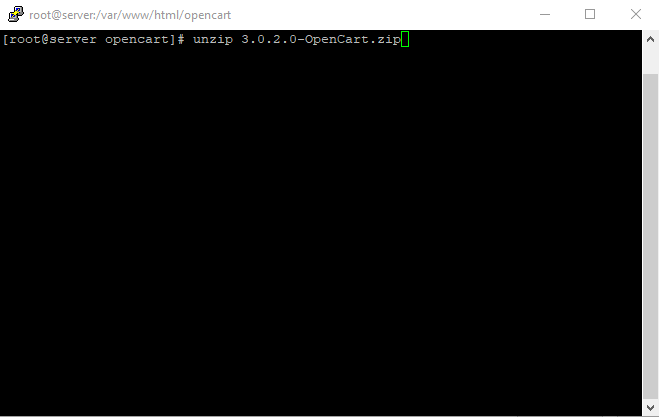
According to the below photo; You can unzip the file.

Use the following command:

unzip 3.0.2.0-OpenCart.zip

Use the command line at the following photo; press enter button to confirm unzip section:

7 unzip installation file of opencart

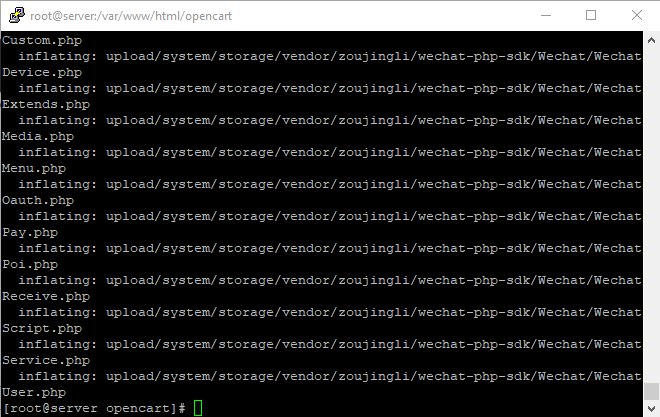
 Here you can see; We unzipped the file successfully:

8 file unzipped

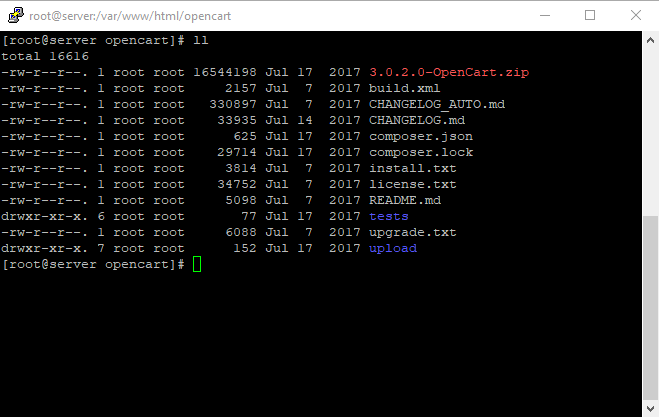
Use the long list command below side, Which allows you can see the list of the opencard folder unzipped files:

ll

Like in the following picture:

9 ll command

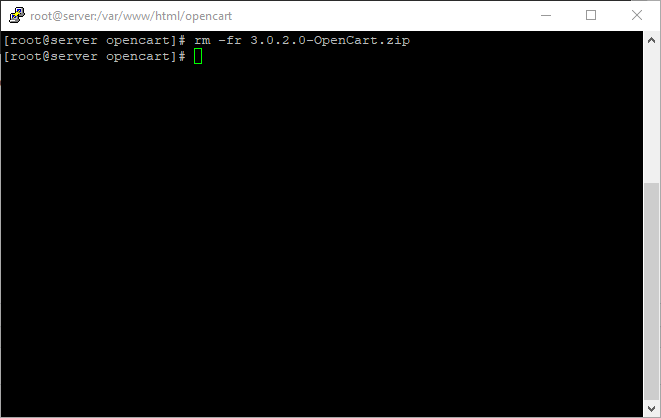
Step 6) Remove The File Which Was Downloaded The Last Time

You can use this command:

rm -fr 3.0.2.0-OpenCart.zip

like in the next photo:

10 remove downloaded file

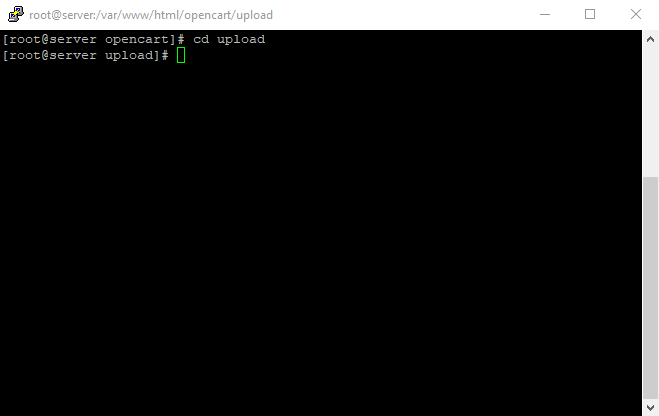
Step 7) Move OpenCart/upload

Use the below command:

Cd upload/

like at the following photo:

11 move upload

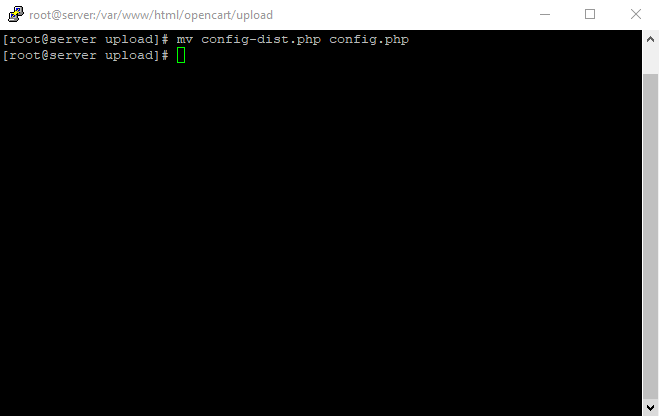
Step 8) Rename The File Config-dist.php To Config.php;

Use the following command:

mv config-dist.php config.php

According to the following photo:

12 mv config files 1

Step 9) Moved To Admin And Rename The File Config-dist.php To Config.php

Use the below command:

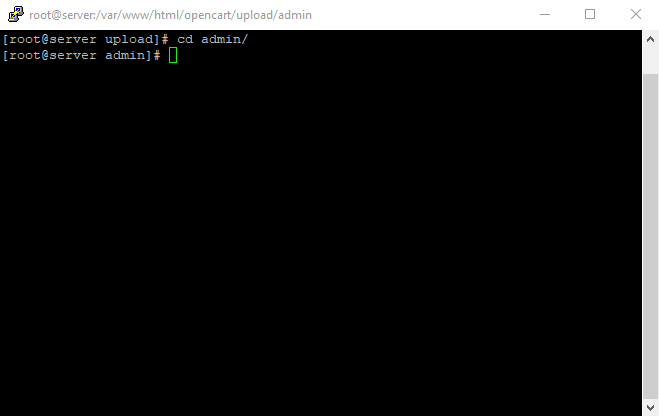
cd admin/

According to the below photo:

13 move admin

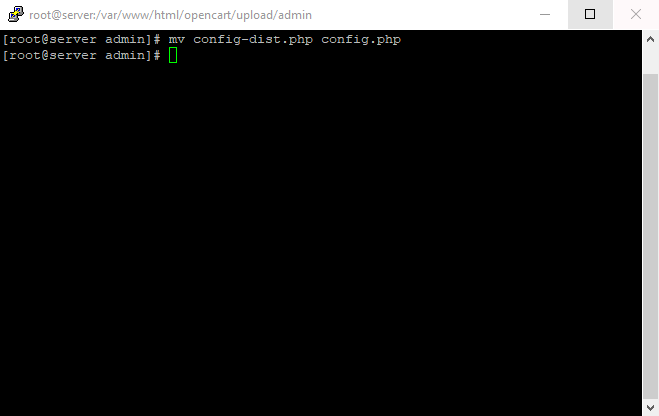
Step 10) Rename The File Config-dist.php to Config.php;

Use the following command:

mv config-dist.php config.php

According to the following photo:

14 rename config files

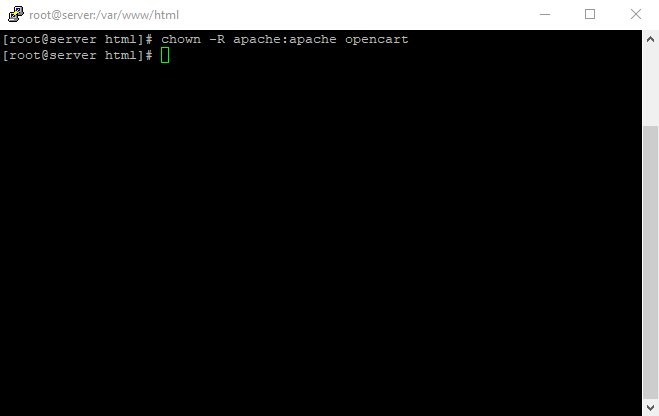
Step 11) Go Back To The HTML Folder To Set Ownership And Permission For Apache

Use the below command:

chown -R apache:apache opencart/

Like in the below photo:

15 set permissions

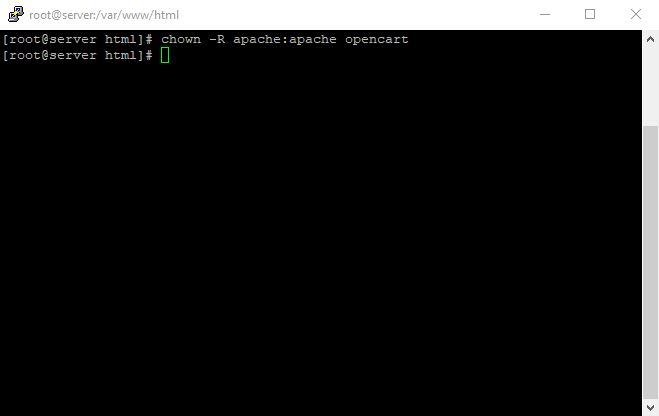
Step 12) Set Ownership And Permission For Apache

Use the below command:

chown -R 775 opencart/

Like in the below photo:

15 set permissions 1

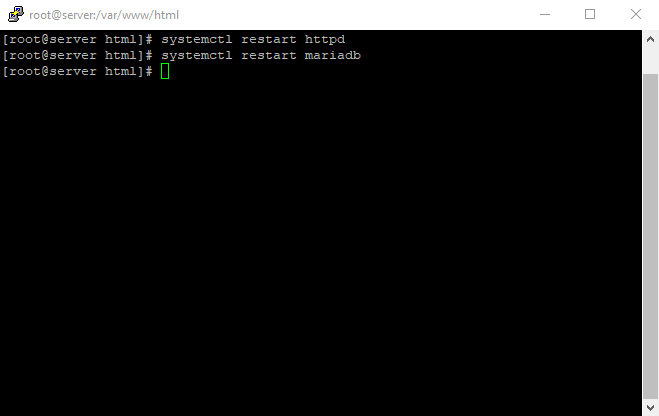
Step 13) We Need To Restart The Apache And MariaDB Services;

Use the below commands to do that:

systemctl restart httpd 

systemctl restart mariadb

Like at the following photo:

16 restart httpd and mariadb

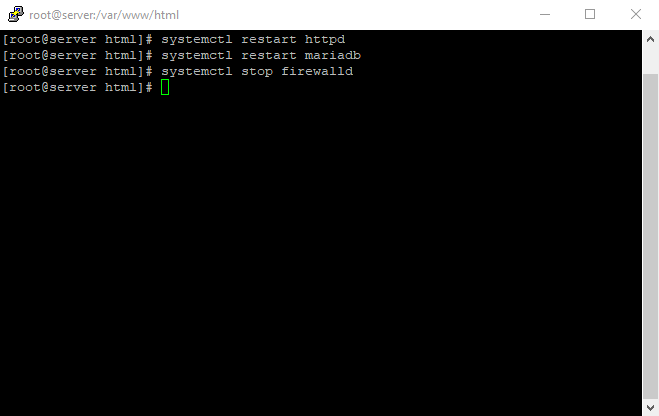
You have to stop the firewalld services;

Use the below command:

systemctl stop firewalld

Like in the below photo:

17 stop firewalld

Graphical Section Of Installing Online Shop

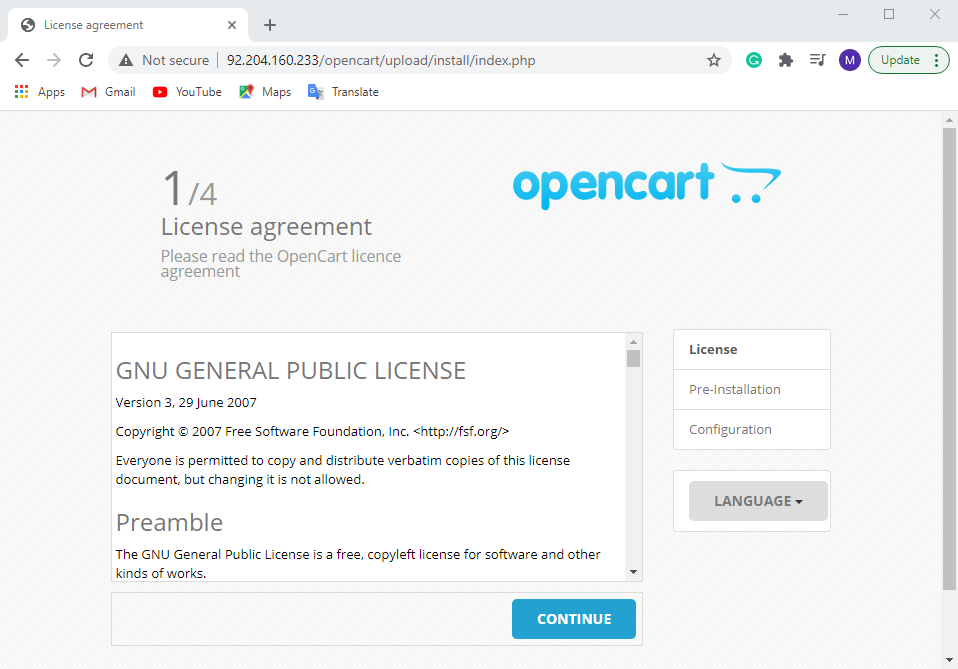
Now, Type the following in your web browser :

http://Ip-server/opencart/upload

Here you can see we are into the graphical section of installation opencart:

18 opencart 1

Click on the continue button to start the installation;

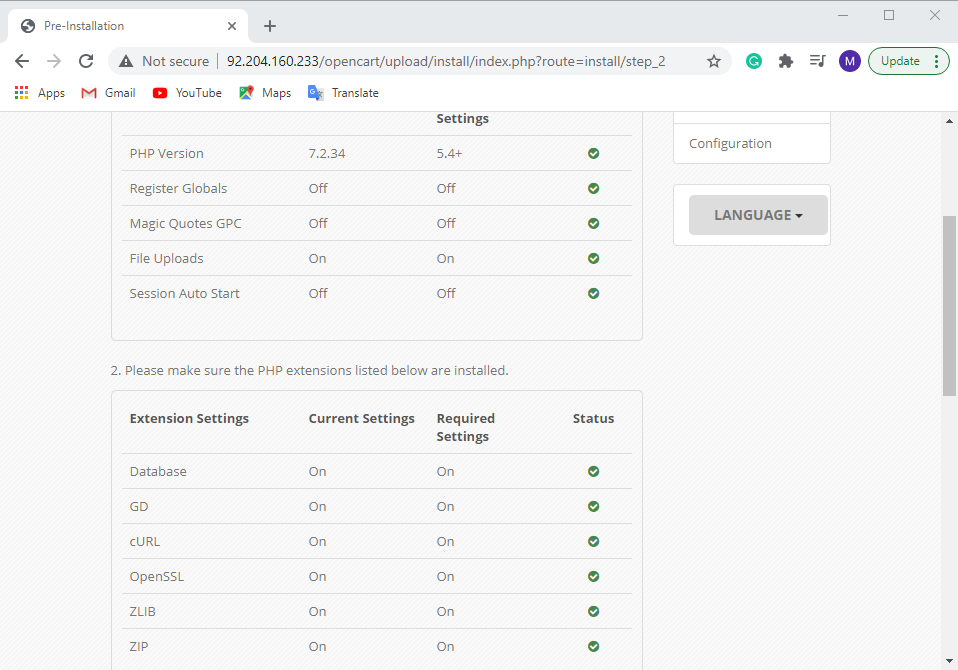
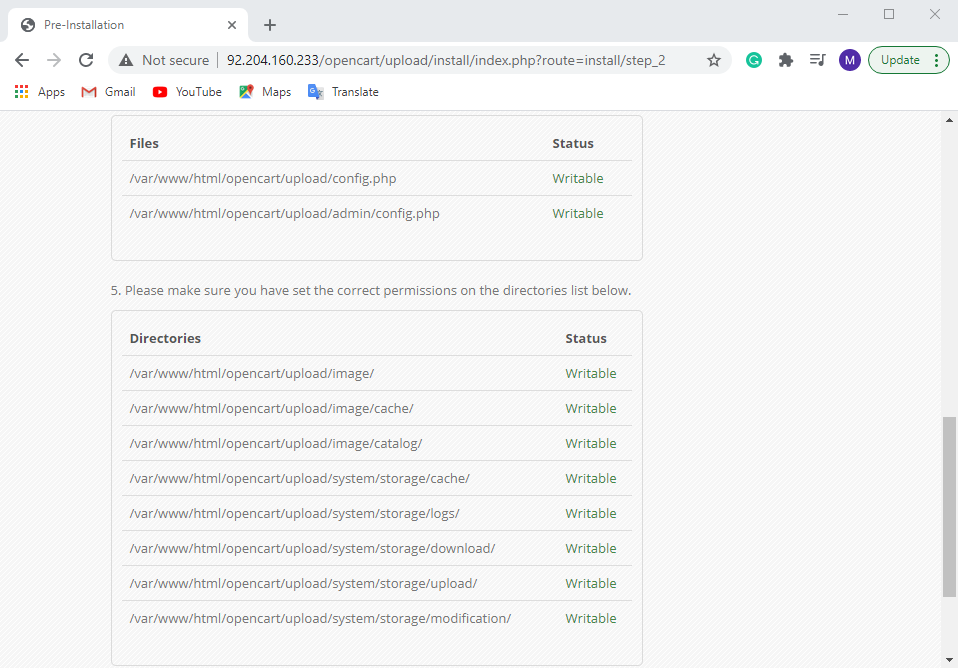
At this stage, the installer checks whether the Web server meets all the technical requirements or not; It will also check for the required permissions.

All have to set on a green mark and writable:

19 opencart 2

20 opencart 3

Now click on continue to start the third section of the installation;

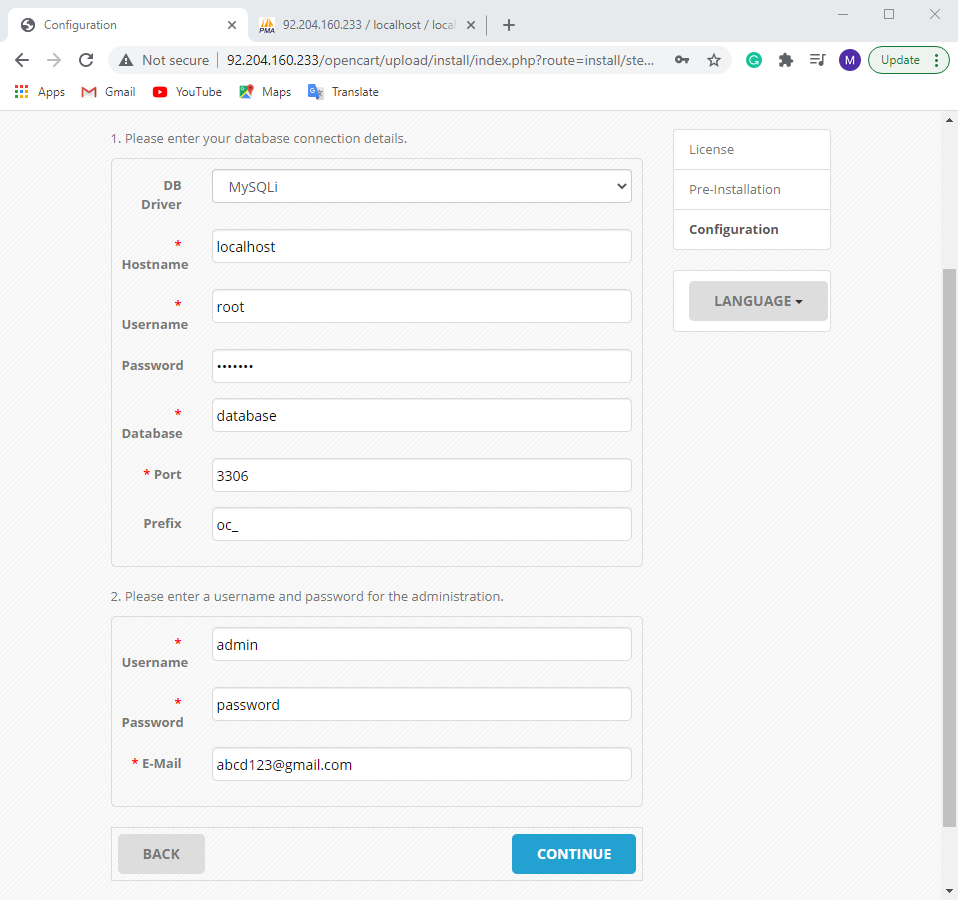
Define the Database connection details along with the user name and password for admin access on opencart.

like in the following photo:

21 opencart 4

click on continue,

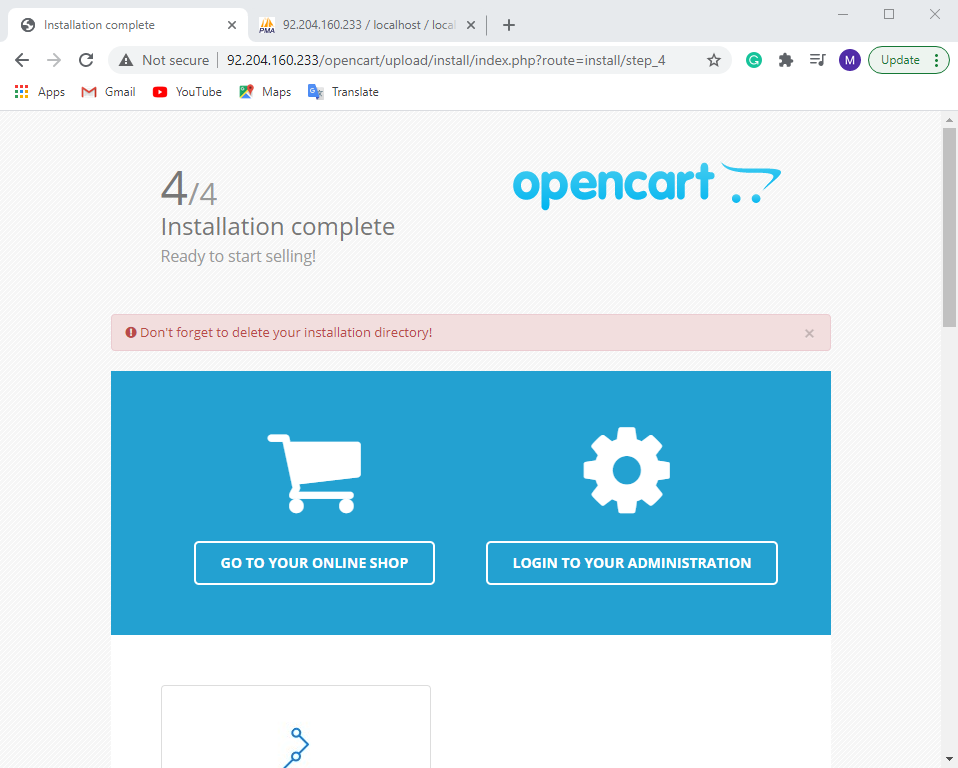
Now we can see the installation has been finished; According to the below image:

22 opencart 5

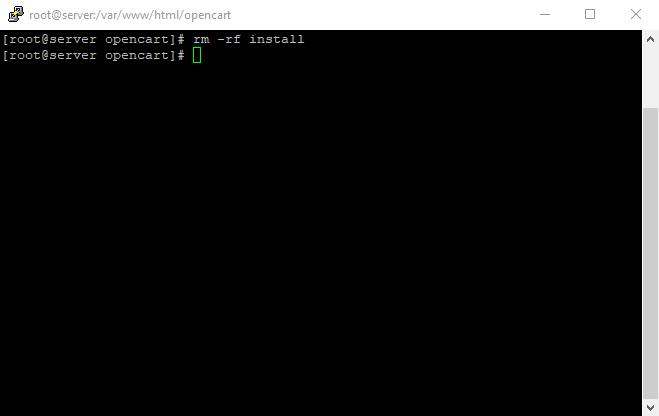
Security note: You have to delete the installation files on the server.

Go to opencart directory, delete the install folder using rm command as below command:

rm -rf install

You can see in the following photo:

23 remove installation file

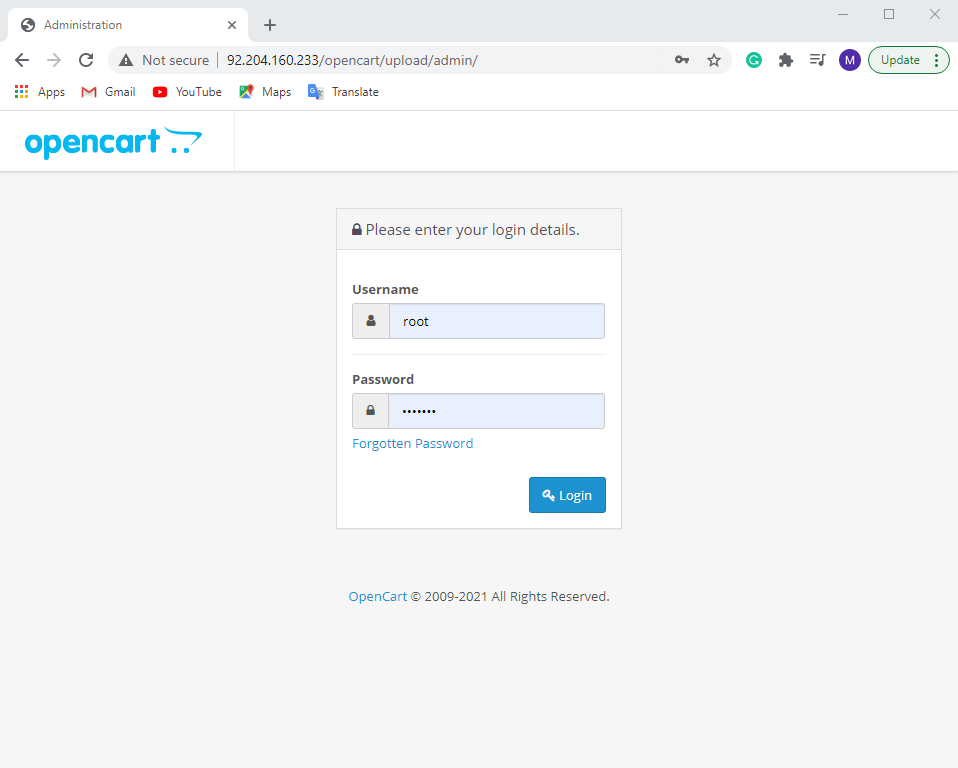
At last; Login to OpenCart Admin Panel:

You can log in it by using below:

Open the Web Browser type: http://Ip address/opencart/admin/

You can see in the below photo:

24 opencart 6

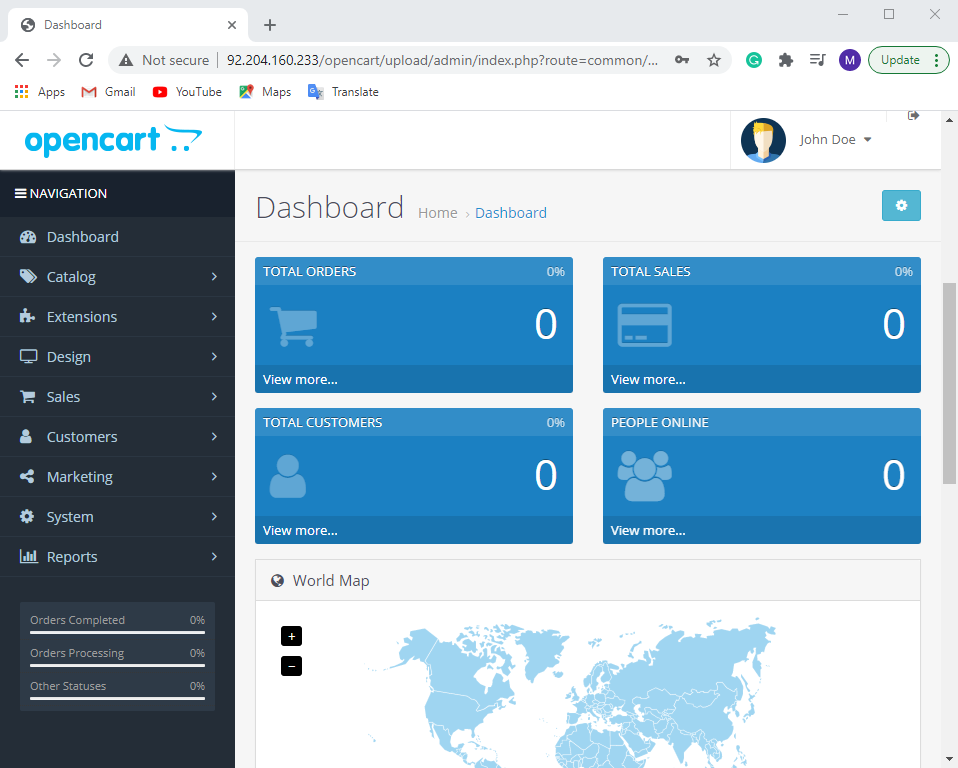
After entering the credentials, OpenCart Admin Dashboard will open as shown below :

25 opencart 7 1

The installation has been completed; You can now start your online shop work.

We already installed our online shop; Note again this, it’s so necessary to keep your opencart safe from the attackers, and don’t forget it we should need to remove installation files of opencart on the server, also if you need any help with installation opencart or need to fix existing errors or if this post was helpful to you; You can use the bellow of comment side to share your Opinion and problems also, for us; Then we can guide you at any time of the day to fix your problems of this tutorial, I’ll hope you enjoyed this post.

Leave a Reply

Your email address will not be published. Required fields are marked.