Install PHP Composer in Linux Easily [Ubuntu,Debian,CentOS]
Install PHP Composer in Linux by updating system packages, installing PHP CLI and unzip, downloading and verifying the Composer installer script, and running the installer. Verify installation with the composer command.
🤖AI Overview:
Install PHP Composer in Linux by ensuring PHP and required packages are installed. Update your Linux package repository, download and verify the Composer installer script, and install Composer globally. Confirm successful installation by running Composer commands in the terminal for managing PHP dependencies efficiently.
prerequisite
To install PHP Composer on Ubuntu, Debian and CentOS, you need a Linux VPS with Ubuntu, Debian, and CentOS operating systems. Also, to execute the instructions for installing PHP Composer, you must have a user account with sudo permission, and after accessing the Linux terminal(by pressing the CTRL+ALT+T buttons at the same time), you will be ready to install PHP Composer in Linux.
Steps to install PHP Composer on Ubuntu
We will start with the tutorial on how to install PHP Composer on Ubuntu 22.04. For those users who use Ubuntu Linux, we will provide instructions for installing PHP Composer in Ubuntu. Follow the steps to install PHP Composer on Ubuntu.
Note that installing PHP on Ubuntu is a prerequisite for using PHP Composer, so if you have not yet installed it on your Ubuntu system, do as soon as possible by referring to the article on how to install Lamp on Ubuntu.
1. Updating the Ubuntu system repository
The first step for installing any software in Linux is to update the Linux operating system packages. For this purpose, run the following command:
sudo apt update2. Installing PHP Composer packages
Install the required PHP Composer packages by running the following command:
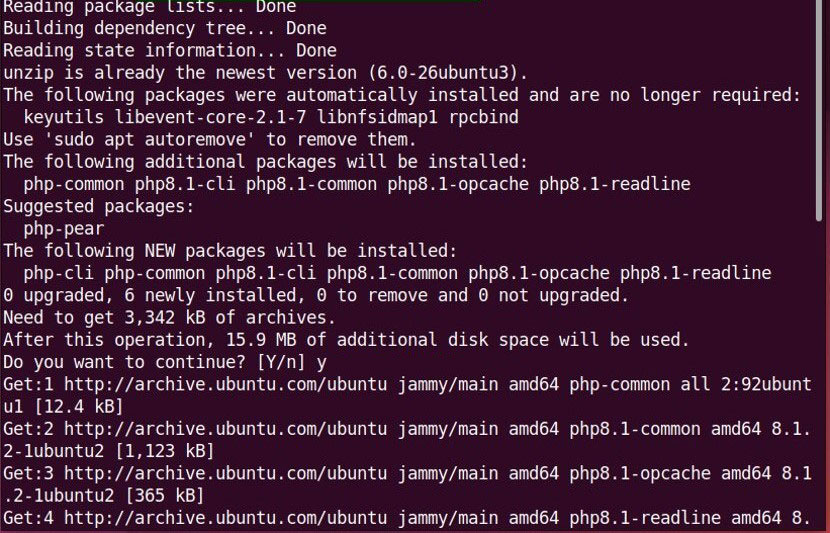
sudo apt install php-cli unzipAfter executing the previous command, you will be asked if you want to continue the installation process; so select the Y button and then press Enter to complete the installation process of the PHP Composer packages.
3. Downloading the PHP Composer installer script
In order to install PHP Composer, we need to install its installer script, so enter the following command:
curl -sS https://getcomposer.org/installer -o /tmp/composer-setup.phpThen you need to verify the Hash of the PHP Composer installer script you downloaded through the signatures on the official page:
HASH=`curl -sS https://composer.github.io/installer.sig`Then enter the following command to confirm the correct execution of PHP Composer:
php -r "if (hash_file('SHA384', '/tmp/composer-setup.php') === '$HASH') { echo 'Installer verified'; } else { echo 'Installer corrupt'; unlink('composer-setup.php'); } echo PHP_EOL;"Output:
Installer verified4. Installing PHP Composer
Finally, we reach the phase of installing PHP Composer. Just run the command we mentioned:
sudo php /tmp/composer-setup.php --install-dir=/usr/local/bin --filename=composerOutput:
All settings correct for using composer

Downloading…

Composer (version 2.3.7) successfully installed to: /usr/local/bin/composer

Use it: php /usr/local/bin/composer
As you can see, the output shows the successful installation of PHP Composer version 2.3.7 in Ubuntu.
5. Checking the installation of PHP Composer
After installing PHP Composer, you can run the following command to ensure that the installation process is successful:
composerOutput:
______
  / ____/___  ____ ___  ____  ____  ________  _____
 / /   / __ \/ __ `__ \/ __ \/ __ \/ ___/ _ \/ ___/
/ /___/ /_/ / / / / / / /_/ / /_/ (__  )  __/ /
\____/\____/_/ /_/ /_/ .___/\____/____/\___/_/
                    /_/
Composer version 2.3.5 2022-04-13 16:43:00
Usage:
  command [options] [arguments]
Options:
  -h, --help                     Display help for the given command. When no command is given display help for the list command
  -q, --quiet                    Do not output any message
  -V, --version                  Display this application version
      --ansi|--no-ansi           Force (or disable --no-ansi) ANSI output
  -n, --no-interaction           Do not ask any interactive question
      --profile                  Display timing and memory usage information
      --no-plugins               Whether to disable plugins.
      --no-scripts               Skips the execution of all scripts defined in composer.json file.
  -d, --working-dir=WORKING-DIR  If specified, use the given directory as working directory.
      --no-cache                 Prevent use of the cache
  -v|vv|vvv, --verbose           Increase the verbosity of messages: 1 for normal output, 2 for more verbose output and 3 for debug
. . .
Getting the above output indicates the successful installation of PHP Composer in Ubuntu. Congratulations, you have successfully installed PHP Composer on Ubuntu.
Steps to install PHP Composer in Debian
In this part of the article, we will learn how to install PHP Composer in Debian 10. Debian users can benefit from the wonderful features of PHP Composer by following the instructions for installing PHP Composer in this part of the article.
1. Updating Debian system packages
First, update the installed Debian system packages using the following command:
sudo apt updateYou can also run the following command to upgrade the Debian system repository:
sudo apt upgrade2. Installing the required packages for PHP Composer
After upgrading the Debian system repository, install the necessary packages to install PHP Composer by typing the following command:
sudo apt install php-cli wget unzip php-zipOut Put:
Reading package lists… Done
Building dependency tree
Reading state information… Done
unzip is already the newest version (6.0-23+deb10u2).
unzip set to manually installed.
wget is already the newest version (1.20.1-1.1).
The following additional package will be installed:
Libzip4  php-common  php7.3-cli  php7.3-common  php7.3-json  php7.3-opcache  php7.3-readline  php7.3-zip
Suggested packages:
Php-pear
The following NEW packages will be installed:
Libzip4  php-cli  php-common  php-zip  php7.3-cli  php7.3-common  php7.3json  php7.3-opcache  php7.3-readline  php7.3-zip
0 upgraded, 10 newly installed, 0 to remove and 0 not upgraded.
Need to get 2,688 KB of archives.
After this operation, 12.9 MB of additional disk space will be used.
Do you want to continue? [Y/n]
After confirming the request to continue the process of installing the necessary packages by selecting the Y option and then pressing the Enter button, the installation of the packages is completed.
3. Downloading the Composer installer
Then, by running the mentioned command, download the Composer installer written in PHP language:
wget -O composer-setup.php https://getcomposer.org/installer4. Installing composer in Debian
Now that you have downloaded the composer installer, it is time to install the composer. In Debian, you can install composer in two ways:
-
Install Composer locally
If you install the composer in the project directory, it will be installed locally. So in the Root directory, download the Composer file through the following command:
sudo php composer-setup.php --install-dir=/project_directoryThen move to the project’s directory and run the following command to use PHP Composer in the project directory:
sudo php composer.phar-
Install Composer globally
In this method, you will install the composer file in /usr/local/bin directory. The command you will enter will be as follows:
sudo php composer-setup.php --install-dir=/usr/local/bin --filename=composerTo use PHP Composer, you must run the following command:
sudo composerOutput:
Do not run Composer as Root/super user! See https://getcomposer.org/root for details
Continue as root/super user [yes]?
Getting this error is because Composer is not running with Root user permission and you are asked to run Composer as a Root user and type YES to confirm.
5. Updating the PHP Composer version
To update the version of PHP Composer to the latest version in Debian, you can use the following command:
sudo composer self-updateDebian users were able to successfully install PHP Composer on Debian and get what they wanted.
Steps to install PHP Composer on CentOS
Finally, it was time to install PHP Composer on CentOS7, which is the most popular Linux distribution. This section is for users who use CentOS7 and are interested in using PHP Composer features in CentOS7.
Note: Make sure to install PHP 7 on your CentOS 7 system before running the instructions for installing PHP Composer on CentOS 7. (The tutorial article on how to install a lamp on CentOS can be a good guide for installing PHP on CentOS.)
1. Installing PHP CLI packages and dependencies
In the first step, install PHP CLI dependencies and packages using the following command:
sudo yum install php-cli php-zip wget unzip2. Downloading the PHP Composer installer script
Then you need to download the Composer setup and installer script:
php -r "copy('https://getcomposer.org/installer', 'composer-setup.php');"3. Checking the accuracy of script data
After downloading the composer-setup.php file in the current directory, check the Composer Public Keys/Signatures page to make sure the script data is correct by matching the SHA-384 Hash of the script with the latest Hash of the available installer.
Then by running the following command, download the signature of the latest Composer installer from Composer’s official Github page and save it in a variable (under the title HASH):
HASH="$(wget -q -O - https://composer.github.io/installer.sig)"To make sure the installation script is executed correctly, run the following command:
php -r "if (hash_file('SHA384', 'composer-setup.php') === '$HASH') { echo 'Installer verified'; } else { echo 'Installer corrupt'; unlink('composer-setup.php'); } echo PHP_EOL;"If the script data and hashes match each other, the output of the previous command will be presented as follows:
Output:
Installer verifiedIn most cases, the Hashs match each other, but if this does not happen, it means there is a defect. So you have to repeat the same steps; That is, download the installation script and check the compatibility of $HASH variables with echo $HASH, and after making sure that the script data is correct, continue with the PHP Composer installation process.
4. Installing PHP Composer on CentOS7
Finally, it’s time to install PHP Composr on CentOS7 and you can install PHP Composer in the/usr/local/bin directory by entering the following command:
sudo php composer-setup.php --install-dir=/usr/local/bin --filename=composerOut Put:
All settings correct for using Composer
Downloading...
Composer (version 1.8.5) successfully installed to: /usr/local/bin/composer
Use it: php /usr/local/bin/composer
Congratulations, you have successfully installed PHP Composer on CentOS7.
5. Confirm the installation of PHP Composer on CentOS7
To check if PHP Composer is properly running and installed on CentOS7, the following command is used:
composerOut Put:
______
/ ____/___  ____ ___  ____  ____  ________  _____
/ /   / __ \/ __ `__ \/ __ \/ __ \/ ___/ _ \/ ___/
/ /___/ /_/ / / / / / / /_/ / /_/ (__  )  __/ /
\____/\____/_/ /_/ /_/ .___/\____/____/\___/_/
/_/
Composer version 1.8.5 2019-04-09 17:46:47
Usage:
command [options] [arguments]
By viewing the version of PHP Composer, you can be sure of its installation and execution in CentOS7.
How to use PHP Composer in Ubuntu, Debian, and CentOS
The necessary commands to use PHPComposer after installation on Ubuntu, Debian, and CentOS operating systems are similar to each other. In this section, we will mention some useful commands of PHP Composer in Ubuntu, Debian, and CentOS so that Linux users can easily interact with Composer and can use PHP Composer efficiently in PHP projects.
-
Creating the Root directory for the project and Switching to it
The first thing you need to do to use PHP Composer is to create a directory with the desired name, which we named “new composer” for example:
mkdir ~/ newcomposerThen use thecdcommand to move to the newly created directory:
cd ~/ newcomposer-
Installation of required packages
To install the required packages for your project using PHP Composer, the main syntax is as follows:
composer require <package name>So, to install “cocur/new composer”, run the following command:
composer require cocur/ newcomposer:4.1Note: If you receive the error ” Your requirements could not be resolved to an installable set of packages “after executing the previous command, it means your system does not support the mbstring library. To solve this problem, install the mbstring library on your Linux system by running the following command:
sudo apt install php-mbstring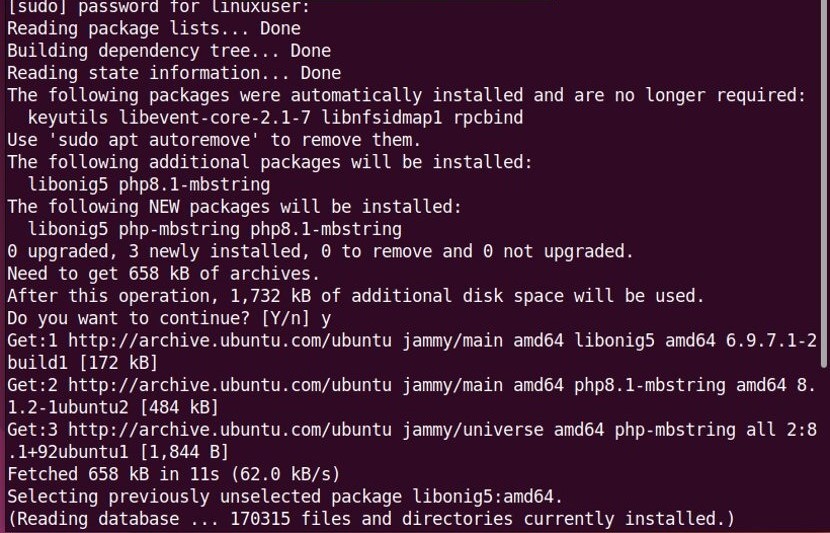
Then enter the “composer require” command again:
composer require cocur/ newcomposerIn the output of the composer require command, the composer.json file is created and the required packages and their dependencies are downloaded.
You can access the contents of the “composer.json” file using thecatcommand to get complete information about the installed packages:
cat composer.json-
Removing the packages
The remove command is executed to remove the desired package:
composer remove cocur/ newcomposer-
Listing files
To list the contents of your PHP project’s “new composer” directory, run the following command:
ls -lOutput:
-rw-r--r-- 1 linuxize users   60 Aug 29 00:50 composer.json
-rw-r--r-- 1 linuxize users 6.8K Aug 29 00:50 composer.lock
drwxr-xr-x 5 linuxize users 4.0K Aug 29 00:50 vendor
As you can see, composer.json and composer.lock files and vendor directory are created in the output of thels -lcommand.
composer.json file: contains dependencies and PHP packages.
composer.lock file: provides a list of installed packages along with their versions.
Vendor directory: contains your project’s dependencies.
-
Using the autoload feature in Composer
By using the autoload function, it is possible to use PHP classes without the need to executerequireorinclude.
For example, first, we open a new file called “test.php” using the nano editor to create a test program:
sudo nano test.phpAfter accessing the content of the file, add the following codes to it and press CTRL+O to save the added content in the file:
<?php
require __DIR__ . '/vendor/autoload.php';
use Cocur\ newcomposer \ newcomposer;
$ newcomposer = newcomposer ();
echo $ newcomposer -> newcomposer ('HI everyone, this is opera');-
Running PHP script
Enter the following command to run the test.php script:
php test.php-
Updating PHP packages
To update PHP packages to the latest packages, run the following command:
composer updateHow to uninstall PHP Composer on Ubuntu, Debian, and CentOS
Uninstalling PHP composer in Linux is very simple, by executing the command we provided, you can uninstall it in situations where you don’t need PHP Composer:
sudo rm /usr/local/bin/composerConclusion
To install PHP Composer in Linux is an essential skill for PHP developers, enabling effective dependency management across projects. This article gave you clear, step-by-step instructions to install Composer on Ubuntu, Debian, and CentOS, catering to beginners by explaining prerequisites and the reasoning behind each step.
Once installed, Composer will make working with PHP packages and dependencies effortless, especially for projects using modern PHP frameworks. Additionally, the guide covered common usage tips, basic commands, and uninstall instructions to provide a comprehensive resource for managing PHP Composer in Linux.
FAQ
2. What prerequisites are required to install PHP Composer on Linux?
Ensure a Linux system with sudo access, PHP 8 or later installed, and necessary PHP extensions like mbstring and unzip.
3. How do I install PHP Composer on Ubuntu?
Update packages, install PHP CLI and unzip, download the installer script, verify its hash, run the installer, and move Composer globally.
4. How can I install PHP Composer on Debian?
Update your system, install PHP and other required packages, download and verify the installer, then install Composer globally.
5. What are the steps to install PHP Composer on CentOS?
Install PHP 8 CLI and necessary extensions, download and verify the installer script, run the installer, and move Composer to /usr/local/bin.
6. How do I verify Composer installation on Linux?
Run "composer -V" in the terminal; it will display version and usage information if installed correctly.
7. What common errors might occur during Composer use and how to fix them?
Error messages about missing PHP extensions like mbstring can be fixed by installing the required extensions.
8. Can I uninstall PHP Composer from my Linux system?
Yes, removing the Composer executable from "/usr/local/bin" effectively uninstalls it.
9. What is the Composer autoload feature?
It automatically loads PHP classes without manual includes by requiring vendor/autoload.php in your scripts.
10. Is it safe to run Composer as root?
It is recommended to run Composer as a normal user to avoid permission and security issues.