Install and Configure Xampp on Windows Server
Learn how to efficiently install and configure Xampp on Windows Server to set up a reliable local web server environment for development and testing.
🤖AI Overview:
Installing and configuring Xampp on Windows Server provides an integrated package of Apache, MariaDB, PHP, and Perl for creating a local development environment. This guide covers the installation process, service management using the Xampp Control Panel, and essential configuration tips suitable for developers and IT professionals.
What is Xampp software?
Xampp is a free and open-source platform that stands for Cross-Platform, Apache, MySQL, PHP, and Perl. Apache Friends developed the Xampp package in 2002, and this Web Solution Kit provides an Apache distribution for multiple servers and command-line executables. It is also a platform for programmers and web designers who intend to run PHP codes to design their programs and websites, and this tool can help facilitate and speed up their activity; Because it provides the necessary components to run PHP-based software such as WordPress, Drupal, etc. on the local Windows server.
Xampp has simplified setting up a local server for us; The user can simulate the web server environment in his operating system with the help of Xampp. This platform allows you to test a client or website locally before deploying it to the public cloud. Testing the performance of programs and services on the server is possible by XAMPP because this platform has Apache, Perl, MySQL, and PHP frameworks.
Also, installing and running Xampp on a computer provides a local server on your operating system that will be manageable and allow you to test its capabilities before adding it to a remote web server.
Each character in Xampp represents a programming language that Xampp supports.
Xampp stands for the following terms:
- X refers to cross-platform
- A Stands for Apache or Apache HTTP server
- M refers to MariaDB, which is known as MySQL
- P stands for PHP
- P stands for Perl
The installation and configuration of each of these items individually are very complicated, and by Xampp, you can benefit from these tools together. In addition, Xampp includes other modules such as OpenSSL, phpMyAdmin, MediaWiki, WordPress, and others. Multiple instances of a Xampp can exist on a single computer, and you can even copy Xampp from one computer to another. Xampp is offered in two versions, full and standard.
Xampp components
Xampp includes the following:
Apache: is an open-source HTTP web server that runs on multiple platforms and accelerates the global distribution of website content.
MariaDB: The MySQL database management system has been replaced by MariaDB in Xampp. However, MariaDB has since taken over. Data storage, manipulation, retrieval, maintenance, and deletion services are all available over the web with this relational database management system.
PHP: PHP stands for Hypertext Prepossessor. It is a backend programming language for creating dynamic web pages and server-side software.
Perl: The dynamic, interpretable programming language Perl is sometimes referred to as a “general-purpose” computer language.
phpMyAdmin: is a program for managing MariaDB databases.
OpenSSL: is a free and open source implementation of SSL and TLP.
Webalizer: is a web analytics tool that tracks and collects user logs.
Filezilla: is a file transfer protocol server that simplifies and supports file transfer.
Tomcat: is a Java server that allows you to run Java code.
Mercury: is an email server that makes email management more efficient and simple.
Cross Platform: Cross Platform is used to improve performance due to the wide variety of operating systems and software settings.
Xampp Control Panel: Manages software and all Xampp components as a central console.
Advantages of Xampp
Xampp provides many features and capabilities to designers and programmers, including:
- Having a simple and fast installation process
- Due to its Multi Cross nature is compatible with Linux and Windows operating systems.
- With the help of its control panel, you can start and terminate the process of specific mechanisms such as Apache.
- With the help of one command, you can start and stop the entire web server and database stack.
- Provides users with two versions, full and standard.
- OpenSSL, phpMyAdmin, MediaWiki, Joomla, WordPress, and many other modules are included in Xampp.
- It allows simulating and managing of multiple local sites on the user’s system.
- Xampp is free and open-source software that anyone can contribute to.
- Provides the user with a combination of Apache, MySQL, and PHP tools.
- It offers the possibility of testing and developing software before deployment in the public cloud and remote web server.
Installing Xampp on Windows Server
As we explained, the Xampp platform can be run on any operating system. After purchasing a Windows VPS, some consumers want to utilize Xampp because of its useful capabilities, but the Xampp installation process seems complicated for most of them; By following the steps below, you can easily install Xampp software on Windows VPS and enjoy its features.
Prerequisites:
- Establishing a Remote Desktop Protocol (RDP) connection to a server running Windows Server 2019.
- Possession of management authority by the user
- Having at least 4 GB of RAM and 2 cores CPU
- Download and install Xampp
We start the process of installing Xampp software on the Windows server by downloading the latest version of Xampp from the official Apache Friends website.
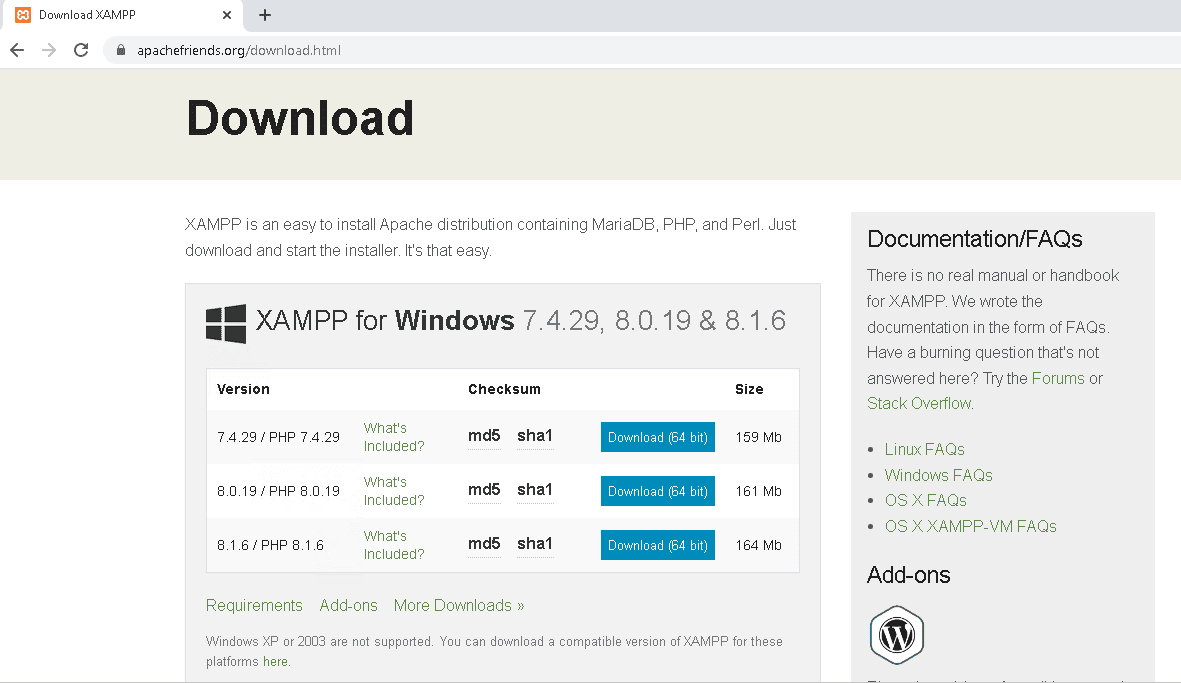
- Select the desired version and wait until the software download is finished.
- After downloading the software, start the installation by double-clicking on the downloaded file.
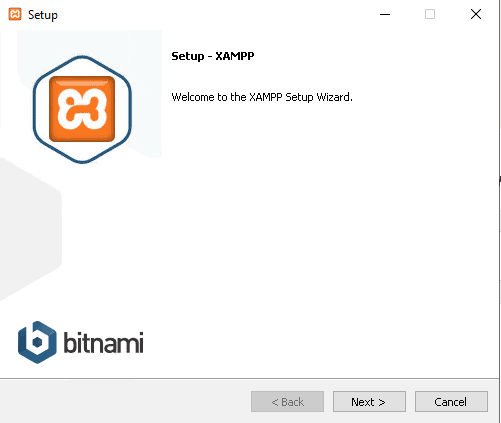
- To access the installation wizard, run the installation file and click Next on the welcome screen.
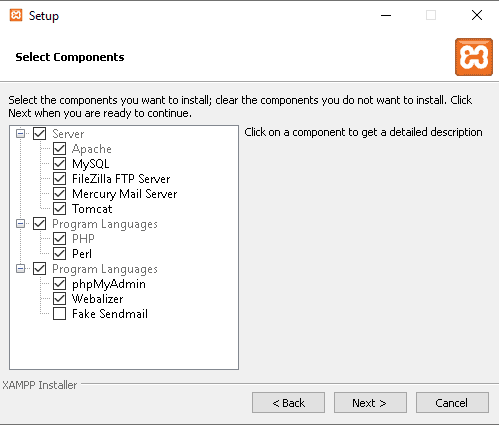
- You will be faced with the select components page; in this step, you select the components that you intend to install; in this step, we choose all the items and click on Next to go to the next step.
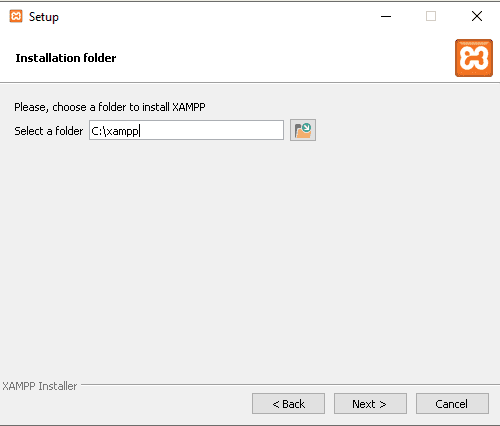
- After selecting Next, the installation folder window will open, where you specify the location of the Xampp installation. Of course, we recommend that you do not change the directory and continue the installation process by selecting the default location and choosing Next.
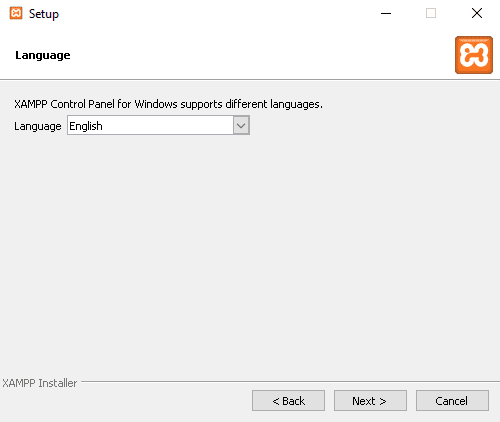
- This step provides the user with the right to choose the language used in the Xampp control panel, and the Language page will appear for you to select the desired language and click Next to confirm.
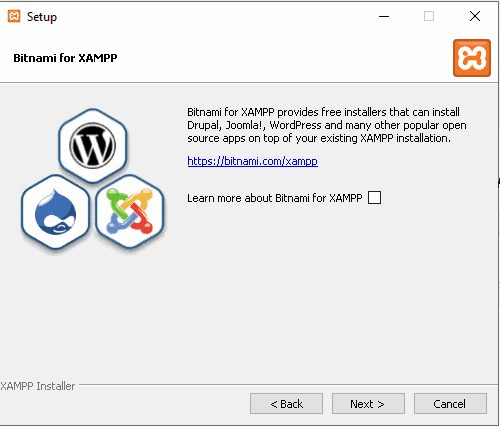
- At this stage, you will come across the Xampp information page; click Next after reading the information about Xampp.
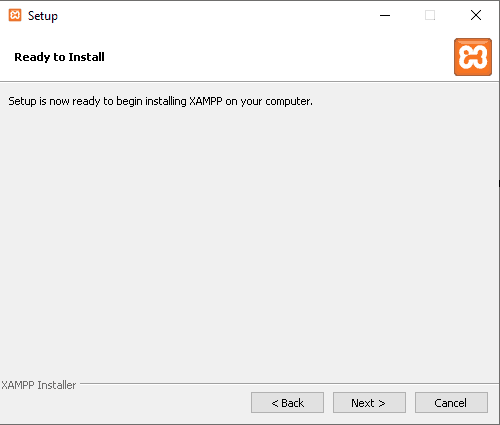
Finally, the Ready to install screen appears, and you must select Next to start the installation process.
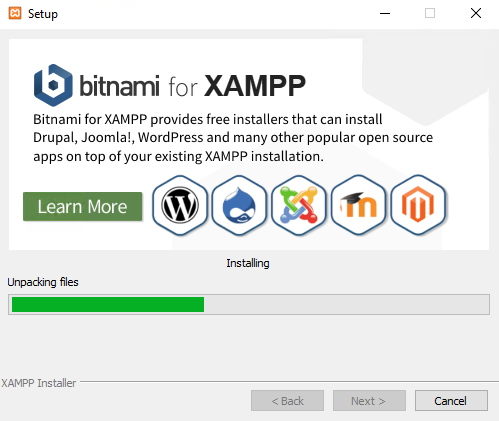
And you will see the installation process.
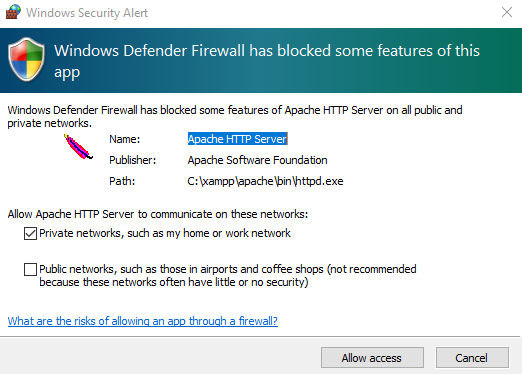
A few minutes after installing the program, you will receive a message to confirm Allow access to the program in your Windows firewall.
After completing the Xampp installation, click Finish to close the wizard, and the Xampp setup process is completed successfully.
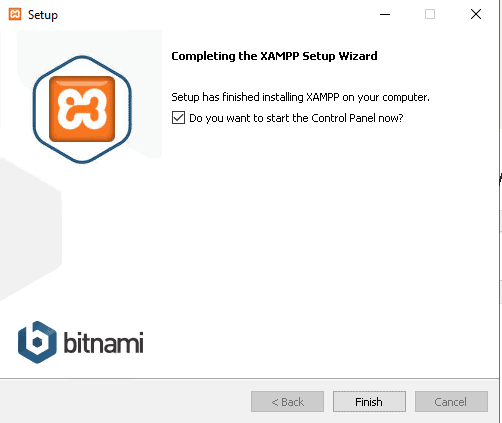
After you have installed the Xampp software, if you activate the Do you want to start the Control Panel now option and click Finish, the Xampp control panel page will open automatically. If you disable it, you must manually Open and run the Xampp control panel.
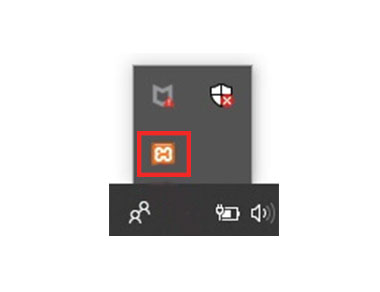
Note: Whenever Xampp runs, the Xampp icon will be placed in the taskbar next to the system clock.
Xampp control panel and how to use it in Windows Server
Xampp has a built-in central console for configuring various components and testing applications. Xampp’s graphical control panel interface makes setting up and configuring software modules easy. It also enables the user to:
- Check system error logs.
- You can start or stop multiple services, including Apache, MySQL, Tomcat, Mercury, etc.
- To choose Apache, FileZilla, MySQL/MariaDB, Mercury, and Tomcat, refer to their control panel.
- You can configure different services and correct or change their parameters.
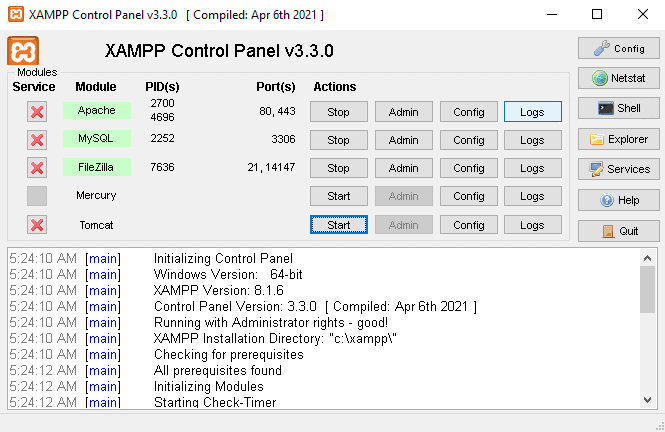
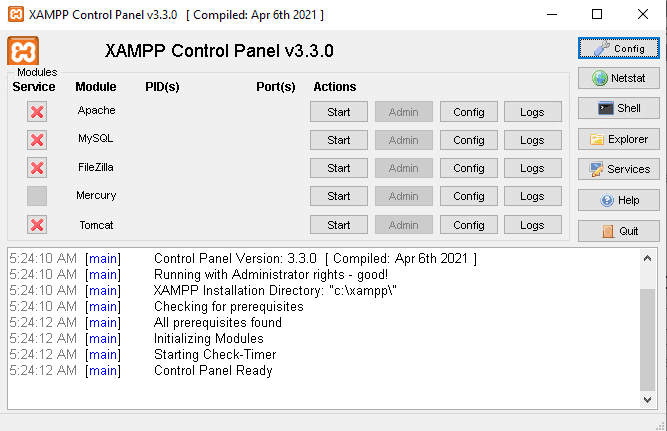
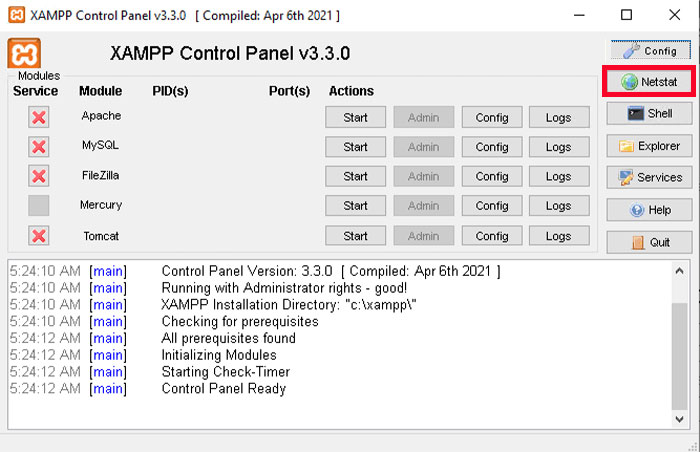
In the Module section, you will find a list of services provided by Xampp, and there is no need to install them separately on your computer. These services provided by Xampp are Apache, MySQL, FileZilla, Mercury, and Tomcat. You can activate different services by clicking on the corresponding Start button in the Action column.
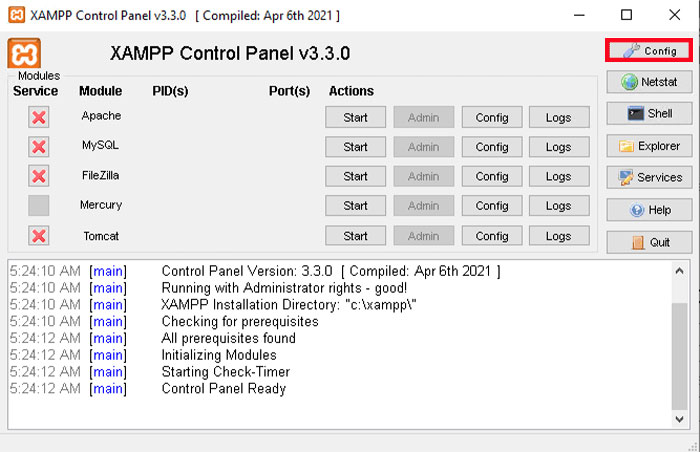
config button
After you start a service, you will see a change in the color of the desired service in the Module section. You can configure various components of Xampp by clicking the config button.
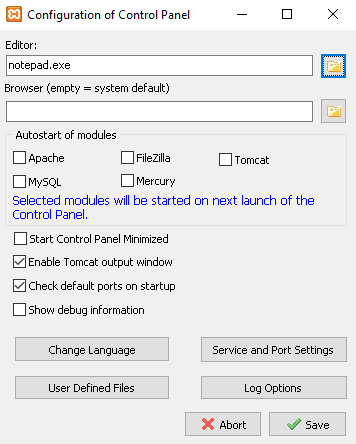
Config button on the top right of the screen to configure the services that we want to run automatically when starting the Xampp program.
Note: To disable services, you can also click on Stop in front of each service.
Start button
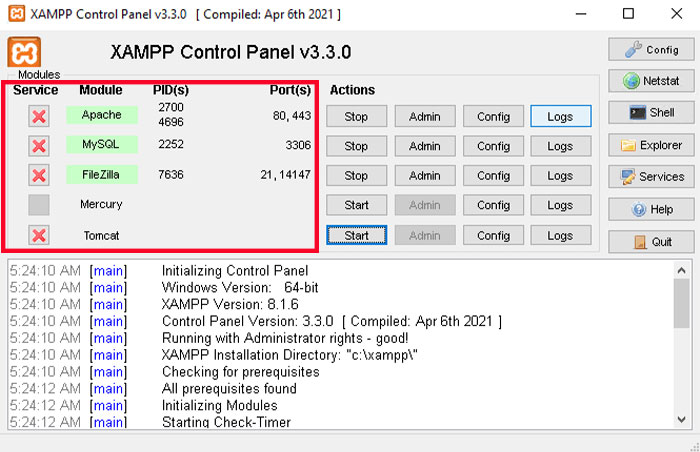
By clicking the Start button, you can activate the modules and start using the services associated with them. After the module’s successful launch, the module name’s background color will change, and the assigned ports and process ID will be displayed in the PID(s) and port(s) columns.
Note: The numbers in the Port(s) column are the TCP/IP port numbers that each service uses when running, and the numbers in the PID(s) column are the process IDs for those specific services.
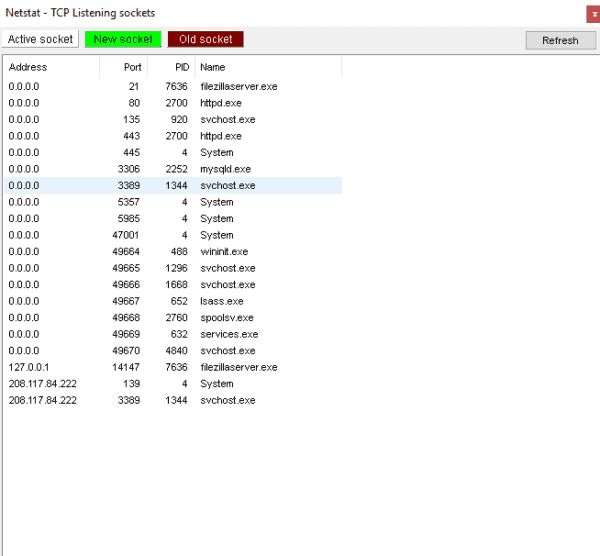
Netstat – TCP Listening sockets
By clicking on the Netstat option, the Netstat interface will open and display the process running on the computer. In other words, it shows a list of running services or sockets, the process ID of each of them, TCP/IP port information, and the networks you have access to.
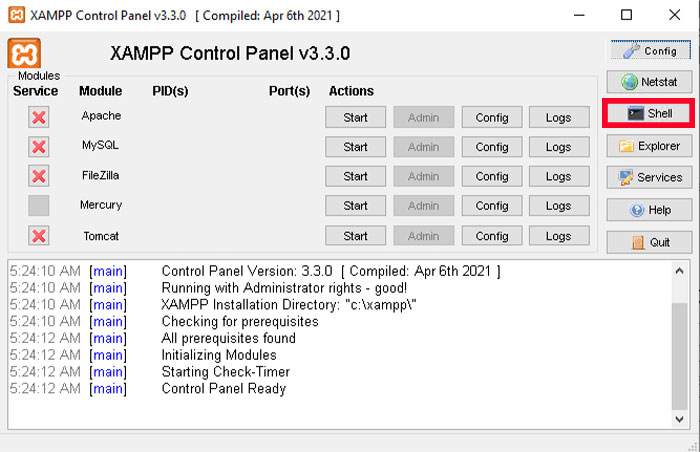
Shell option
Clicking the Shell button will open the Shell command line interface for managing Xampp, where you can access programs, services, and folders by typing commands in the Shell command line tool.
Explorer
By clicking on Explorer, it will open the folder where Xampp is installed, and you can see all the available Xampp folders.
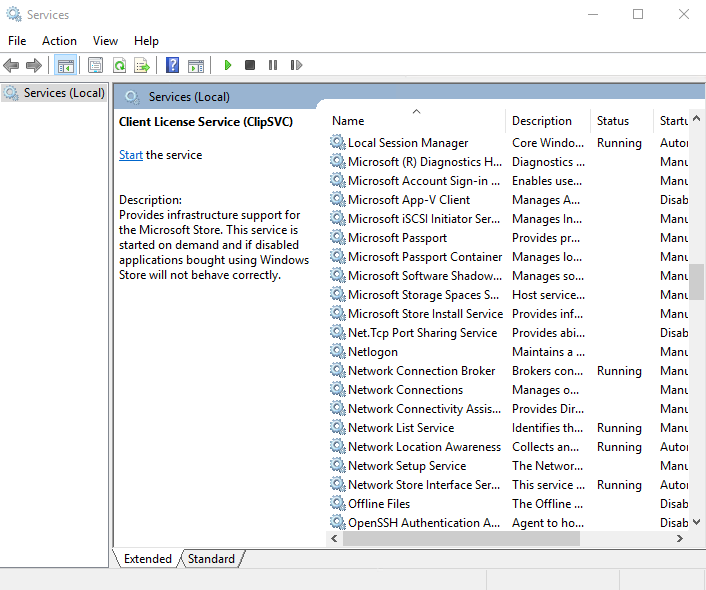
Services
The Windows Services console(services. MSC) will open by clicking this button.
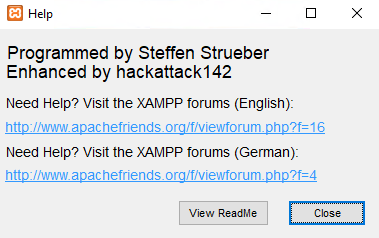
Help
By clicking on the help option, a menu with options to access various online communities will be displayed.
Xampp management
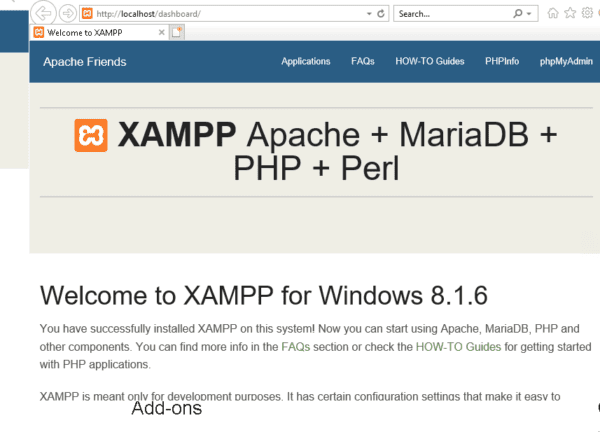
When you have enabled all the required services, open localhost by entering http://localhost in your browser; as a result, you enter the Xampp dashboard, and the default Xampp page opens.
There are various modules to manage in the Xampp management panel, which we will mention below:
Admin buttons
By running each service, the Admin button is activated; by clicking on it, you can access the administration dashboard, which allows you to check the running services. Admin buttons provide various tools for managing Xampp modules.
Manage Apache Admin
Selecting the Admin item in Apache opens an Apache screen with access to PhpMyAdmin and the current version of PHP.
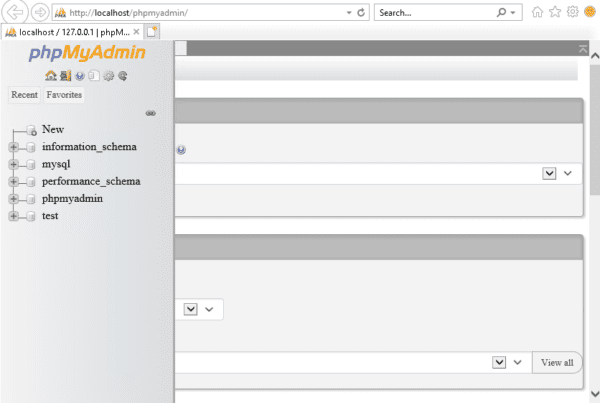
Manage MySQL Admin
To create and manage a database, select the Admin option in MySQL to enter the phpMyAdmin web console.
FileZilla
Clicking on FileZilla admin provides the necessary parameters for connection, including port, Server Address, and Administration password, so that the user can fill those sections with correct data and connect to the server.
The FileZilla management console will run after a successful connection.
Mercury
Mercury provides admin console buttons for SMTP server management and settings.
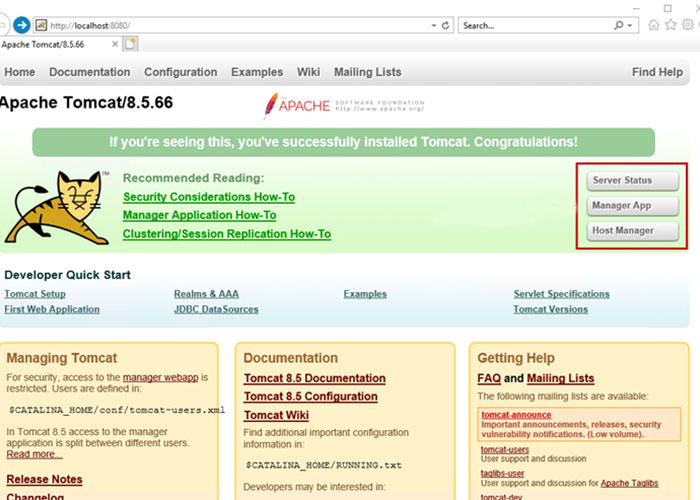
Tomcat
Tomcat requires the installation of the Java Development Kit (JDK) or Java Runtime Environment (JRE) to function. The Tomcat administration interface is accessed through a web-based console by selecting the corresponding “Admin” button.
In most cases, you do not need to configure and change Xampp, and its default settings can meet your needs; sometimes, in certain circumstances, it may be necessary to change the phpMyAdmin password and the TCP / IP port number for running services that you can make changes according to your needs through Config. As a result, the Xampp program can be configured to answer any need and can provide efficient use of services.
Conclusion
Installing and configuring Xampp on Windows Server empowers business owners with a flexible and comprehensive environment for web application development and testing. By following this detailed guide, you can set up a reliable local server that supports essential services such as Apache, MariaDB, PHP, and Perl.
Adhering to best practices in configuration and security further ensures that your server remains efficient and protected. This approach makes Xampp a valuable tool for businesses looking to streamline their web development lifecycle within a Windows Server infrastructure.
FAQ
2. What are the system requirements to install and configure Xampp on Windows Server?
A system with Windows Server 2022 or newer, at least 8 GB RAM, 4 CPU cores, and administrator privileges is recommended for optimal performance.
3. How do I install and configure Xampp on Windows Server step by step?
Download Xampp from the official site, run the installer, select components, set installation preferences, allow firewall access, then launch the Control Panel to start necessary services.
4. What is the role of the Xampp Control Panel in managing services on Windows Server?
It provides a user interface to start, stop, and configure server modules such as Apache and MariaDB, monitor logs, and manage settings efficiently.
5. Can Xampp settings be customized after installation?
Yes, settings like database passwords, port numbers, and enabled services can be adjusted via the Control Panel configuration options.
6. How secure is Xampp for business use on Windows Server?
With proper configuration, including firewall restrictions and strong passwords, Xampp can be securely used for local development purposes.
7. What common issues might occur during installation and how to resolve them?
ssues like port conflicts, permission errors, or firewall blocks can be resolved by changing ports, running installers as administrator, and configuring firewall exceptions.
8. Is it possible to run multiple Xampp instances on one Windows Server?
Yes, by installing each instance in separate directories and assigning different ports, multiple Xampp environments can coexist.
9. What are the benefits of using Xampp on Windows Server for PHP development?
Xampp facilitates testing and debugging of PHP applications locally, improving development speed and reducing errors before deployment.
10. Where can users find additional resources after installation?
Official documentation, community forums, and technical support through the Apache Friends website are valuable resources for assistance and updates.
Can I install on a windows server has ADS Service & DNS service running?
Yes, XAMPP can be installed alongside other services on a Windows Server if you properly configure ports and resources to avoid conflict and performance issues.