How To Install KVM On CentOS 8 VPS?
In this article, we will describe the requirements of KVM Hypervisor, Features Of KVM Hypervisor, and the main reason for Install KVM On Linux VPS instead of other VM programs; Then have a fully comprehensive training about the Installation Of KVM on Centos 8.
About KVM
Right Hypervisor For Your IT Needs In Linux
Kvm virtualizer is available as open-source and built-in Linux; That lets you turn Linux into a hypervisor, also called virtual KVM web server with the dedicated kernel; Allows you to run multiple Linux-based virtual environment guest servers simultaneously; KVM is developed by Red Hat Corporation.
Why KVM?
According to Red Hat: KVM inherits the performance of Linux, scaling to match demand load if the number of guest machines and requests increases. KVM allows the most demanding application workloads to be virtualized and is the basis for many enterprise virtualization setups, such as data centers and private clouds.
Also, the kernel-mode component of KVM is a part of the Linux kernel; So it will be more compatible with Linux in every way and can be highly secure.
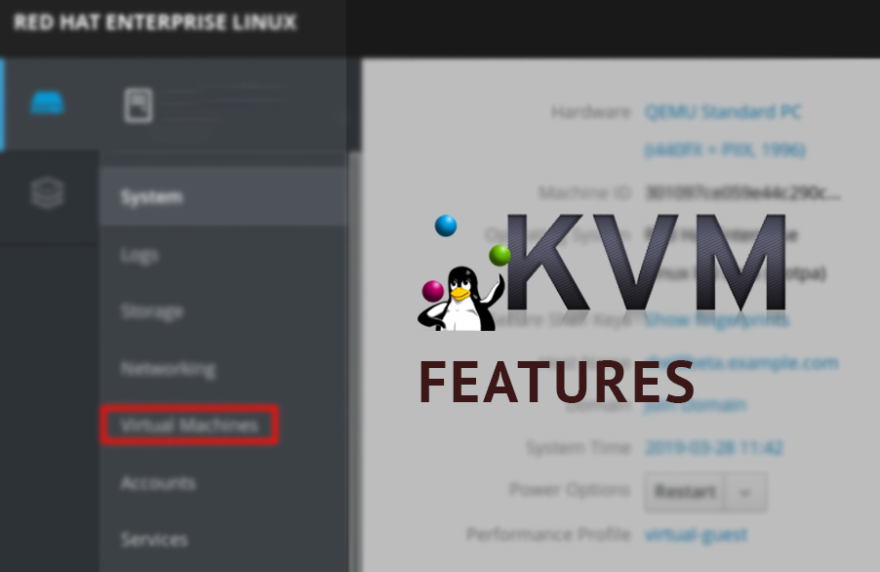
Special Features Of KVM Hypervisor
KVM is installed on a Linux operating system or host server. But due to its special technology, it creates virtual servers with its kernel, and this allows you to create a Simulator of the virtual server or any operating system that you need, such as Windows, BSD, Kali Linux, Ubuntu Linux; Also install other operating systems and use it easily.
Given that Linux provides dedicated resources to KVM; As a result, KVM offers high quality for the guest operating system compared to other virtualizers.
Allows the allocation of flexible storage and optimizes the available space for every guest virtual machine
Hosts support up to 160 cores and 2 TB of RAM
Guests support up to 64 vCPUs and 512 GB of RAM
Self Service user portal
Ways To Install KVM On CentOS 8 VPS Step By Step
Step: 2. Validate all the components on your KVM.
Step: 3. Add and enable IOMMU In CentOS 8 kernel Command-Line.
Step: 4. Restart CentOS 8 VPS to apply the changes.
Step: 5. Installing Cockpit Web Interface.
Step: 6. Add support for managing virtual machines via Cockpit.
Note: If you were able to complete step 2, so you do not need to use step 3; Ignore it and continue the installation from step 4.
KVM Requirements
KVM Main Requirements
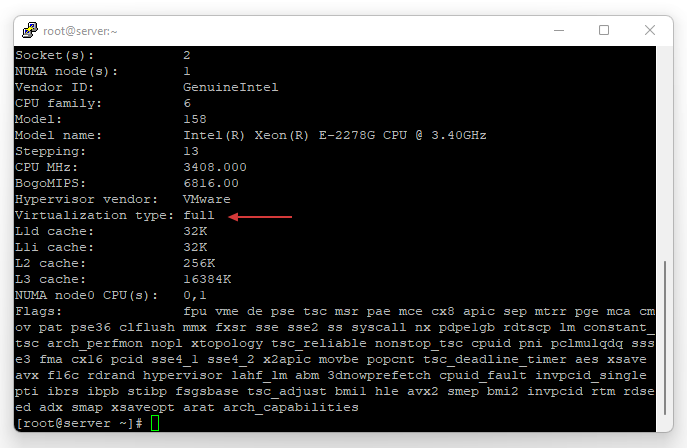
1) Verify support for Virtual Technology by the CPU:
We have 2 different ways to know that how to check if virtualization is enabled in Linux;
First Way: Using the lscpu command shows CPU architecture information on the server:
lscpuThe output of the first command will be as shown below:
Second Way: If the output of the previous command does not show anything, you can use the following command instead of the previous command to make sure that VT technology is enabled:
lscpu | grep VirtualizationThe output of the first command will be as shown below:
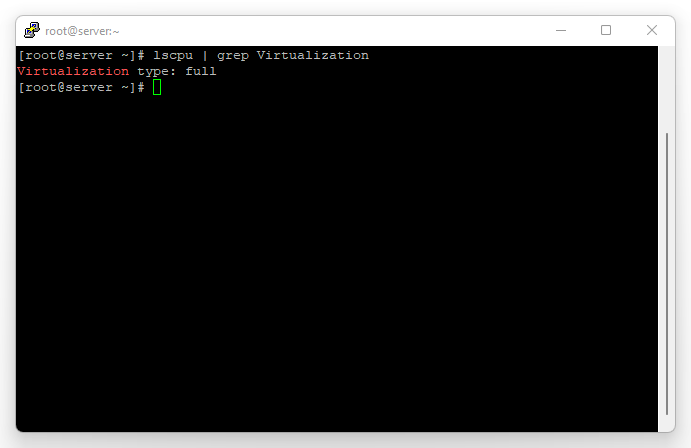
Note: If the output ordered in the Virtualization Type section of your putty or command line is different from the output of the images you see; And also is written as VT-x; This means that virtualization technology is enabled for you.
2) Install Putty software and login to the VPS server:
If you do not have experience in using Putty software, you can benefit from the article related to it; You can click on the: How to connect to a Linux VPS using putty to start the installation.
Download Putty: By clicking on the following link: https://www.chiark.greenend.org.uk/~sgtatham/putty/latest.html you can download Putty Software.
KVM Server Requirements
CPU: 3.4 GHz (2 cores)
Memory: 2 GB
Storage: 20 GB
Operating System: CentOS 8.0
Install KVM On CentOS 8 VPS
dnf install -y @virt
After using the command, we will encounter a similar image look like above; That shows the virt module installation has been completed.
— Now we need to install the virt-install package; Which will provide us with some very useful command-line tools:
dnf install -y virt-install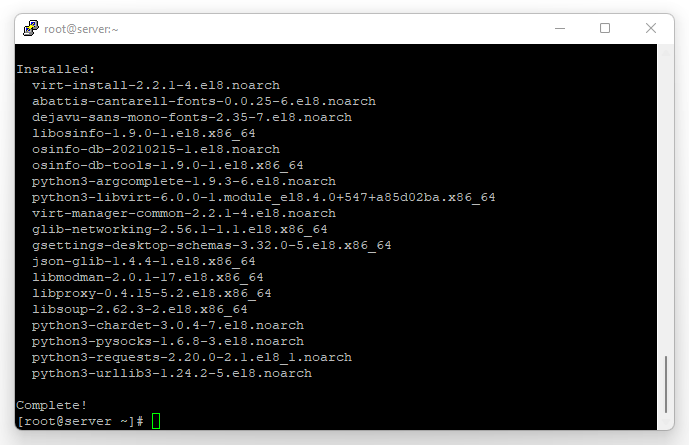
As you can see, the virt-installation package has been installed successfully.
This command validates that the host is configured in a suitable way to run libvirt hypervisor drivers:
virt-host-validateIf you encounter a similar image and warning errors look like this:
WARN (Unknown if this platform has IOMMU support)
QEMU: Checking for secure guest support :
WARN (Unknown if this platform has Secure Guest support)
That means (input-output memory management unit) support and its components are not yet enabled in the CentOS 8 Kernel.
grub2-editenv - set "$(grub2-editenv - list | grep kernelopts) intel_iommu=on"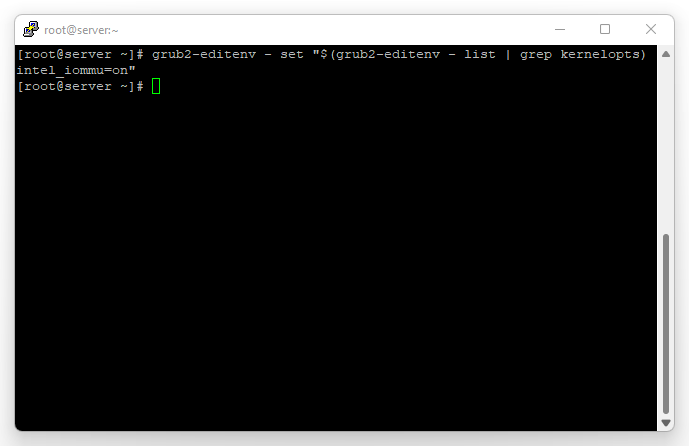
According to the image above; Indicates that the command used activates IOMMU automatically.
Run the following command:
systemctl reboot
— After restarting, the next command that we will be needed again to use; Is components validating command;
now if you use it again, you will be able to have all the outputs on the pass; Use the below command:
virt-host-validate[root@server ~]# virt-host-validate QEMU: Checking for hardware virtualization : PASS QEMU: Checking if device /dev/kvm exists : PASS QEMU: Checking if device /dev/kvm is accessible : PASS QEMU: Checking if device /dev/vhost-net exists : PASS QEMU: Checking if device /dev/net/tun exists : PASS QEMU: Checking for cgroup 'memory' controller support : PASS QEMU: Checking for cgroup 'memory' controller mount-point : PASS QEMU: Checking for cgroup 'cpu' controller support : PASS QEMU: Checking for cgroup 'cpu' controller mount-point : PASS QEMU: Checking for cgroup 'cpuacct' controller support : PASS QEMU: Checking for cgroup 'cpuacct' controller mount-point : PASS QEMU: Checking for cgroup 'cpuset' controller support : PASS QEMU: Checking for cgroup 'cpuset' controller mount-point : PASS QEMU: Checking for cgroup 'devices' controller support : PASS QEMU: Checking for cgroup 'devices' controller mount-point : PASS QEMU: Checking for cgroup 'blkio' controller support : PASS QEMU: Checking for cgroup 'blkio' controller mount-point : PASS QEMU: Checking for device assignment IOMMU support : PASS QEMU: Checking if IOMMU is enabled by kernel : PASS
Here, as you can see; We installed KVM and QEMU hypervisors on CentOS 8 successfully.
Use the below command to install Cockpit Web Console on CentOS 8:
dnf install -y cockpit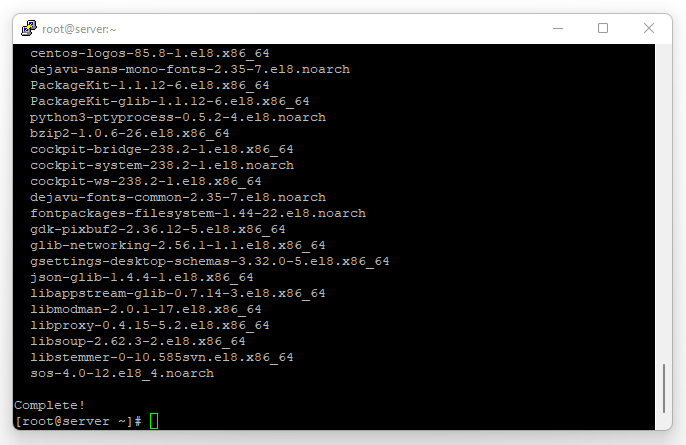
If you have the same output; Indicates that the installation of the cockpit web interface is complete.
We can use the below command:
dnf install -y cockpit-machines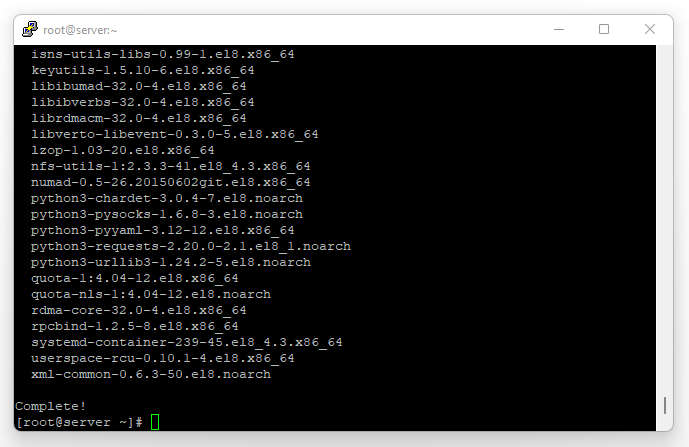
Nice, we can see that the installation of the cockpit-machines package is completed successfully; We are so close to the end…
— We just need to enable and start Cockpit Unit to login to the Cockpit web Console;
The below command can help us:
systemctl enable --now cockpit.socket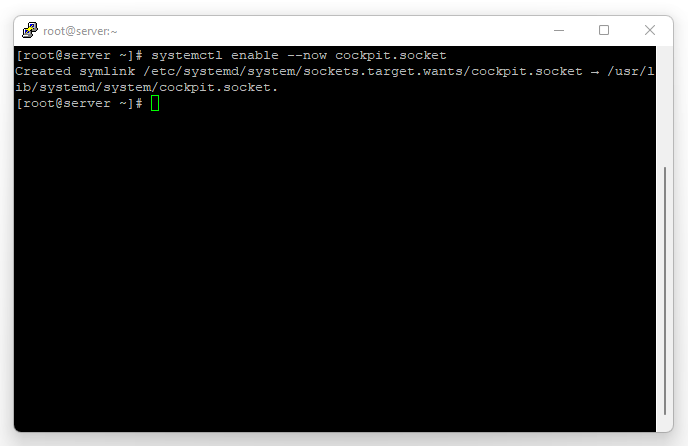
Note: You can use the following address: IP-Server ADDRESS:9090 in your browser, to access your Cockpit web Console.
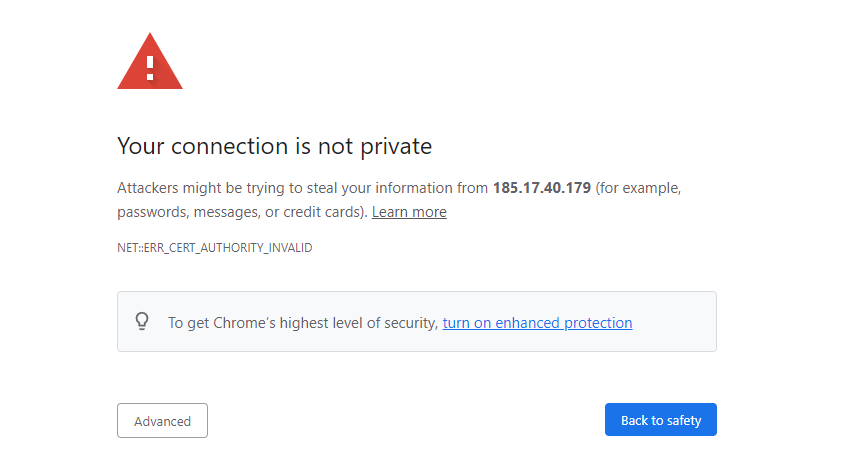
Note: Cockpit service is allowed by default in CentOS 8 firewall; Also you need to Ignore the Security warning that will pop up after using the address in the browser and continue to the Cockpit web Console login page.
As you can see in the image:
— Click on the advanced button and use the Proceed to 185.17.40.179 (unsafe) link, to login to the Cockpit web Console:
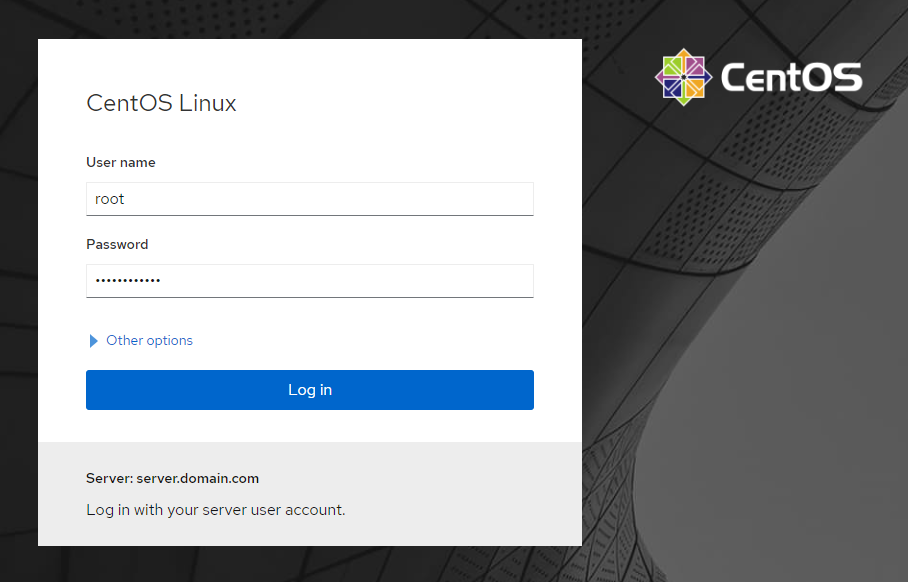
— OK, now like at the below image; In the web console login screen, we are going to enter the system username and password:
As you can see in the below image:
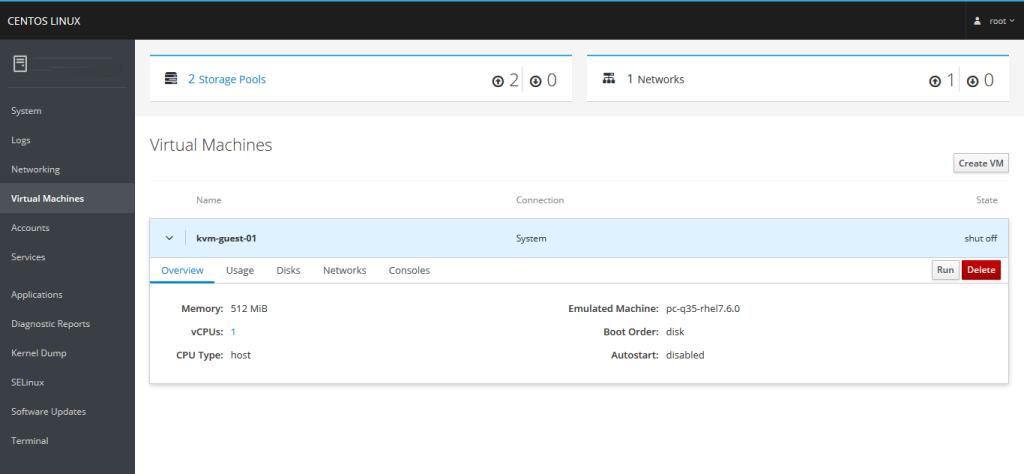
Summary
You now learn that how to install and create KVM virtualization on Centos 8 using the Cockpit web Console; Also, get acquainted with the special features of KVM Hypervisor.
If you encounter an error during installation, or have questions about KVM virtualization, or have any comments on this article, even have experience using KVM, you can contact us in the comments section below.