Install Laravel on AlmaLinux 8 with SSL Setup
Install Laravel on AlmaLinux 8 by setting up PHP, Composer, and Nginx. Secure your site with SSL using Certbot for encrypted connections.
🤖AI Overview:
Installing Laravel on AlmaLinux 8 involves configuring PHP 8.1 or higher, installing Composer, and setting up the Laravel framework via Composer commands. This guide also covers Nginx configuration and enabling SSL with Certbot for secure web application hosting on AlmaLinux.
Tutorial Install Laravel on AlmaLinux 8
Laravel is a free, open-source, and new generation of PHP framework. It is not a big deal if you are new to PHP web frameworks. PHP is almost old and that’s why Laravel comes into play. It is a framework that grows with you. While so many tools exist to build a web application, it is said that Laravel is the best choice for building modern and full-stack web applications.
In a few easy steps, you will learn the way you can install the popular Laravel on AlmaLinux to be more productive. But firstly, provide what you need to start the installation process. Find them below.
Prerequisites to Install Laravel on AlmaLinux 8
To go through the required steps of installing Laravel on AlmaLinux, you need to consider some Prerequisites.
- A user account with administrative privileges. Log in to your server as a root user and set a basic firewall. PHP >= 7.2.5
- A server running Alma Linux 8.
- LEMP must be installed on your server.
- RedHat Linux such as Rocky or AlmaLinux. For this, you can refer to the Install Rocky Linux OS article.
- A valid domain name pointing to your server’s IP address.
7 Steps to Install Laravel and Enable SSL on AlmaLinux 8
Once you provided all the required options above, you are ready to pass the steps of this guide to install Laravel on your AlmaLinux successfully. Let’s get started.
Step 1: Install the latest PHP on your system
If you do not have the PHP language installed on your running system, you need to get this since Laravel is a PHP-based framework. Use the command below to install PHP 8. x or skip this step if you have already done it.
sudo dnf install -y https://rpms.remirepo.net/enterprise/remi-release-8.rpm
sudo dnf update
sudo dnf module reset php
sudo dnf module enable php:remi-8.0
sudo apt install phpAnd to install unzip and curl, run:
sudo dnf install unzip curlStep 2: Install required Packages and Additional PHP extensions
In the first step, you need to install the required packages and some PHP extensions on your server. To install them on AlmaLinux 8, run the command below.
dnf install php-common php-xml php-mbstring php-json php-zip curl unzip -yNow, pass the following command to edit the PHP-FPM configuration file depending on your favorite editor.
vi /etc/php-fpm.d/www.confOR
nano /etc/php-fpm.d/www.confThen, change the following lines:
listen.owner = nginx
listen.group = nginx
You can save and close the file when you are done. Now, you can edit the PHP configuration file. To change the default values type:
vi /etc/php.iniOR
nano /etc/php.iniAnd finally, change the lines below by setting your own time zone.
date.timezone = Europe/London
cgi.fix_pathinfo=1
When you’re all set, save and close the file to proceed to the next step.
Step 3: Install PHP Composer
As we mentioned, installing Laravel on AlmaLinux 8 is easy even for users who do not have that high technical knowledge. To make this claim come true, we offer the easiest way to install Laravel which is using the Composer. This application-level package manager helps you to download, manage, and install the Laravel project with all its dependencies of PHP software and required libraries.
Run the command below to install Laravel by using Composer.
curl -sS https://getcomposer.org/installer | phpThe output will be something like this:
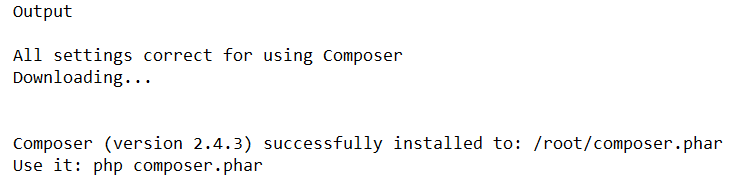
Then, run the commands below to move the Composer binary to the system path and then set the correct permission for it.
mv composer.phar /usr/local/bin/composerchmod +x /usr/local/bin/composerAnd finally, to check the version of your Composer installed, type:
composer --versionHere, you must see the version, date, and time of the Composer installation.
Step 4: Install Laravel on AlmaLinux 8
If you have passed the recent 3 steps successfully, you can start installing Laravel on your server. So, use the following command to switch to the Nginx web root directory.
cd /var/www/html/Use the Composer to install Laravel by running the command below.
composer create-project --prefer-dist laravel/laravel laravelOnce you are done, the following output will appear.
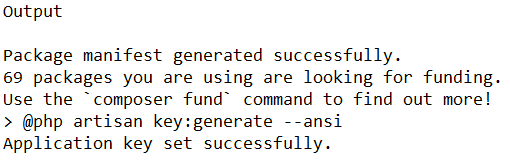
Now, you need to set proper ownership and permissions to Laravel:
# chown -R nginx:nginx /var/www/html/laravel/
# chown -R nginx:nginx /var/www/html/laravel/storage/
# chown -R nginx:nginx /var/www/html/laravel/bootstrap/cache/
# chmod -R 0777 /var/www/html/laravel/storage/
# chmod -R 0775 /var/www/html/laravel/bootstrap/cache/
Also, to check whether the PHP framework is working on your system or not, run the following command.
laravelIf the version of Laravel is displayed in green color, it means your installation is successful.
Step 5: Creating an Nginx Virtual Host for Laravel
In step 5, you must create an Nginx configuration file for Laravel. You can use vi or nano. So, run:
vi /etc/nginx/conf.d/laravel.confOR
nano /etc/nginx/conf.d/laravel.confNow, add the following lines to the file, and do not forget to replace the ‘’laravel.exampledomain.com’’ with your own as your domain name.
Output:
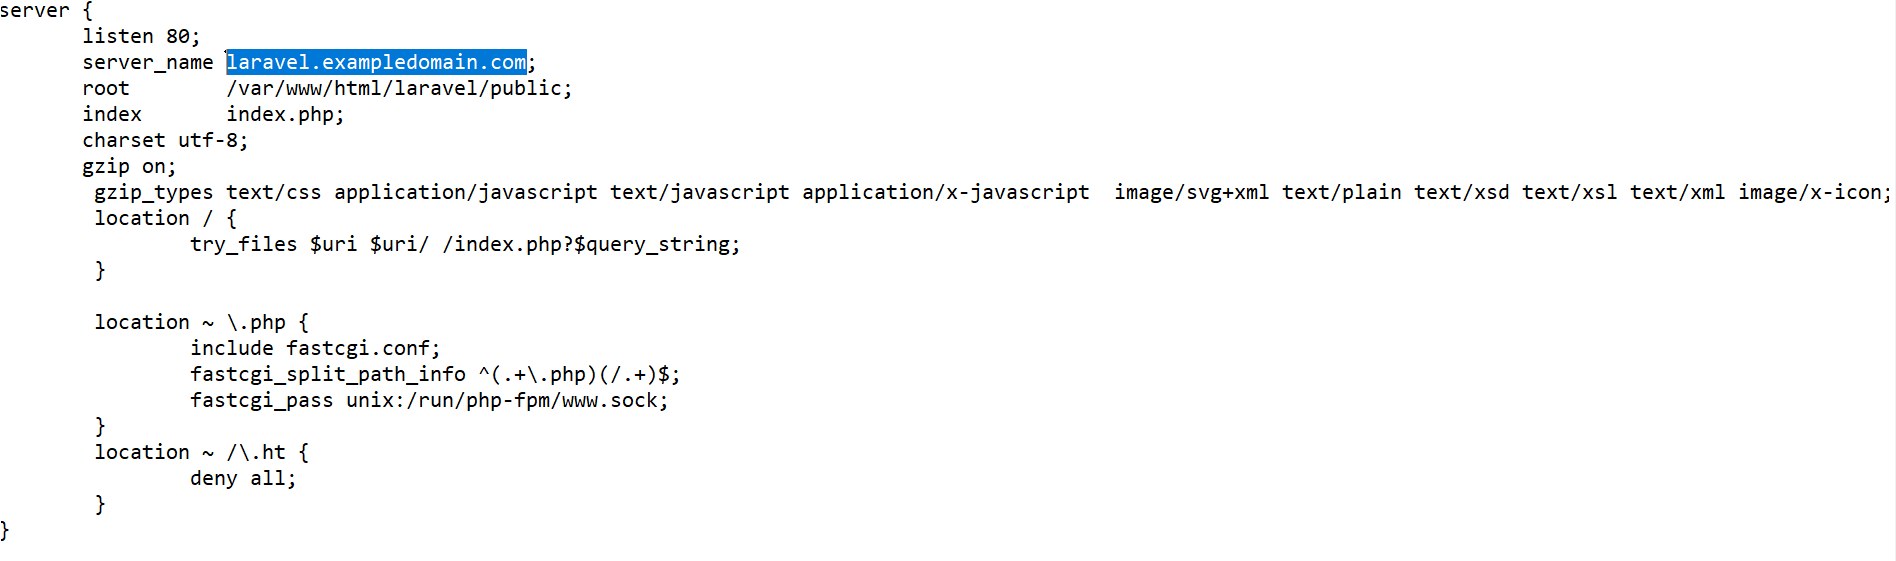
Save and close the file when you are done. Then, you just need to verify the Laravel for any configuration error:
nginx -tTo verify the Nginx status, you can use the command below.
systemctl status nginxThen, you must restart the Nginx and PHP-FPM services to apply the changes. So, type:
# systemctl restart php-fpm
# systemctl restart nginx
Finally, you must view the ”test is successful” in the output. To let this step be complete, allow ports 80 and 443 through the firewall. Use the following commands to do this.
# firewall-cmd --zone=public --permanent --add-service=http
# firewall-cmd --zone=public --permanent --add-service=https
Finally, run the command below to reload the firewall and apply the new rules.
firewall-cmd --reloadStep 6: Access Laravel Web UI
In this step, you will see how you can access your Laravel through the web interface. To do this, open your favorite web browser and type your domain name (http://laravel.exampledomain.com). Then, you will see the Laravel default page as shown below.
Also, you can use the following command to view the following screen.
https:// laravel.exampledomain.com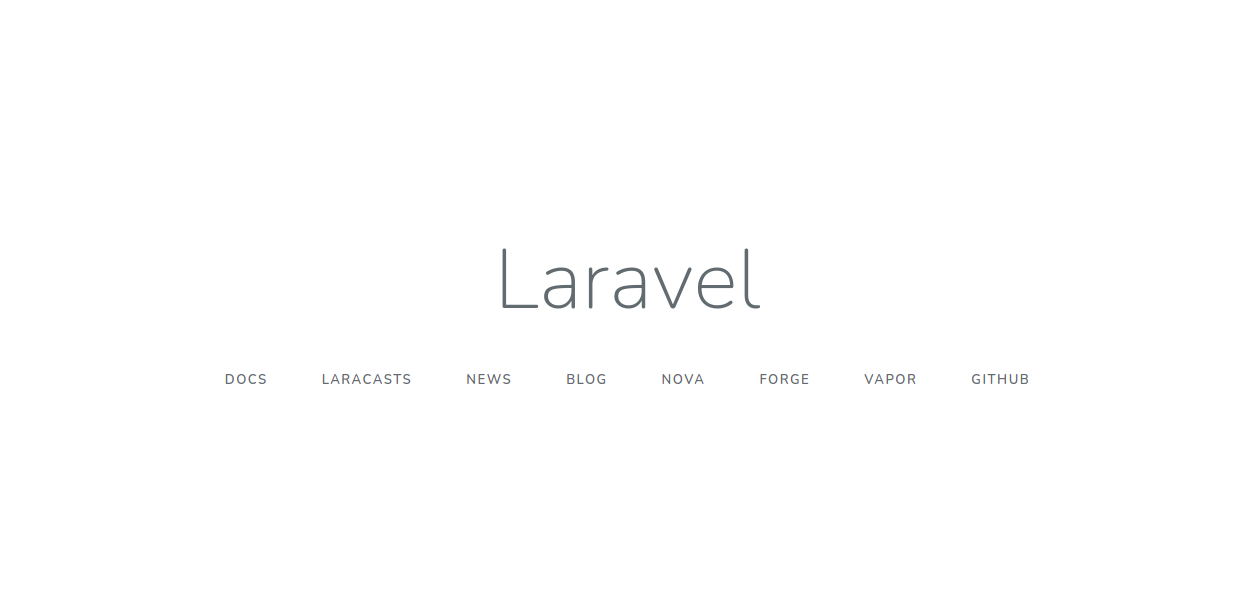
Step 7: Enable SSL on AlmaLinux 8
The time has come to enable the SSL on the Laravel website and secure the connection. You are highly recommended to do this step well. As you might know, Let’s Encrypt provides a free SSL to obtain, renew, and manage SSL/TLS certificates for your domain.
Firstly, you need to install the Cerbot client. So, run:
dnf install epel-release -y
dnf install certbot -y
Now, to download Let’s Encrypt SSL for your Laravel domain, you can use the following command.
certbot --nginx -d <span style="color: #0000ff;" data-darkreader-inline-color="">laravel.exampledomain.com</span>Keep in mind to replace ‘’laravel.exampledomain.com’’ with your domain name. As shown below, you will be asked for your valid email and accept the term of service.
Output:
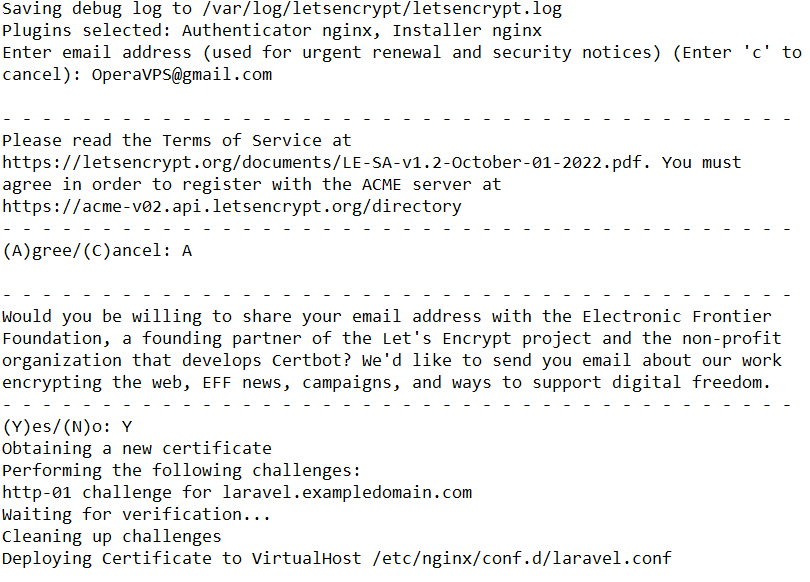
Then, select if you prefer to redirect HTTP traffic to HTTPS or not.
Output:
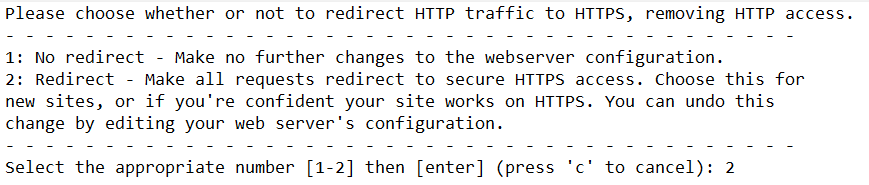
To start the process, type 2 and press Enter.
If you view such an output like the above, it means that your Laravel website is secured with Let’s Encrypt SSL. From now on, you will be able to access the website of Laravel securely if you use the URL of https://laravel.exampledomain.com.
https:// laravel.exampledomain.comConclusion
You have successfully learned how to install Laravel on AlmaLinux 8, configure necessary dependencies, set up Nginx to serve your application, and enabled SSL for secure browsing. This seven-step process ensures a solid foundation for developing PHP applications with Laravel’s modern framework. Following these best practices guarantees your environment is up-to-date, secure, and ready for development.
If you encounter any issues or have questions during installation, consider consulting official Laravel and AlmaLinux documentation or seeking help from professional support. Enjoy building your web applications with Laravel!
FAQ
2. How do I install PHP and required extensions for Laravel?
Enable the Remi repository and install PHP 8.1 and extensions like xml, mbstring, json, and zip using dnf.
3. Why is Composer needed for Laravel installation?
Composer manages Laravel and its dependencies efficiently, simplifying installation and project setup.
4. How can I create a Laravel project on AlmaLinux?
Use Composer's create-project command in your web root directory and set correct permissions.
5. How do I configure Nginx for Laravel?
Create a server block with the Laravel public directory as root, test the config, and restart Nginx.
6. How do I enable SSL for my Laravel site?
Install Certbot, obtain a certificate from Let27s Encrypt, and update Nginx to use HTTPS.
7. What should I do if I encounter errors during installation?
Check all prerequisites, verify permissions, review server configurations, and consult forums or documentation.
8. Is Laravel installation similar on AlmaLinux 9?
Yes, the process is similar but AlmaLinux 9 supports newer PHP versions natively, which may simplify setup.
9. How do I verify Laravel installation?
Access your domain in a browser; seeing the Laravel welcome page confirms success.
10. What features does Laravel provide for developers?
Laravel offers MVC architecture, database abstraction, queues, scheduling, and testing tools for efficient development.
Hello, this part is not working Also, to check whether the PHP framework is working on your system or not, run the following command. > laravel I followed all your instructions, and everything worked fine, until this part.. when I execute the command "laravel" it does nothing.. the command is not found.. what I'm missing? Thank you!