Quick Steps to Install Microsoft Windows XP in a Few Minutes
Windows XP is known as the beginning of the great transformation of Microsoft and was considered one of the most popular versions of Windows in its time. With the introduction of new versions of Windows, Windows XP still has its fans, and some users want to install and use the features of Windows XP due to the use of old hardware. Although Microsoft announced a long time ago that it no longer supports Windows XP and does not provide security fixes and updates for this popular version of Windows, 8% of Windows users still use Windows XP. If you are also interested in using Windows XP, this article is for you. In this article, we have prepared a step-by-step tutorial for installing Windows XP.
Windows XP installation prerequisite
Hardware compatibility with the operating system is effective in installing and running it smoothly, so to install Windows XP, you must provide the minimum required system to have a simple and hassle-free installation process. The minimum hardware requirements for installing Windows XP are as follows:
- At least 64 MB of RAM
- 300 MHZ Intel or AMD CPU
- At least 1.5 GB of available hard disk space
- SVGA-compatible graphics card
Steps to install Windows XP
Before installing Windows XP, we recommend that you make a backup copy of your important data so that you do not lose your data. In the following, we will teach you how to install Windows XP so that you can quickly install Microsoft Windows XP on your system in a few minutes.
1. Download the Windows XP file: If you want to boot the operating system from USB, you can download the Windows XP file from Microsoft’s website.
2. Boot the Windows XP file in the desired way: You can boot Windows XP through the ISO file or by using a CD/DVD or Live USB. Booting means that the system goes to the hard disk to start the installation so that after checking the contents of the hard disk, it can boot with the help of the hard disk and display Windows. But to install Microsoft Windows XP, we need to change the system boot settings so that the computer can be booted in the way you want using a CD or USB bootable.
After downloading the Windows XP files, select the boot method you want from the BOOT menu in BIOS. You need to set your system to boot from CD/DVD or USB. Press the F9 or DEL key to access the BIOS menu. After setting the system to boot Windows XP in the way you want, press the F10 button to save the settings and the system will restart.
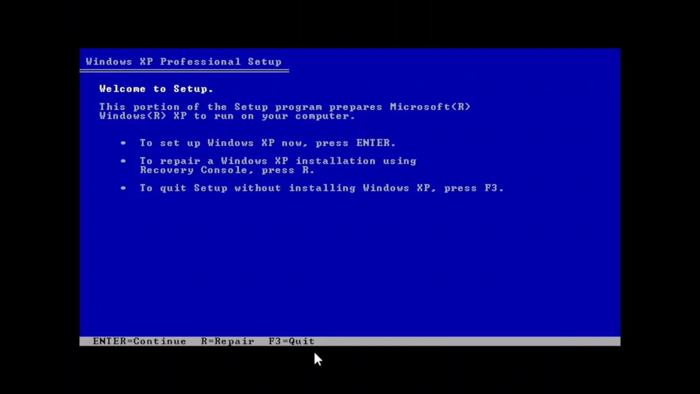
3. Microsoft Windows XP Setup: After restarting, you will come across a screen where you can continue to the next step of Setup by pressing the desired button from the keyboard. Finally, to download the required files to start the installation process, you must wait until you enter the page that contains the “Welcome to Setup” message. Press Enter to start the Windows XP Setup process.
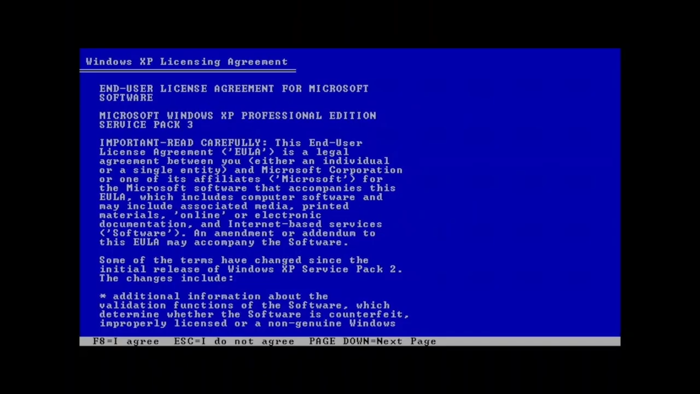
4. Read the Licensing Agreement: At this step, you must read the Windows XP Licensing Agreement and accept the relevant rules as a Windows XP user. To do this, press the F8 key.
5. Selecting the partition to install: In this step, you will see a list of partitions in your system. If another version of Windows or another operating system is already installed on the system, we recommend choosing an empty partition among the available partitions. By assigning the partition to the Windows XP installation, there is a possibility of losing partition data. If you are installing Windows XP on a new hard drive, you will see “Unpartitioned Space,” which you should select and then hit Enter.
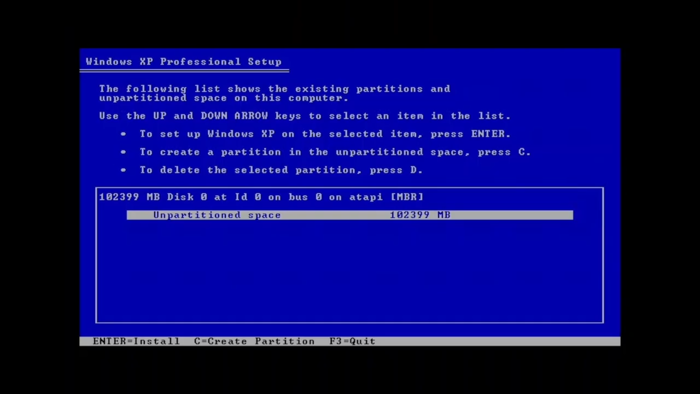
Note: If you don’t have an empty partition, you can use the D key to delete the current partitions and press the L key to confirm the deletion of the partition. As a result, an option labeled “Unpartitioned space” will appear. Of course, be careful that by deleting the partition, all its data will also be deleted.
6. Creating a new partition: By selecting “Unpartitioned space” and pressing the C button, you can customize the size of the partition. As a result, enter the amount of space you need in MB and press Enter to set the partition size. You can also choose the default setting for the partition size to adjust it to the maximum available space.
You can create multiple partitions to separate drive space for your programs, but Windows XP must be installed exclusively on a separate drive.
7. Selecting a new partition: After creating a new partition with the desired size, you can select it to install Microsoft Windows XP. Therefore, on the partition selection screen, the option you will see is probably “C: Partition 1 [Raw]”, select it and press Enter.
8. Selecting the partition format: For the partition format, you usually have two options: NTFS and FAT. You will see FAT when your partition size is less than 32 gigabytes. Since NTFS provides security features for the file system and is available for partition sizes above 32 GB, it is more reasonable to use NTFS for the partition format. As a result, highlight the option “Format the Partition using the NTFS File System” and then press the Enter button.
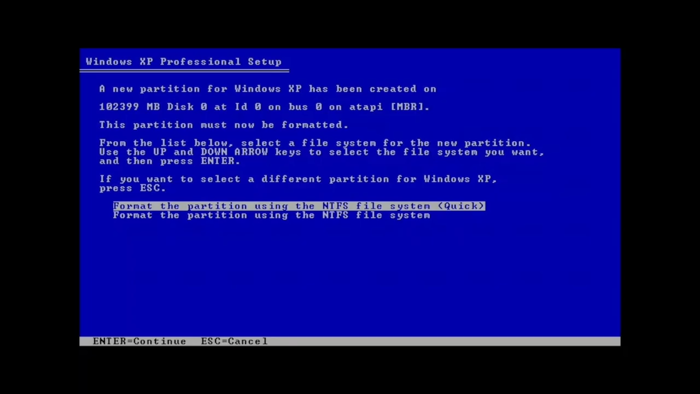
Note: We recommend not choosing quick formatting, because choosing this option ignores important steps such as hard disk scanning, and you will not be informed of hard disk failures, this is to your detriment.
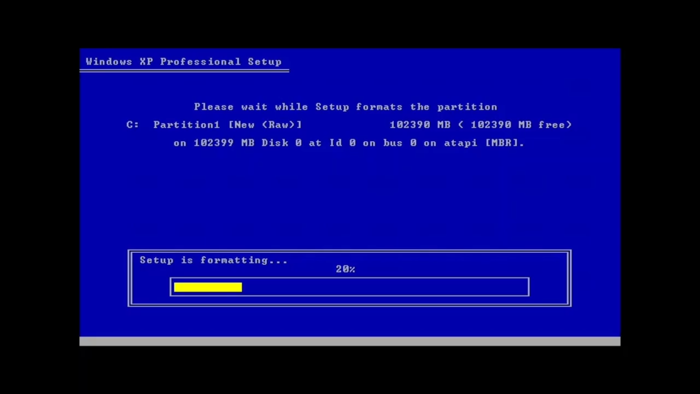
9. Waiting for the partition formatting process to complete: The waiting time for the partition formatting process to complete depends on partition size and system speed. If the partition size is not too big, this process will finish faster. However, you should take some time to complete the partition formatting process.
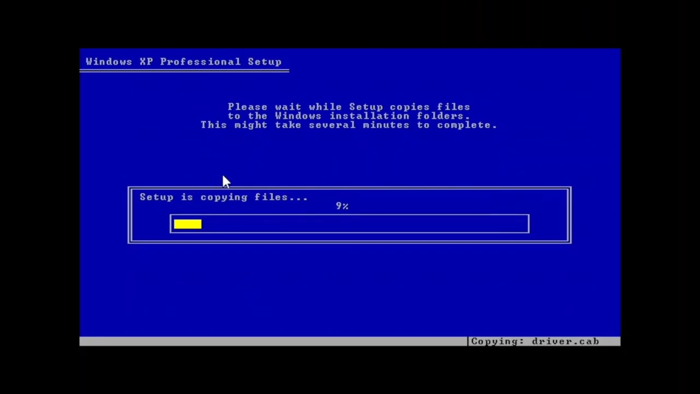
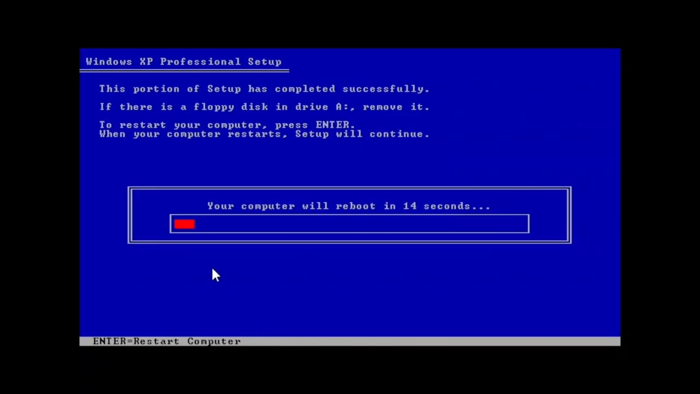
10. Waiting for the files to be copied: at this stage, after the process of copying the files to the installation folder is finished (it takes approximately 30 minutes), the system will be restarted, which is nothing to worry about. Allow the system to reboot by pressing the Enter button.
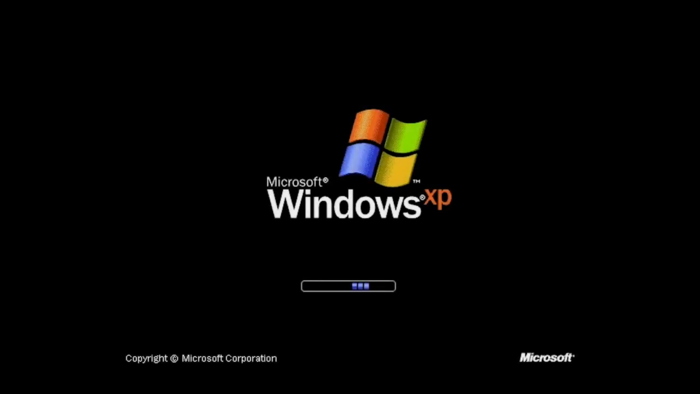
11. Booting the PC: The page you see is probably familiar to most Windows users, the installation process is continuing. If you are asked to enter the key on the CD to boot, skip it and set the computer to boot from the hard drive.
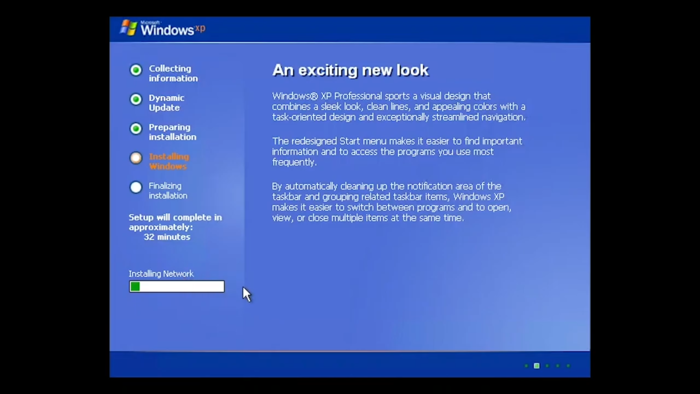
12. Completing the installation process: After waiting for a while, you will see a page that displays the Windows XP installation steps and the remaining time to complete the setup on the left side of the page; also On the right side of the page, additional information about Windows XP and how to use it and problem troubleshooting is provided. Therefore, you will appreciate the ease of access to essential information and familiarity with the new world of support. After completing the Installing devices process, you need the necessary configurations during installation.
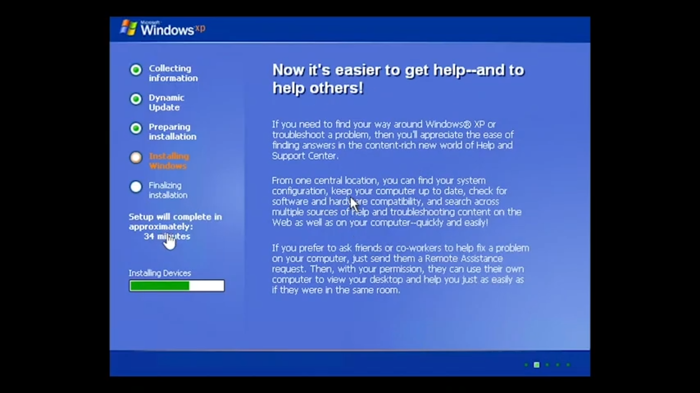
Note: If the screen turns on/off or flickers during this process, don’t worry, because it’s normal.
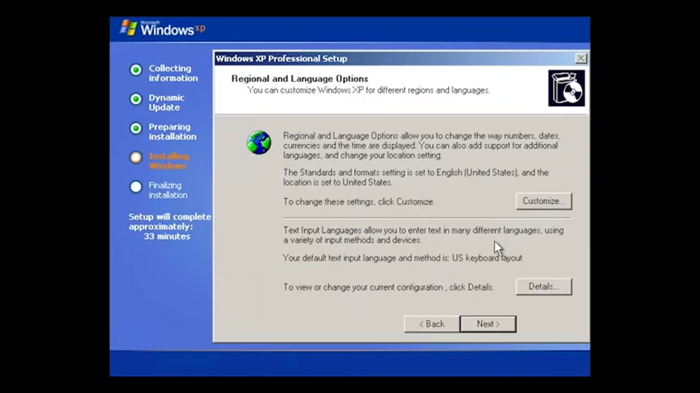
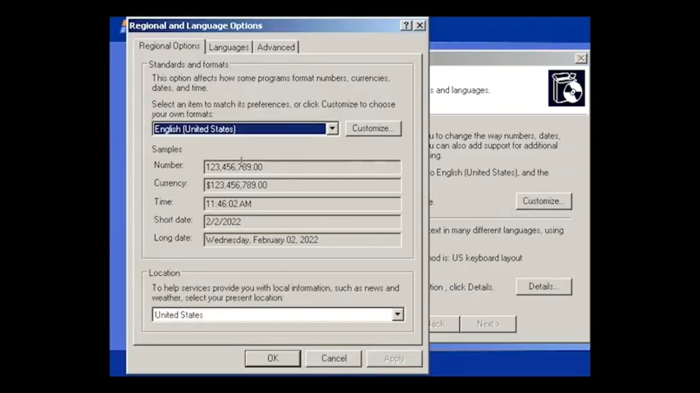
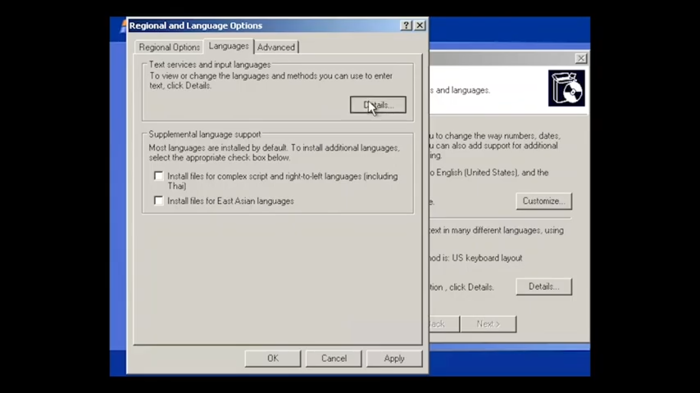
13. Region and language setting: It’s time to adjust the language and region settings. During the completion of the installation process, a dialogue window will be displayed asking you to set the region and language. Therefore, click on the Customize option so that you can select items related to location, language, etc. based on your preferences, and then click on Next.
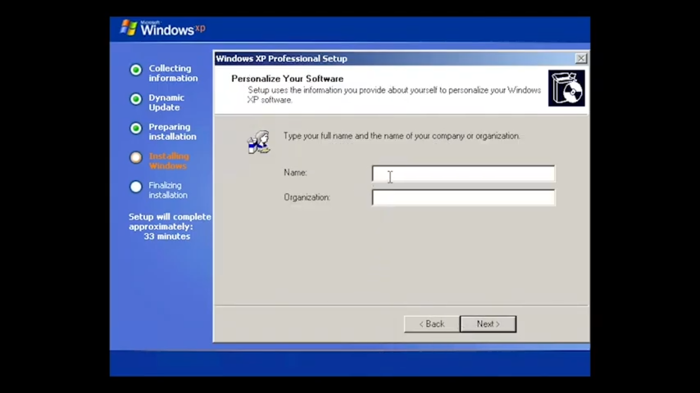
14. Personalize your system: In the next step, as the owner of Windows, you must enter your full name and the organization that the installation depends on. Therefore, you need to enter your personal information at this step. After filling in the empty fields, continue by selecting the Next button.
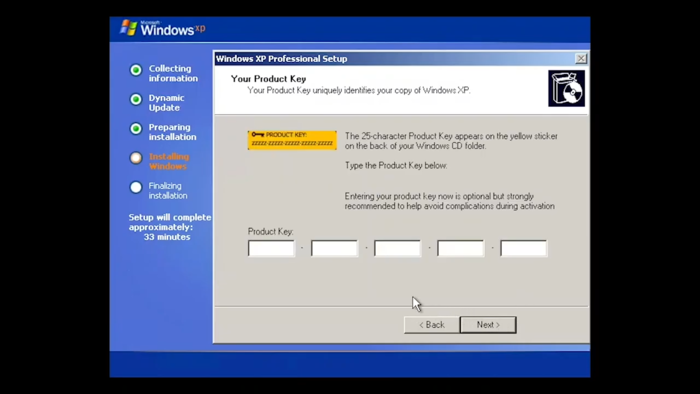
15. Enter the product key: Completing the Windows XP installation process depends on entering the product key. So enter it and go to the next step by clicking Next. You can also skip this step by leaving the product key fields blank, selecting the Next option, and answering no to the question, “Do you want to enter your product key now?”
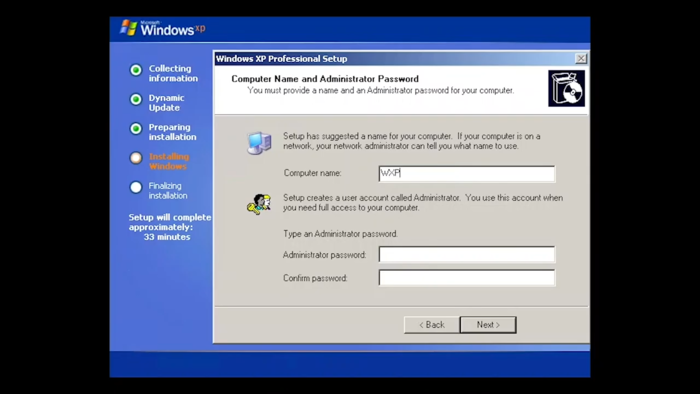
16. Setting the computer name and password for the user account: Set a specific name for your computer on the network, and you must also set a security password for the administrator account. After confirming the password, click on the Next button.
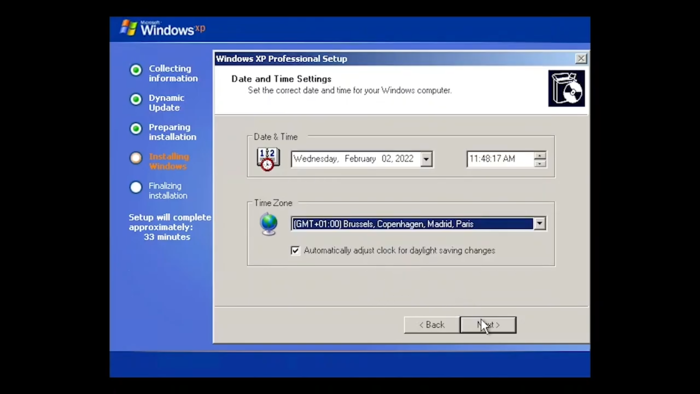
17. Time zone configuration: Select the appropriate date and time based on the time zone you live in from the menu and check the Automatically adjust clock box. Click Next to save the changes.
Wait for some time until the process of installing the network is completed. This process includes network card installation and other configurations. After completing the installation process, the system will be restarted and you will enter the world of Windows XP desktop. But still, Windows XP cannot be used, you need to do the necessary configuration.
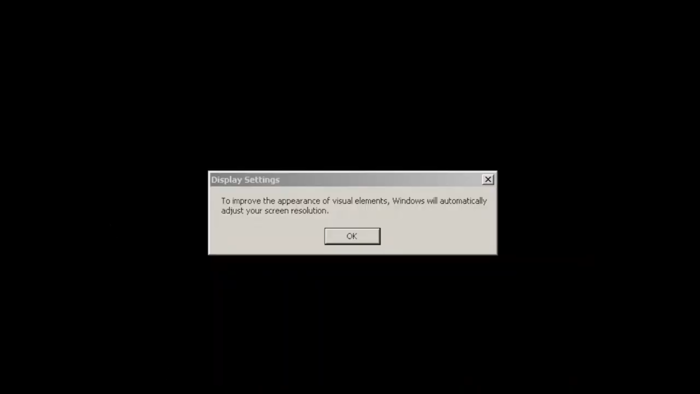
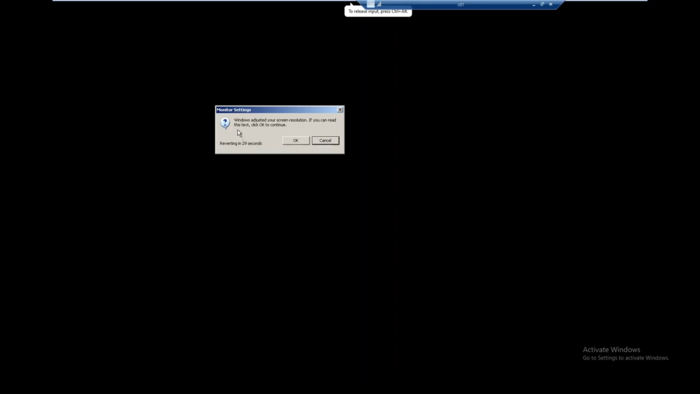
18. improve the display settings: After loading Windows, you will see requests for automatic settings of the Windows screen, so for automatic configuration, answer OK to the requests of the monitor setting and Display settings windows.
Wait for the installation process to complete.
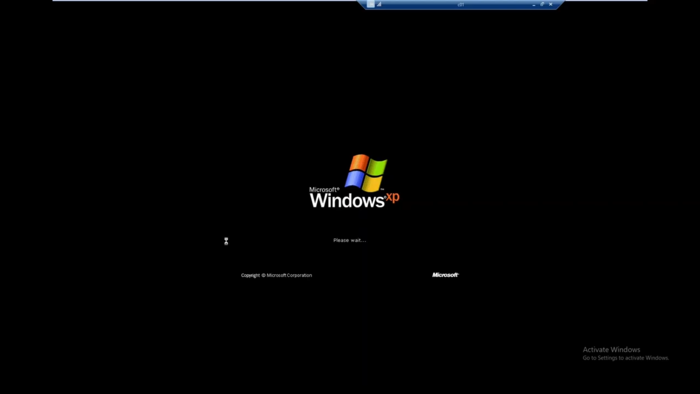
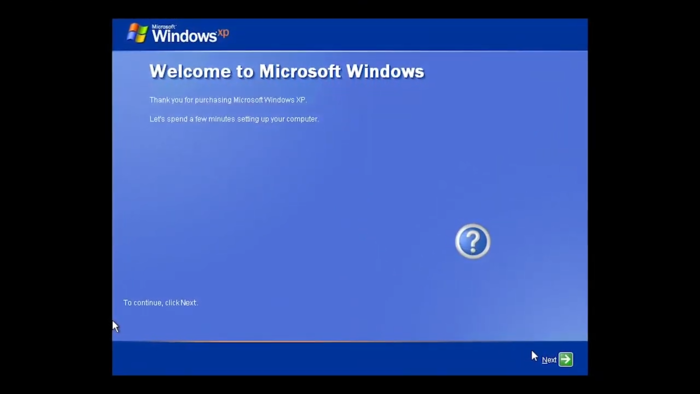
Finally, you will receive the” Welcome to Microsoft Windows” message. On this page, continue the steps by selecting the Next option.
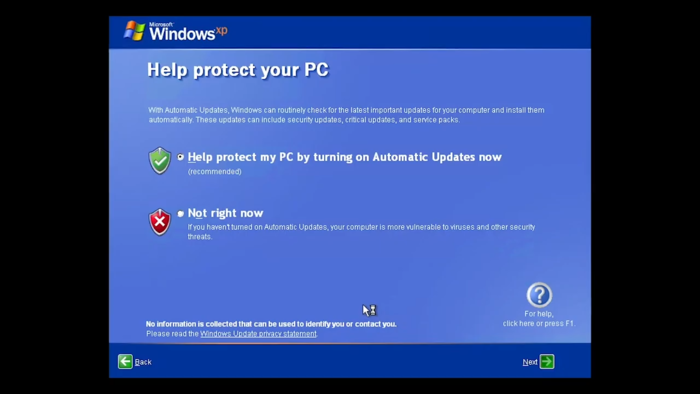
19. PC protection: At this step, Windows will ask you to protect the computer by activating Automatic Update Now. You can skip this step by choosing the “Not Right Now “option, but it is better to choose the “Help Protect my pc by turning on the Automatic Updates Now “option to avoid some problems. Then select the Next option.
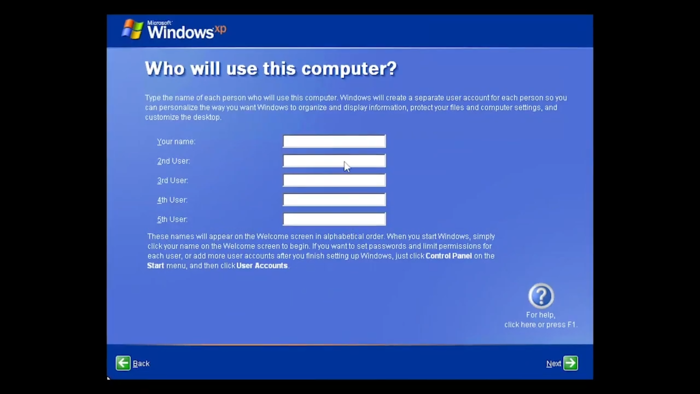
20. Specifying the user to use the PC: You can specify several users to be allowed to use the PC by specifying their usernames. Then click on the Next button.
Congratulations, you have successfully installed Windows XP. Select the Finish button to complete the installation process.


After listening to the familiar sound of Windows, you will enter the default Windows XP desktop. Congratulations, Windows XP Professional installation is complete and it is now ready to use.
After installing Windows XP, don’t forget to install the drivers required for the hardware and the antivirus.
It should be noted that since Windows XP is very old, to improve the installation process, you can create a virtual machine before following the instructions for installing Windows XP.
FAQ
Do we need the internet to install Windows XP?
No, you do not need Internet access if you are using a bootable flash or installation media to install Windows XP.
May I install Windows XP without cost?
unfortunately no, Microsoft will not provide XP to you for free.
Conclusion
Since Windows XP no longer receives updates and security patches, it is better to replace Windows XP with newer versions of Windows. Windows enthusiasts can buy Windows VPS with new versions without the need to install Windows on the VPS from OperaVPS and enjoy the new features of the updated Windows versions. This article is a helpful guide for Windows users who are interested in installing Windows XP on their systems. If you have any questions at any step of installing Windows XP, feel free to ask us in the comments section so that we can guide you as soon as possible.
We hope that our tutorial will be useful for you and that you will enjoy it.
bootMGR missing is what it said. used ISO TO USB application in win 7 to make bootable usb
I already have Windows 7, and want to install XP on another blank HDD on the SAME P.C. Can I do it with your instructions given above?
Installing Windows XP on a computer that already has Windows 7 can be a bit tricky due to the differences in hardware and software between the two operating systems. To do this, you can follow the steps of downloading, booting, and setting up Windows XP using the instructions in this article, create a new partition in an empty hard drive, and format it according to the instructions in this article. After Windows XP is installed, you'll need to install drivers for your hardware. This might be challenging as Windows XP may not have drivers for newer hardware. You may need to find and download these drivers from your hardware manufacturer's website. If you want to be able to choose between Windows 7 and Windows XP at startup, you may need to configure a dual-boot setup.