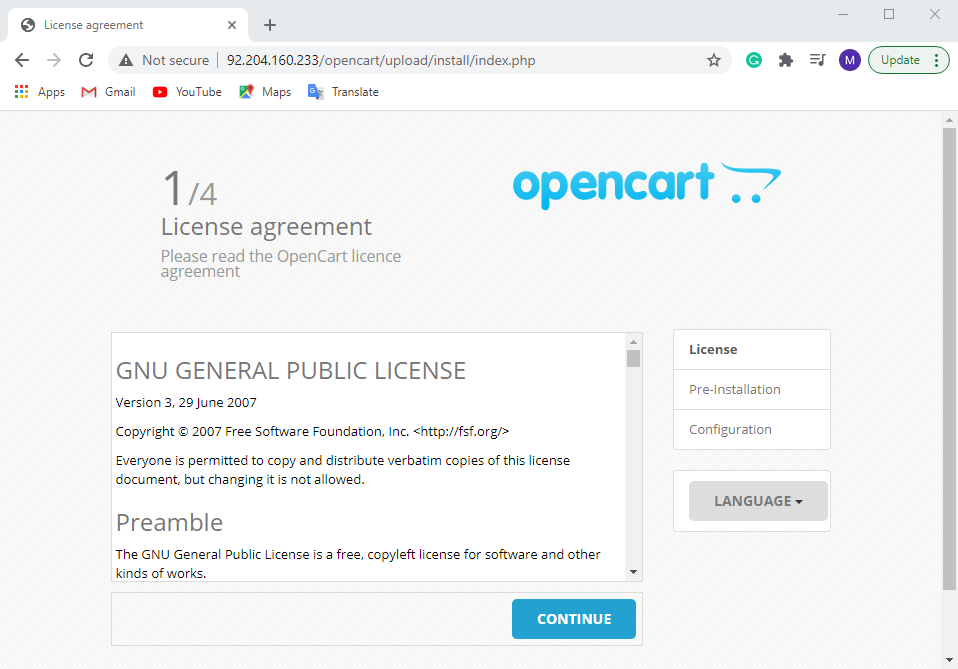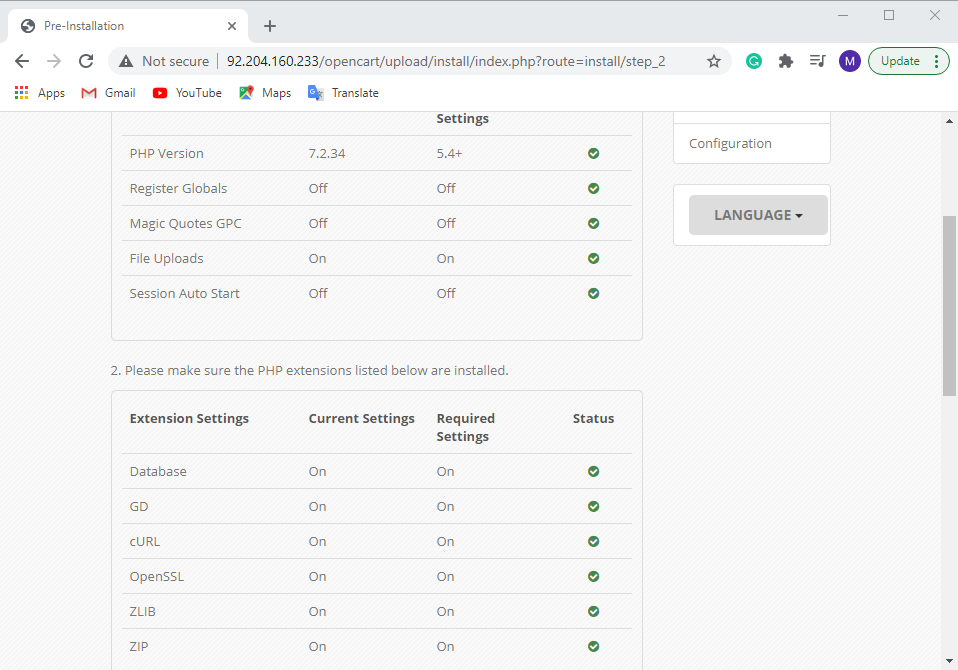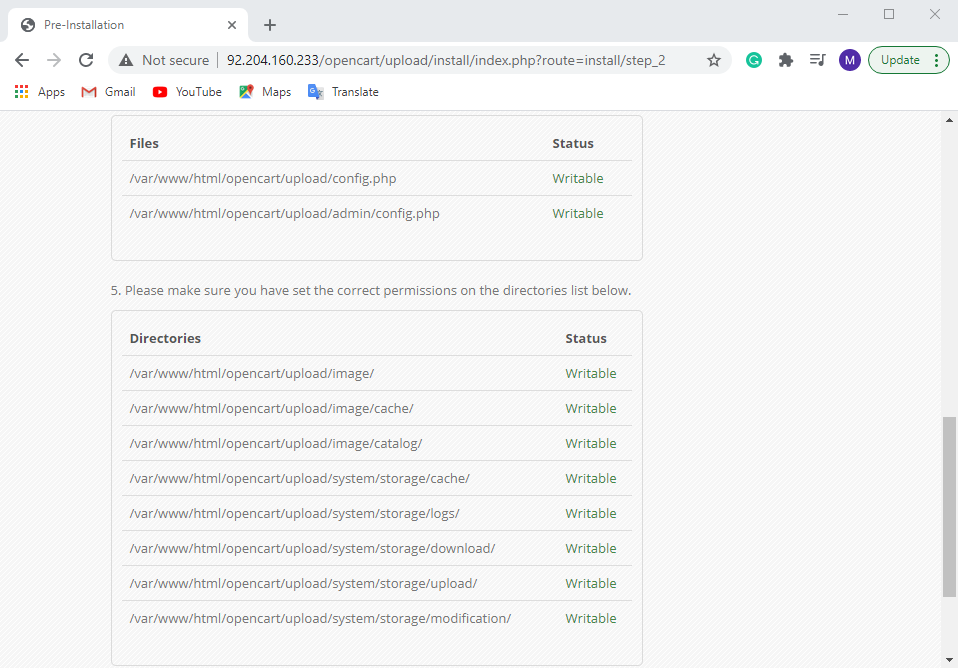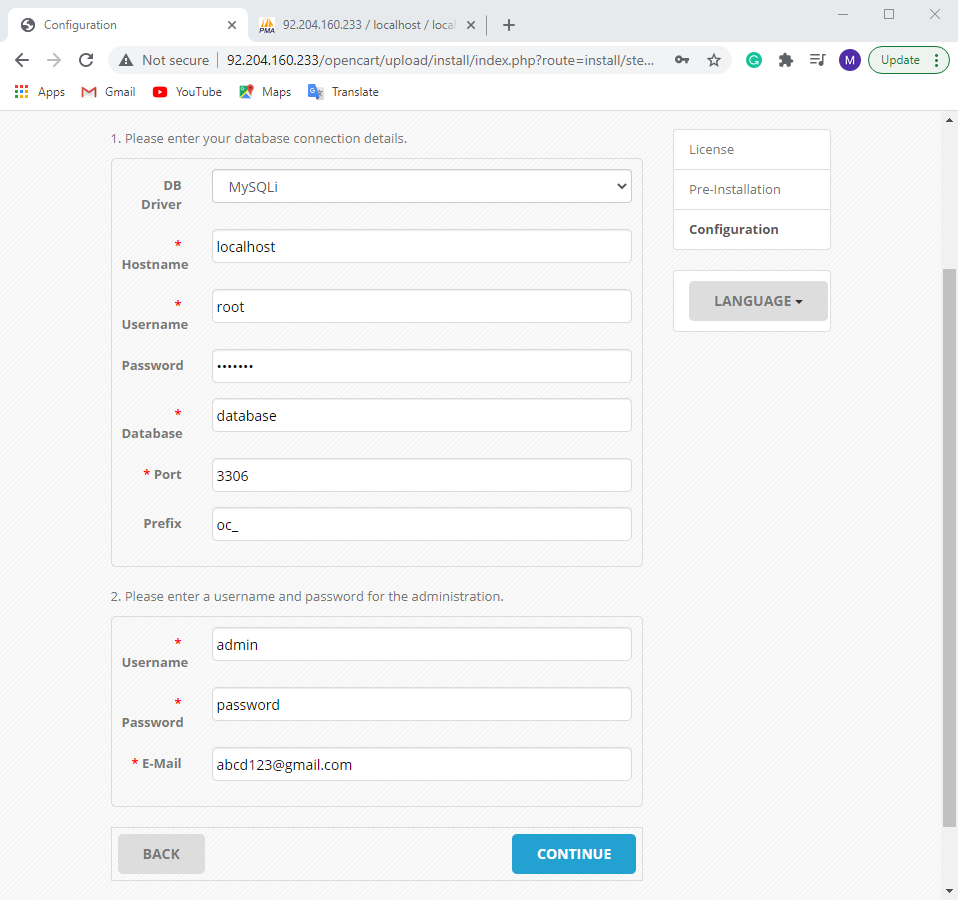
How To Install OpenCart On CentOS 7
Open cart is one of the best online store building systems (E-commerce CMS) available as open-source and free. Using an Onlineshop, you can create your own store, add products to sell products through global online payment gateways, review products, and carefully study users’ sales and behavior. Then check it with the help of data and increase your sales by examining and optimizing your strengths and weaknesses.
About CentOS 7
This post will teach you how to install OpenCart on centos 7; All previously released versions of CentOS are based on the RHEL and binary versions of the Red Hat product; All programs available for the business system, without restrictions and additional compilers, also work. In early 2014, Red Hat staff and developers of the (still independent) CentOS project formed a so-called “board.” Since then, the team has been primarily responsible for further development and distribution support from various workgroups (system core, support, design, etc.).
Stay with us to Install OpenCart on CentOS 7

Why CentOS 7?
CentOS Linux is a community-supported distribution derived from sources freely provided to the public by Red Hat for Red Hat Enterprise Linux (RHEL). As such, CentOS Linux aims to be functionally compatible with RHEL. The CentOS Project mainly changes packages to remove upstream vendor branding and artwork. CentOS Linux is no-cost and free to redistribute. Each CentOS version is maintained for up to 10 years (through security updates — the duration of the support interval by Red Hat has varied over time for Sources released). A new CentOS version is released approximately every 2 years, and each CentOS version is periodically updated (roughly every 6 months) to support more recent hardware. This results in a secure, low-maintenance, reliable, predictable, and reproducible Linux environment; So for more efficiency in centos 7 and its easy to use, now we will use it to install OpenCard.
Install Putty
You must use putty software to connect and log in to the server. Putty software is client-side software. This means that a server must exist at the network level for the software to connect to it. Our server is the same SSH service currently running on our server, and if the server is down or the SSH service is not running properly, we will not be able to connect to the server via the SSH protocol.